5.2
HTML headings, paragraphs, images, links & tag attributes
Now let’s expand the website to include some more common HTML elements. Expand index.html as follows (lines highlighted in green are new or modified):
<!DOCTYPE html>
<html>

    <head>
        <title>A first website</title>
    </head>

    <body>
        <h1>This is the main heading</h1>

        <h2>This is a second heading</h2>

<p>Lorem ipsum dolor sit amet, consectetuer adipiscing elit. Aenean commodo ligula eget dolor. Aenean massa. Cum sociis natoque penatibus et magnis dis parturient montes, nascetur ridiculus mus.</p>

        <h2>And another heading</h2>

<p>Lorem ipsum dolor sit amet, consectetuer adipiscing elit. Aenean commodo ligula eget dolor. Aenean massa. Cum sociis natoque penatibus et magnis dis parturient montes, nascetur ridiculus mus.</p>

    </body>
</html>
| Code 5.1 index.html |
Click to download the file.
- Where I generate code, like that above, I include a download link (the icon), this download a zipped copy of the file (or files when we start getting into CSS), click the icon and it will download, the file will be called “code-xx-yy-zz.zip” where xx-yy-zz is the code fragment number at the bottom of the listing (in the above case, the file is code-05-01.zip.
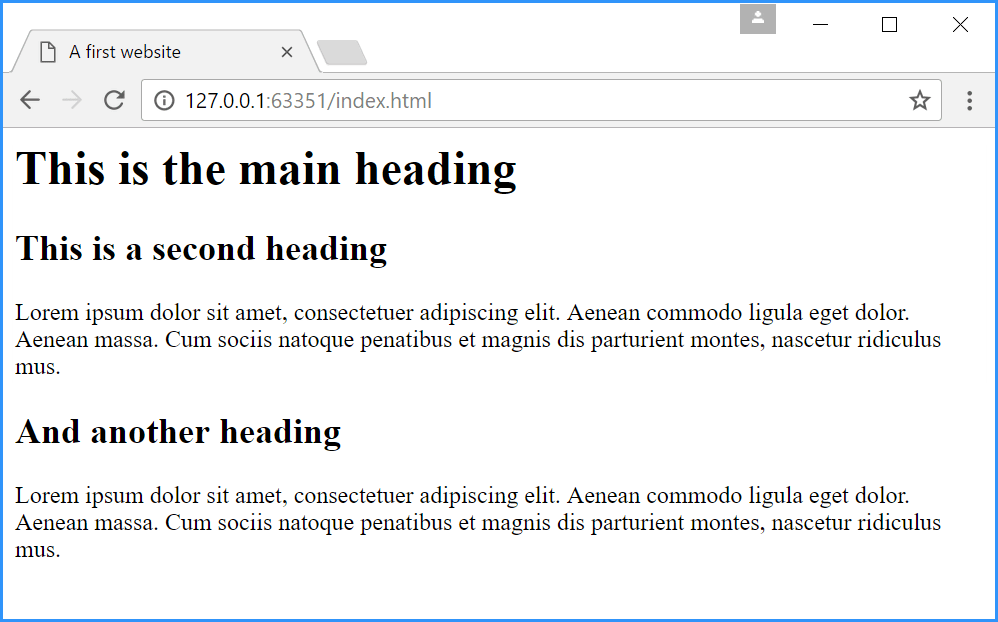
The above code gives an even more exciting website (Figure 5.6) — welcome to 1992:
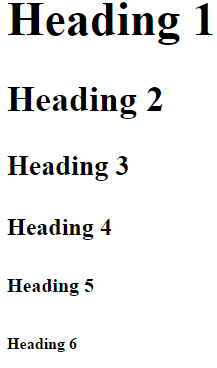
So, what have we done? Well, we’ve added some headings with the <h1>...</h1>, <h2>...</h2> elements; these make the text bigger for the headings; there are six of these heading levels <h1> to <h6> — they look just great, here they all are:
I know, the possibilities are endless.
| A note on Lorem ipsum |
|---|
Lorem ipsum: this refers to a nonsensical Latin text used to fill space in a document. It has the correct distribution and frequency of letters to match Standard English; it has been used as filler text since the fourteenth century: Lorem ipsum dolor sit amet, consectetur adipiscing elit... Just type blind text into Google to get copyable lorem ipsum, or just follow this link blind text. |
So, what else can we do? We can make things bold with the <strong>...</strong> element, we can put them in italics with the emphasis <em>...</em> element and we can underline them with the <u>...</u> element.
We can also force a line break in a paragraph with the <br> element (note: this does not have a closing tag).
To see all these, change line 13 in the above code to:
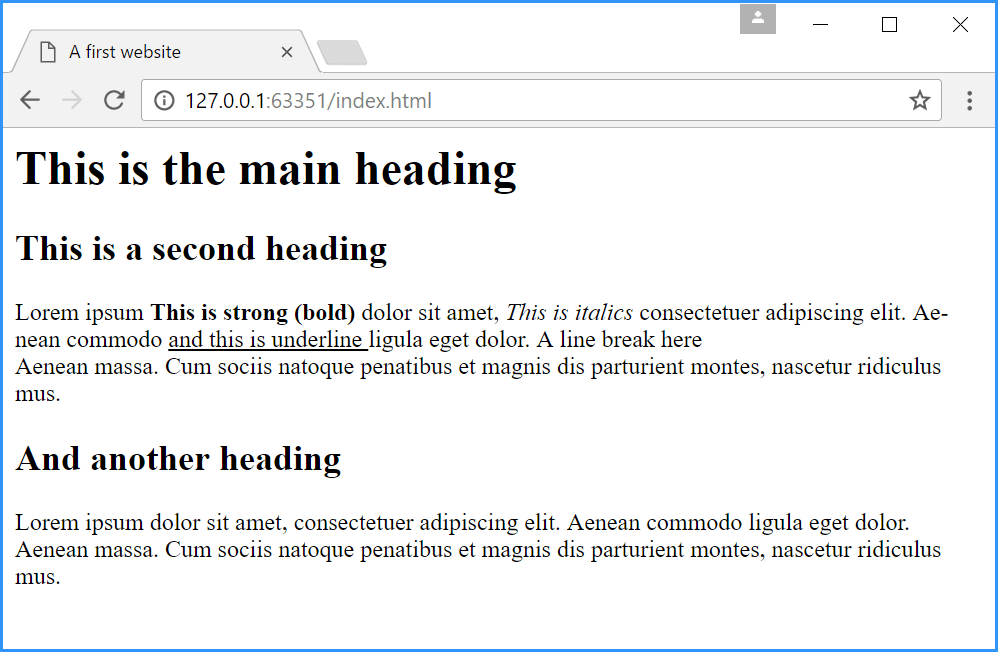
<p>Lorem ipsum <strong>This is strong (bold) </strong>dolor sit amet, <em>This is italics </em>consectetuer adipiscing elit. Aenean commodo <u>and this is underline </u>ligula eget dolor. A line break here<br>Aenean massa. Cum sociis natoque penatibus et magnis dis parturient montes, nascetur ridiculus mus.</p>
and we get:
So far, so Kindle. “What about pictures” I hear you ask, “the internet is full of pictures, we must be able to do pictures”?
And so we can.
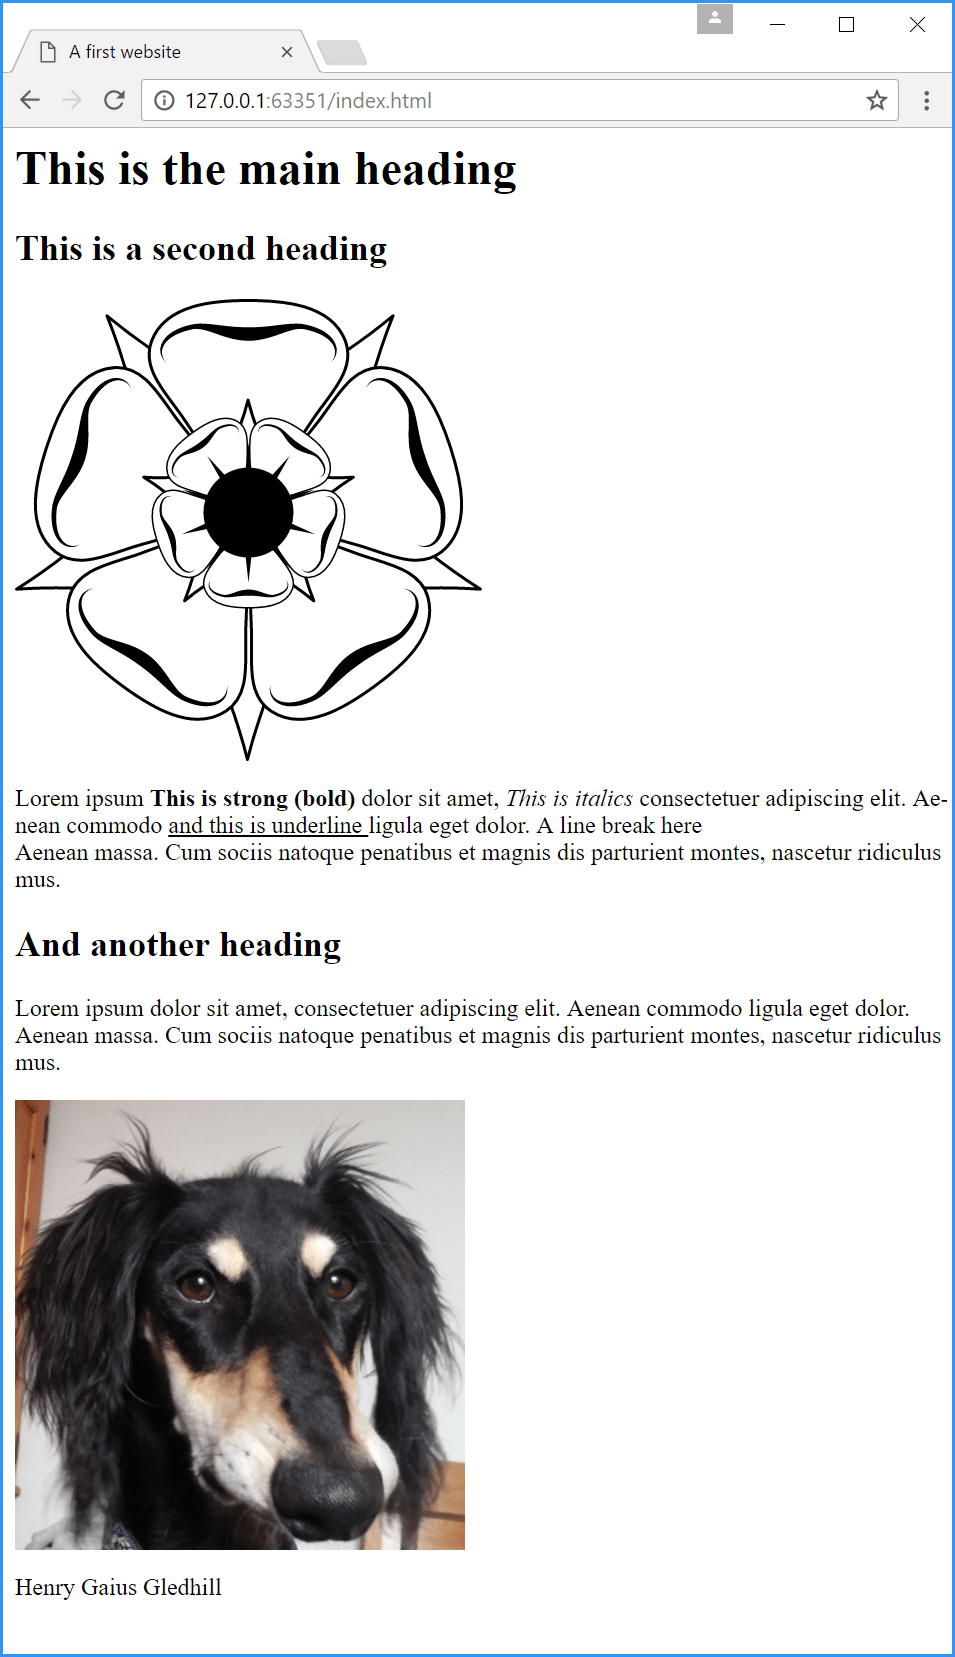
For this I’ll enlist the help of Henry the pup — here he is:


Aww — that’s one stupid looking dog.
We’ll also add a logo to the website (that’s what people do with websites); let’s use the Yorkshire Rose I drew.
The picture of Henry is called henry.png and the logo is called logo.svg. Just copy the images into the first-site folder (same place as index.html, we’ll just keep everything in one folder for this exercise). You can get the files here .
Images are added to a website with the use of the <img> tag (this tag has no closing tag) — add the following lines:
        <h1>This is the main heading</h1>

        <h2>This is a second heading</h2>

        <img src="logo.svg" alt="The website logo">

<p>Lorem ipsum <strong>This is strong (bold) </strong>dolor sit amet, <em>This is italics </em>consectetuer adipiscing elit. Aenean commodo <u>and this is underline </u>ligula eget dolor. A line break here<br>Aenean massa. Cum sociis natoque penatibus et magnis dis parturient montes, nascetur ridiculus mus.</p>

        <h2>And another heading</h2>

<p>Lorem ipsum dolor sit amet, consectetuer adipiscing elit. Aenean commodo ligula eget dolor. Aenean massa. Cum sociis natoque penatibus et magnis dis parturient montes, nascetur ridiculus mus.</p>

        <img src="henry.png" alt="Henry the saluki">

        <p>Henry Gaius Gledhill</p>

    </body>
</html>
| Code 5.2 index.html (with images) |
At this point, we come across a new feature: a tag attribute; attributes provide more information for the tag to use. Here we have two attributes:
<img src="logo.svg" alt="The website logo">
The first attribute is src (meaning source) and this tells the tag what image to load and where it is, in this case logo.svg and because we haven’t given it a path, it’s assumed to be in the same folder as the HTML file (which it is). The second attribute alt provides an alternative text that will be displayed if the image cannot be found or displayed.
- In Brackets, if you hover a mouse over an image filename, it will show a pop-up of the image with its default width and height.
So what does all this do for us? — Well only this (brace yourself):
Ok, we’ve got a heading, some text, a logo and a picture of the family pet; we just need some pornography and we’ve got this internet thing cracked.
The last thing we’re going to look at in this rudimentary introduction to HTML is links; we need to be able to link to other pages either in the website or elsewhere on the internet.
Links are added with the <a>...</a> (anchor) tag and again, this has various attributes. Let’s add an external link to the google.co.uk website
        <h1>This is the main heading</h1>

        <h2>This is a second heading</h2>

        <img src="logo.svg" alt="The website logo">

<p>Lorem ipsum <strong>This is strong (bold) </strong>dolor sit amet, <em>This is italics </em>consectetuer adipiscing elit. Aenean commodo <u>and this is underline </u>ligula eget dolor. A line break here<br>Aenean massa. Cum sociis natoque penatibus et magnis dis parturient montes, nascetur ridiculus mus.</p>

<a href="http://www.google.co.uk" target="_blank">google.co.uk</a>

        <h2>And another heading</h2>

<p>Lorem ipsum dolor sit amet, consectetuer adipiscing elit. Aenean commodo ligula eget dolor. Aenean massa. Cum sociis natoque penatibus et magnis dis parturient montes, nascetur ridiculus mus.</p>

        <img src="henry.png" alt="Henry the saluki">

        <p>Henry Gaius Gledhill</p>

    </body>
</html>
| Code 5.3 index.html (with links) |
The link element has the following format:
<a href="http://www.google.co.uk" target="_blank">google.co.uk</a>
The href attribute (hypertext attribute) specifies the internet address of the website that the link will take us to if we click it. The target attribute specifies how the link will work, the _blank reference tells the browser to open the link in a new tab (missing out the target attribute will open the link in the current tab, the usual arrangement for a website).
The text that is between the opening and closing tags is the link text that appears on the web page.
The result is shown in Figure 5.12.

It is also possible to add internal links (internal links are links to other parts of our website within our project folder):
<a href="http://www.google.co.uk" target="_blank">google.co.uk</a>

        <a href="henry.png">Henry</a>

        <h2>And another heading</h2>
| Code 5.4 index.html (with internal link) |
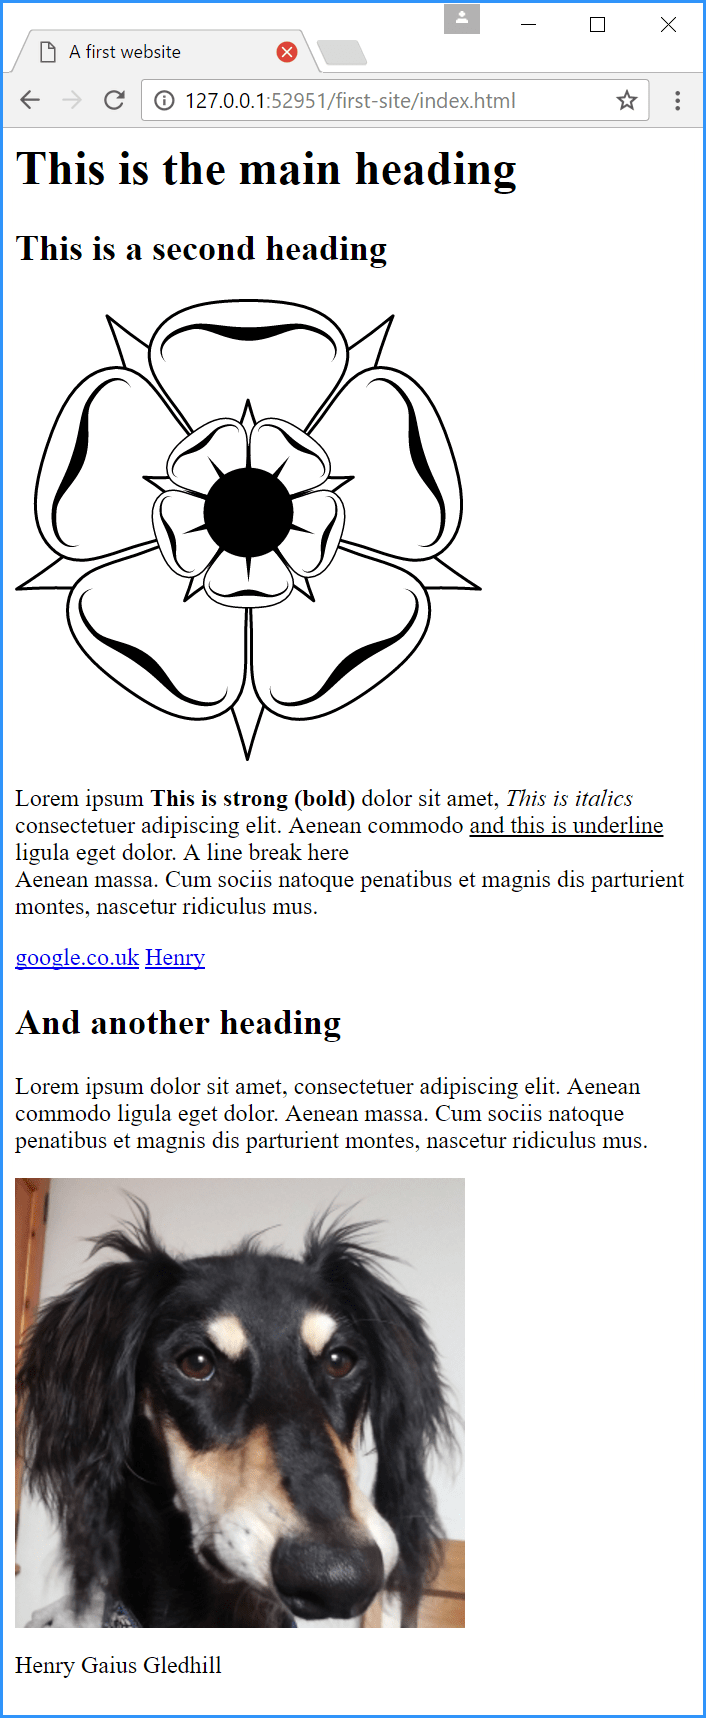
Here, line 19 adds a link to the picture of Henry, there is no target attribute so the browser will simply load the picture of Henry in the current window; the link is shown in Figure 5.13.
- Internal links do not need to have an http address, the browser just knows where to look.
The final code for this splendid website is:
<!DOCTYPE html>
<html>

    <head>
        <title>A first website</title>
    </head>

    <body>
        <h1>This is the main heading</h1>

        <h2>This is a second heading</h2>

        <img src="logo.svg" alt="The website logo">

<p>Lorem ipsum <strong>This is strong (bold) </strong>dolor sit amet, <em>This is italics </em>consectetuer adipiscing elit. Aenean commodo <u>and this is underline </u>ligula eget dolor. A line break here<br>Aenean massa. Cum sociis natoque penatibus et magnis dis parturient montes, nascetur ridiculus mus.</p>

<a href="http://www.google.co.uk" target="_blank">google.co.uk</a>

        <a href="henry.png">Henry</a>

        <h2>And another heading</h2>

<p>Lorem ipsum dolor sit amet, consectetuer adipiscing elit. Aenean commodo ligula eget dolor. Aenean massa. Cum sociis natoque penatibus et magnis dis parturient montes, nascetur ridiculus mus.</p>

        <img src="henry.png" alt="Henry the saluki">

        <p>Henry Gaius Gledhill</p>

    </body>
</html>
| Code 5.5 index.html (final code) |
It looks like this (Figure 5.13):