6

6The CSS box model

6.6

Formatting elements in a class

This is an important point, it is possible to change the appearance of a specific type of element within a class; for example, we will format all the images within the .author-area class to have a specific size and shape:

style.css
.author-area {
    border-top: 1px solid #333;
    padding-top: 20px;
}
.author-area img {
    height: 150px;
    width: 150px;
    border-radius: 50%;
}
Code 6.15   style.css (formatting elements in a class) a
  • In this case the formatting is done after the .autor-area class is defined, this makes logical sense, but is not necessary — the qualifying img class could be done anywhere in the CSS file.

This is a very powerful technique; it is called descendant selection it allows specific elements within a class to be formatted without having to define another class for that object.

Figure 6.17 - Border and image formatting
Figure 6.17   Border and image formatting

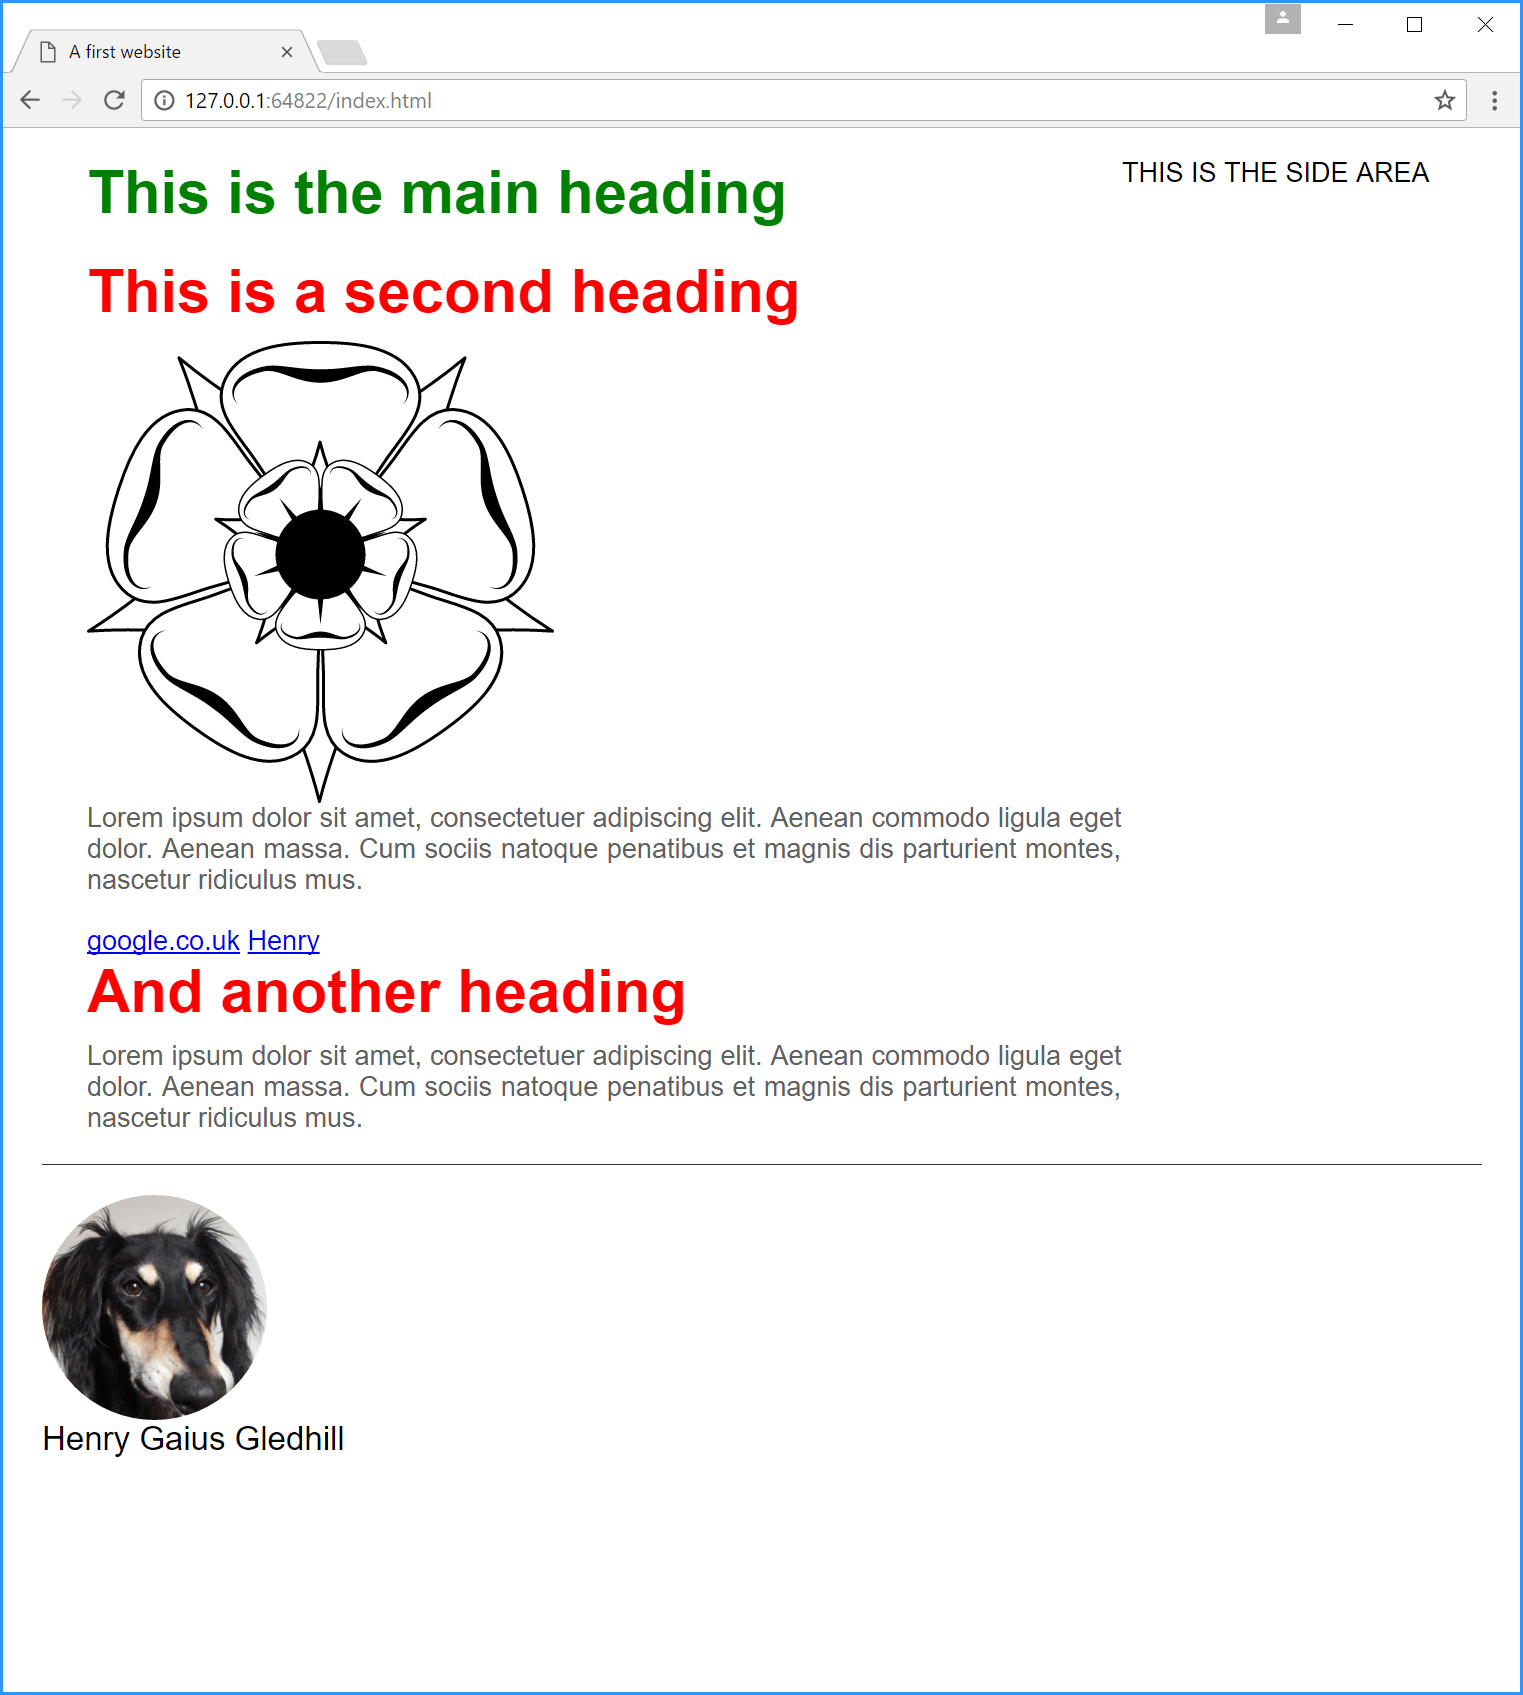
Wow Henry’s gone all round — just like a modern website.

So what have I done here? Well I’ve made the image smaller by setting the height and width to specific values — the original image was 300×300 px, now it’s 150×150 px.

The border-radius property was introduced in CSS 3, it gives a box rounded corners. Like the margin and padding properties it usually has four values (one for each corner in the order top-left, top-right, bottom right and bottom left). Giving just one value sets all corners to that radius. Using 50% as the value is a common trick to make the image circular (each curve starts 50% of the way along the edge of the image — giving a circle if the image is square, and an ellipse if it’s rectangular).

6.6.1

Descendant selection and combinators

The previous section used a descendent selection to identify all the <img> elements in a particular class:

style.css
.author-area img {
    height: 150px;
    width: 150px;
    border-radius: 50%;
}

This is a very common and widely used technique in CSS files. It has the format:

.classname element

The element is separated from the class name by a space and this space is called the descendant combinator. Yes, I know “combinator” isn’t really a word — I blame the Linux people.

If I added the following descendent selector to the style.css file:

style.css
.main-area p {
    color: #ff0000;
}

Then the colour of all the paragraph text in the main-area would change to red; that is everything contained within a <p> element. This would also apply to the <p> elements in any other class that was nested within the main-area. I.e. it applies to main-area and all its descendants, however nested (if a <p> element in a descendant class had its own contradictory style set elsewhere, then that style would override the descendant selector, this is because it is applied directly to the element).

There are other combinators [sic]. There is the child combinator ( > ):

style.css
.main-area > p {
    color: #ff0000;
}

What’s the difference between a child and a descendant?

  • My daughter is both my child and my descendant

  • My granddaughter is my descendant but not my child

If we had the following:

html
            <div class="main-area">
                <p>Paragraph 1</p>
                <div class="another-style">
                    <p>Paragraph 2</p>
                </div>
            </div>

Then paragraph 1 would go red, it is the child of main-area, but Paragraph 2 would not, it is a descendant, but not a child (it is effectively the granddaughter in my analogy above).

There is also an adjacent sibling combinator ( + ), this combines two elements and looks like this:

style.css
.main-area img + p {
    color: #ff0000;
}

If we had the HTML code:

html
            <div class="main-area">
                <img src="logo.svg" alt="The website logo">
                <p>Paragraph 1</p>
                <p>Paragraph 2</p>
                </div>
            </div>

This time, with the adjacent sibling combinator, we’re specifying the <p> element that immediately follows an <img> element will have the style applied. In this case paragraph 1 immediately follows the image element, paragraph 2 does not.

Complicated enough for you?

If we changed the adjacent sibling selector to:

style.css
.main-area img + p {
    color: #ff0000;
}

Then Paragraph 2 would be red, but not Paragraph 1, this is because Paragraph 2 is the first paragraph to immediately follow another paragraph. Paragraph 1 does not immediately follow a previous paragraph so it doesn’t get the colour.

If a third paragraph were added after Paragraph 2, it too would be red, it also immediately follows a paragraph.

6.6.2

Finishing touches

The author (Henry) text would be better if it were to the right of the picture (rather than below it). To do this both the image and text must be floating, and the text must be padded correctly at the top and right:

style.css
.author-text{
    font-size: 22px;
    float: left;
    padding-top: 65px;
    padding-left:  25px;
}
    . . .
.author-area img {
    height: 150px;
    width: 150px;
    border-radius: 50%;
    float: left;
}
Code 6.16   style.css (floating text) a

Let’s also add some text for the side area by creating a new .side-box class:

style.css
.side-area {
    width:25%;
    float: left;
}

.side-box {
    margin-bottom: 40px;
}
Code 6.17   style.css (side area text) a

We also need to add some text to the side area in the HTML (this will replace the “THIS IS THE SIDE AREA” text).

index.html
<p class="main-text">Lorem ipsum dolor sit amet, consectetuer adipiscing elit. Aenean commodo ligula eget dolor. Aenean massa. Cum sociis natoque penatibus et magnis dis parturient montes, nascetur ridiculus mus.</p>
            </div>
           
            <div class="side-area">
                <div class="side-box">
                    First side bar entry
                </div>
                <div class="side-box">
                    Second side bar entry
                </div>
                <div class="side-box">
                    Third side bar entry
                </div>
            </div>
           
            <div class="clearfix"></div>
Code 6.18   index.html (side area text) a

This is what we get:

Figure 6.14 - Final website
Figure 6.18   Final website

Well — it’s a start.


End flourish image