4.1
Creating a GitHub account
Creating a GitHub account is easy; go to the github.com web page and click the big button (Figure 4.1):
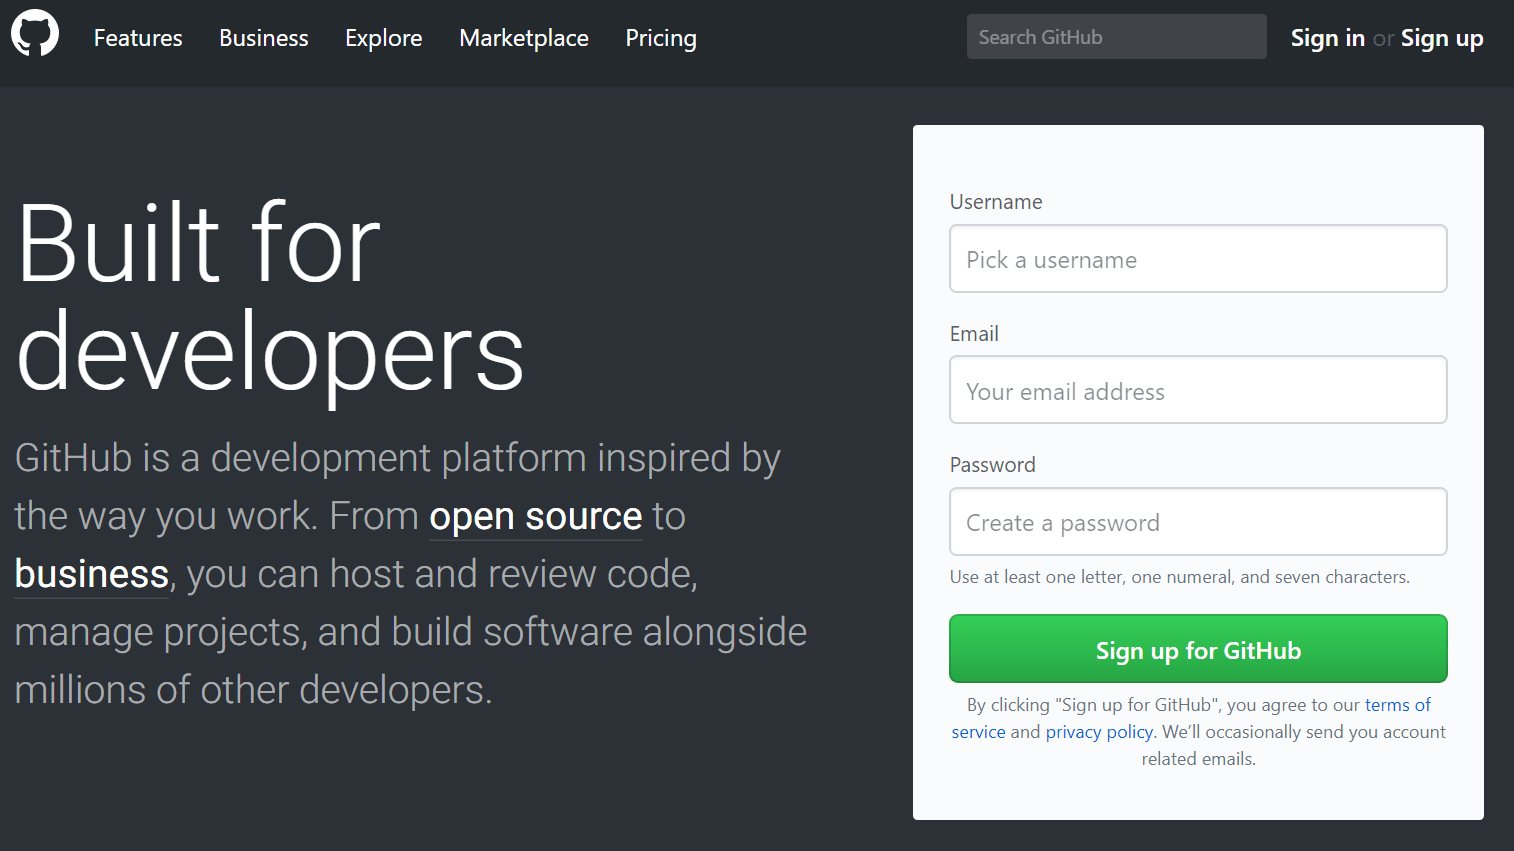
Figure 4.1 Signup for GitHub
Next thing is to enter a username, email address and password (Figure 4.2).
These don’t have to be the same as those used on the local version of Git. I.e. those we set up in the previous section (§ 3.4.1), but in my case they are.
The username must be unique amongst all the GitHub accounts, if it is you will get a green tick after it (as shown). Similarly, the email address must not have been used for any other GitHub account.
The email address must be valid and you will have to verify it later.
The password must be a minimum of seven characters and contain at least one letter and number (it will accept punctuation characters too).
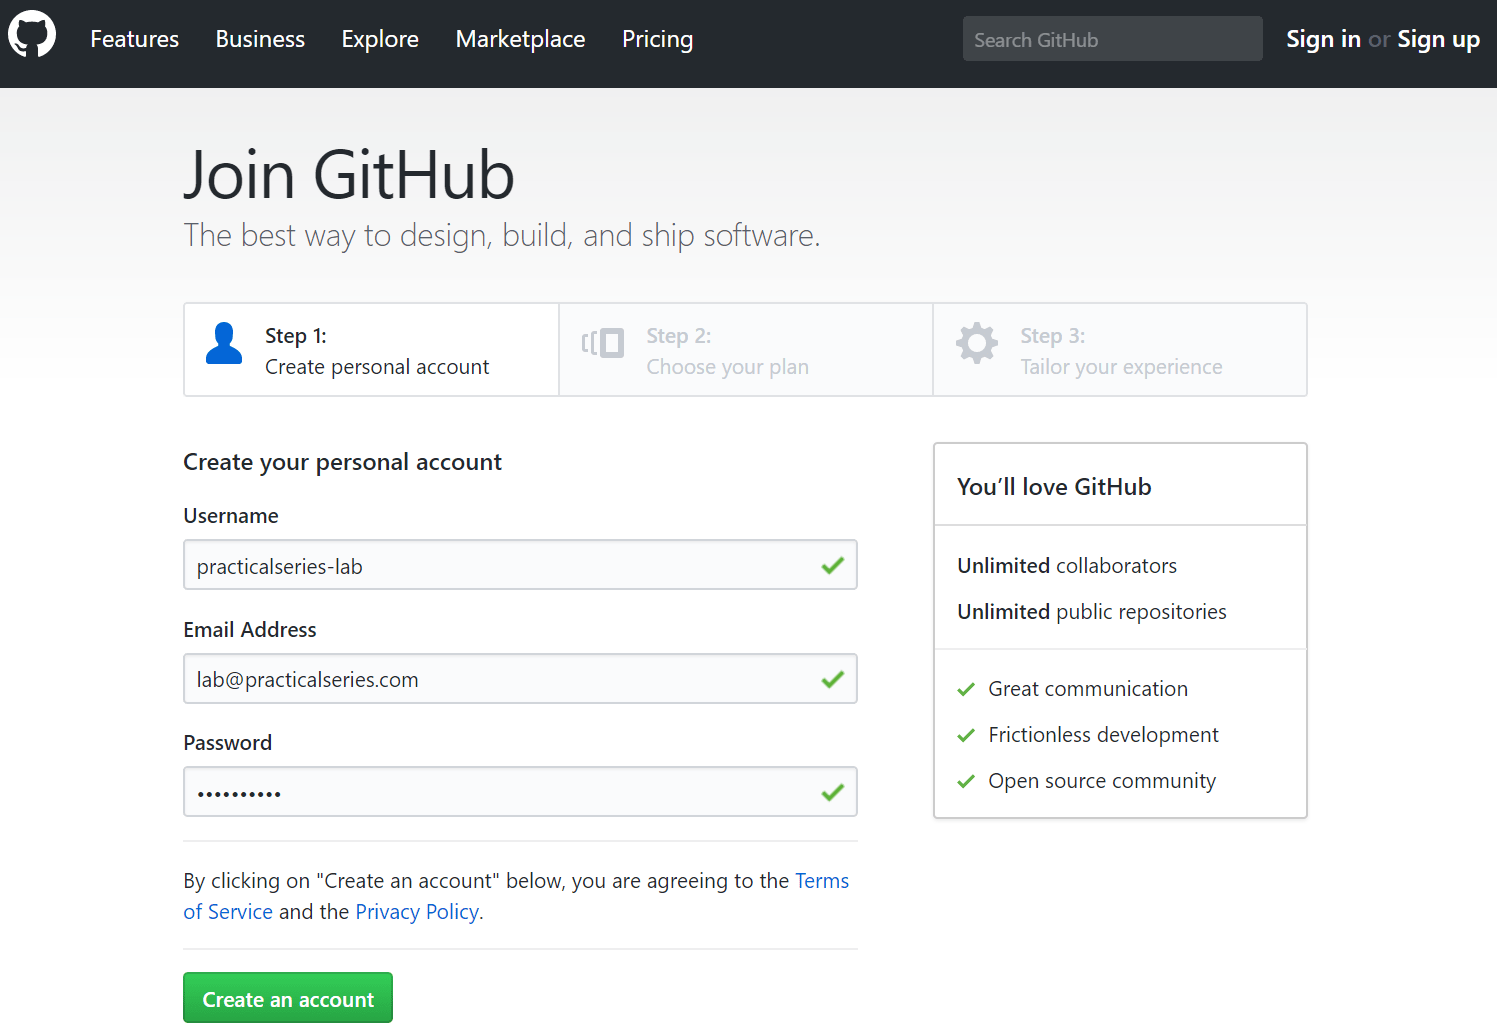
Figure 4.2 Create a personal account
Click .
The next thing is to choose the type of account you want (Figure 4.3):
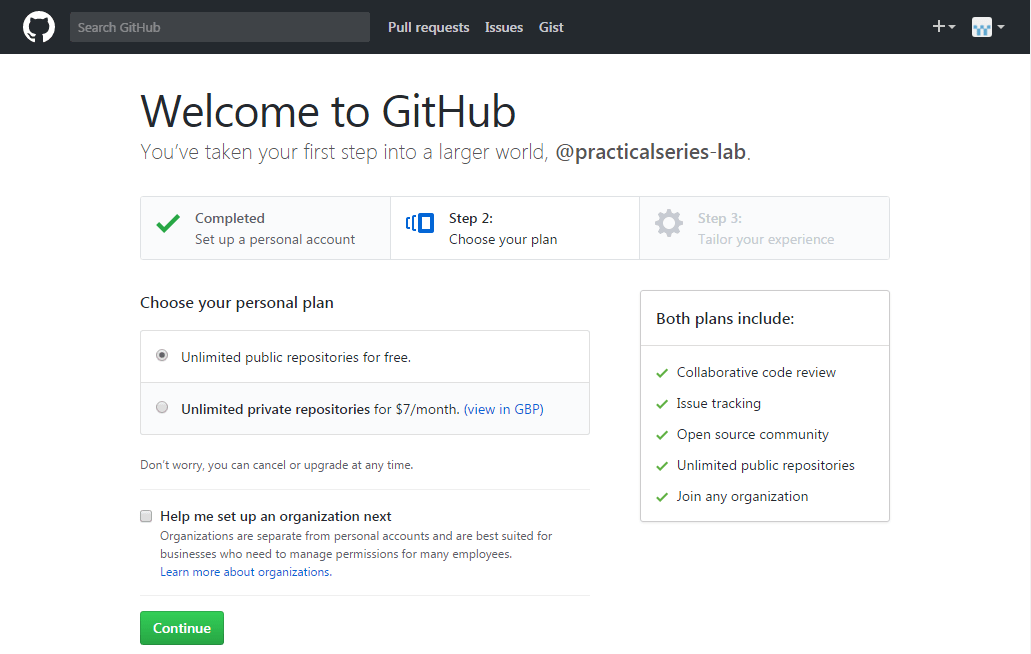
Figure 4.3 Create a personal account
GitHub accounts are free, but only if you are willing to just have public repositories. Public repositories can by seen be anyone, anyone can access the repository and copy anything that is in there. It is entirely public.
If you want the facility to have private repositories, you must pay for the privilege. Private repositories can only be viewed by you and people you give permission to.
For the time being go with the free option. You can upgrade at any time.
Click .
The next screen just asks for some personal information, supply whatever you want and click or click if you don’t want to supply any information.
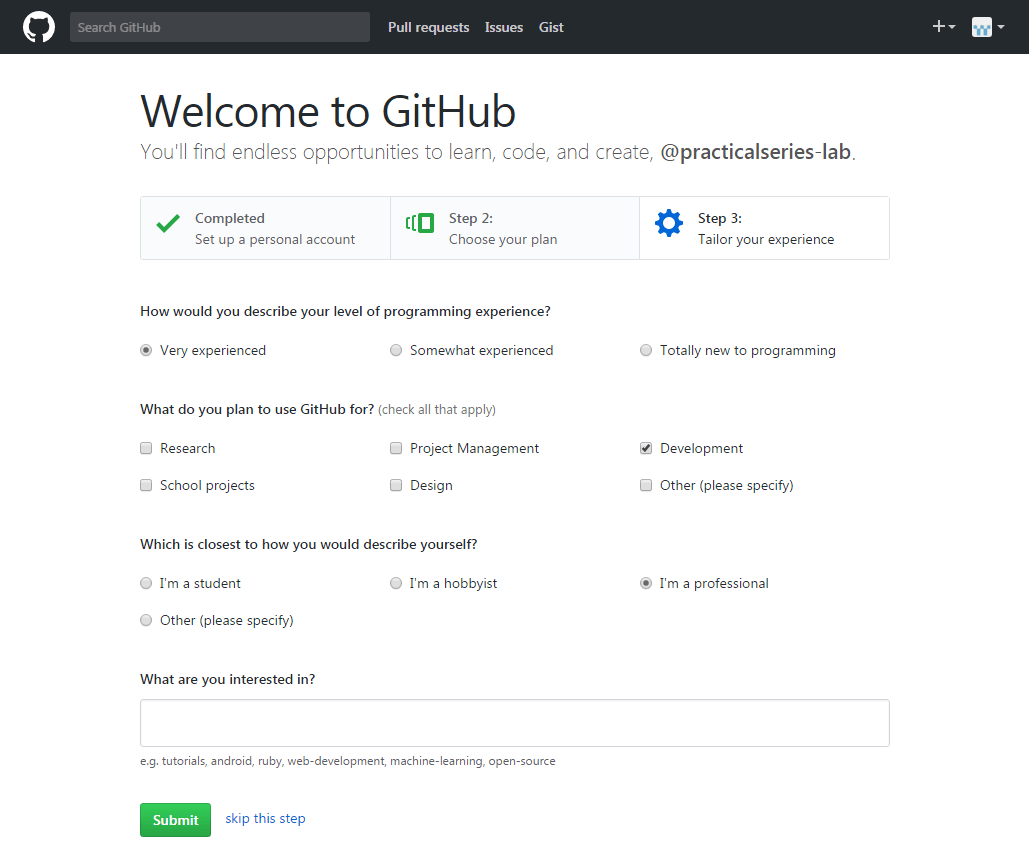
Figure 4.4 Experience page
After this you will be taken to the newsfeed (landing) page for your new account. Mine looked like this:

Figure 4.5 Newsfeed page
The next thing to do is check your emails and verify the email address you supplied. GitHub will have sent an email to the address you gave. This was mine:
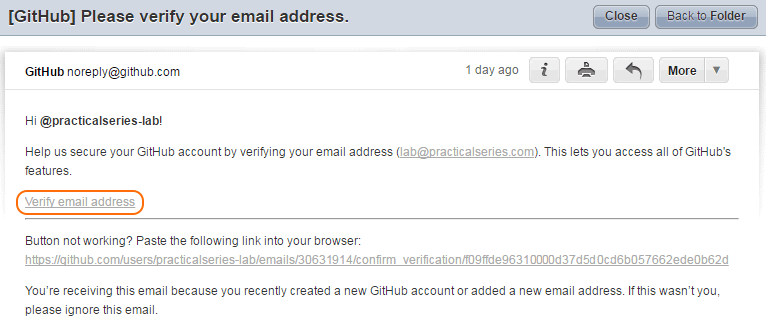
Figure 4.6 Email verification
Click the link and this will take you back to your profile settings page. My profile page is shown in Figure 4.8.
- The profile settings page can be accessed by clicking the dropdown next to the small space invader icon
 at the top left and selecting settings (Figure 4.7):
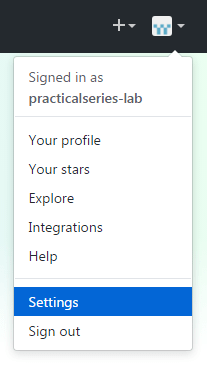
Figure 4.7 Account settings
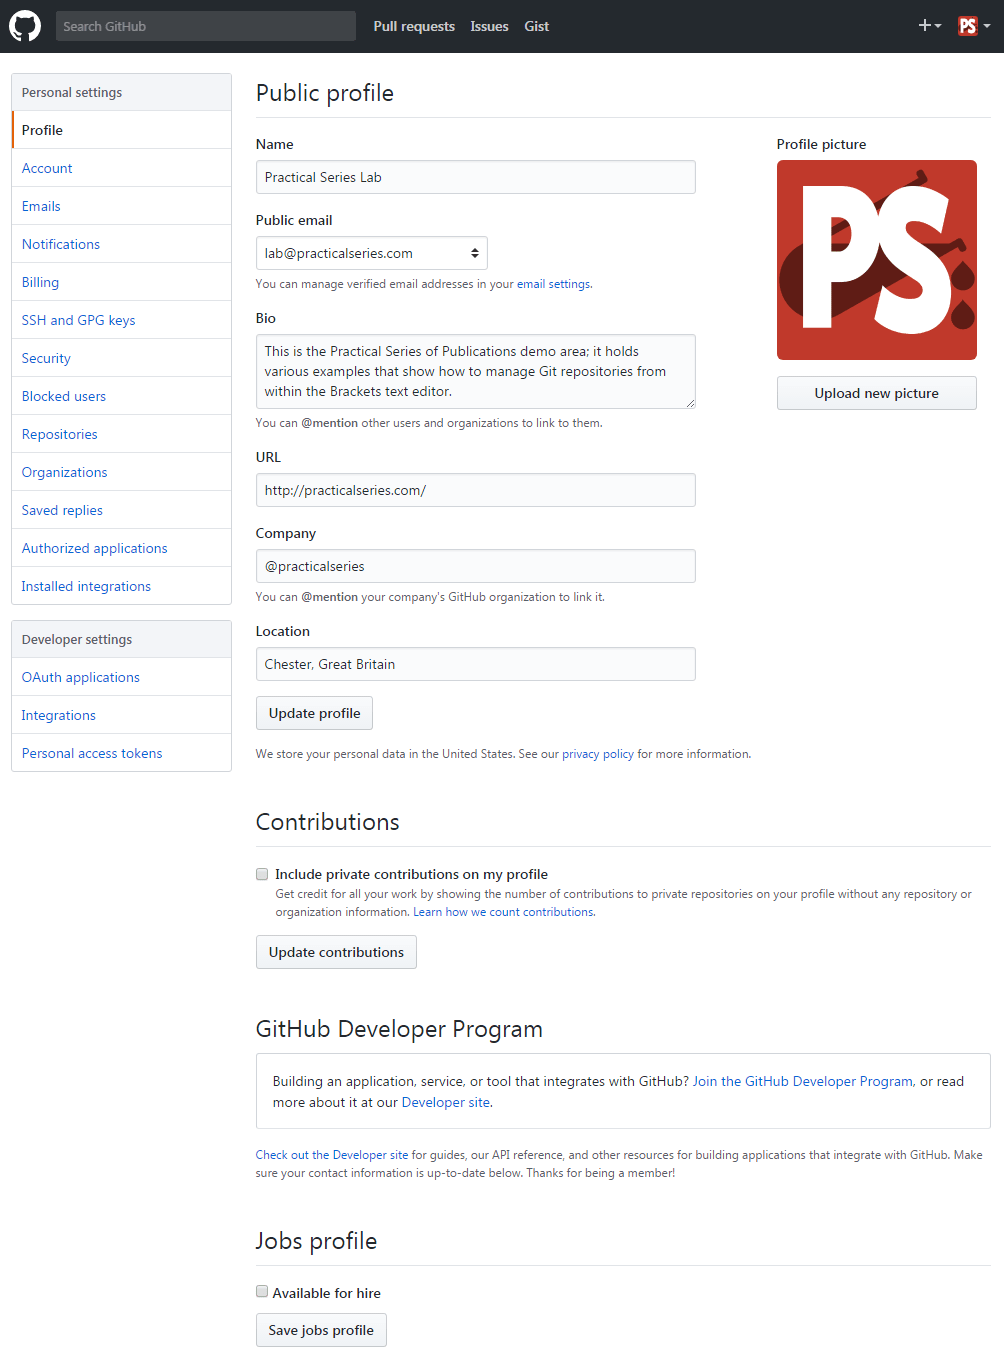
Figure 4.8 GitHub profile settings
If you have not yet verified your email address (see above), GitHub will complain and you will have a warning at the top of your profile settings.
Populate this page as you will. If you upload a picture, it will replace the space invader icon in the top right. If you do change your picture, you must also click to make the change permanent.
There’s not much more to say, click through the options on the left sidebar to set things up as you require.
Don’t do anything with , I discuss these in the next section.
One thing you may have noticed on the practicalseries-labs profile page is the @practicalseries entry under ; this is a way of listing other users, I also have the GitHub account practicalseries, and I have my own account mgledhill (that’s me, top left, handsome chap)—you will find the repository for the development of this website publication under my mgledhill profile.
