5.1
Installing Brackets-Git
The first thing to do is install the Brackets-Git extension in Brackets. Start Brackets and open the Extension Manager by clicking the Lego brick on the right hand sidebar (highlighted in Figure 5.1):
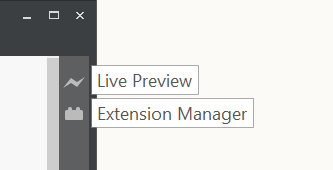
Figure 5.1 Brackets sidebar
In the Extensions Manager, with the tab selected, type brackets-git into the search box; the results will be:
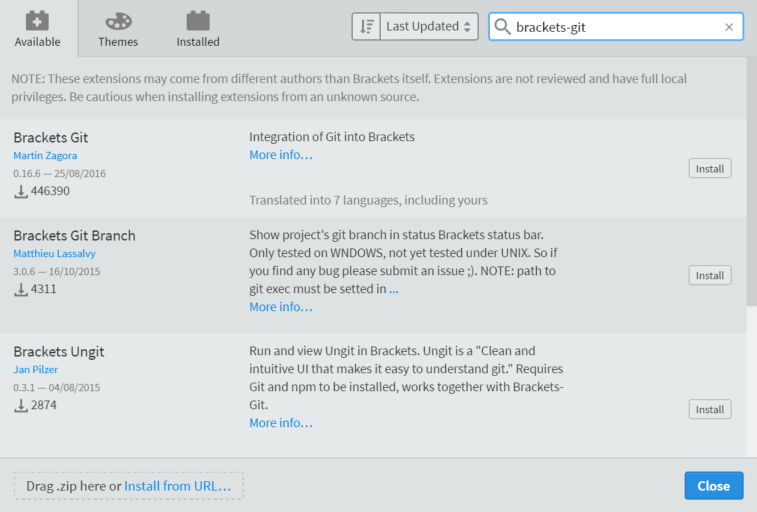
Figure 5.2 Search Brackets extensions
One of the extensions in the resultant list will be called Brackets-Git (by Martin Zagora), in my case it is top of the list. Click the button next to it.
The installation process has a Git Settings screen with several tabs. The only things I changed were on the first screen (Figure 5.3), I activated ; this activates the reset to commit functionality of Git within Brackets (see § 7.2). I also selected the , this allows the Git Bash terminal to be started from the sidebar, it puts an icon ( ) in the right sidebar.
The installation process has a Git Settings screen with several tabs. The only things I changed were on the first screen (Figure 5.3), I activated ; this activates the reset to commit functionality of Git within Brackets (see § 7.2). I also selected the , this allows the Git Bash terminal to be started from the sidebar, it puts an icon () in the right sidebar.
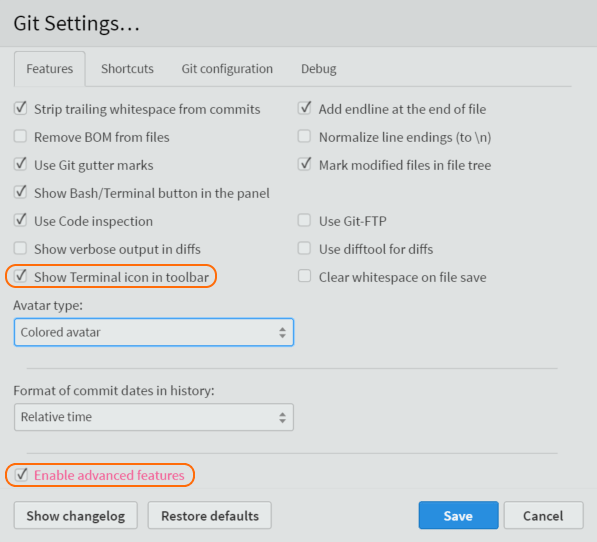
Figure 5.3 Brackets-Git install—Features
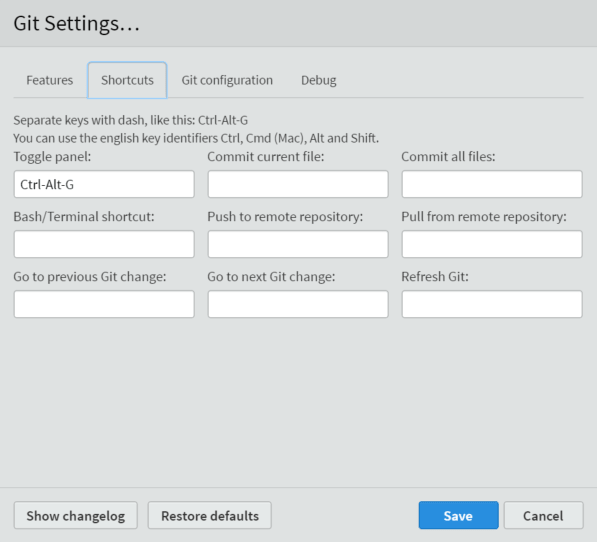
Figure 5.4 Brackets-Git install—Shortcuts
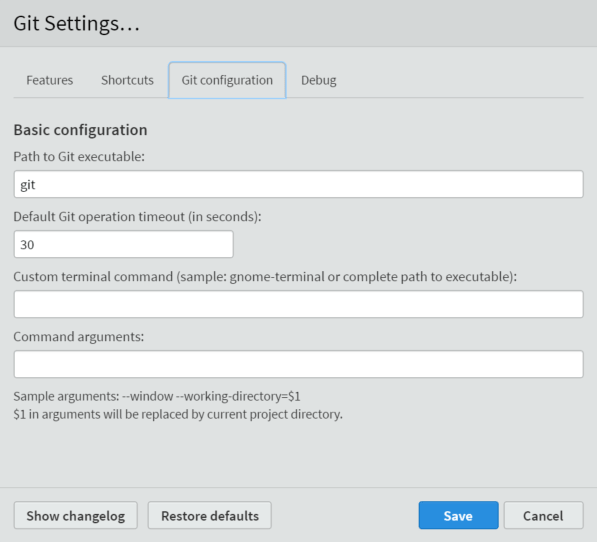
Figure 5.5 Brackets-Git install—Git Config
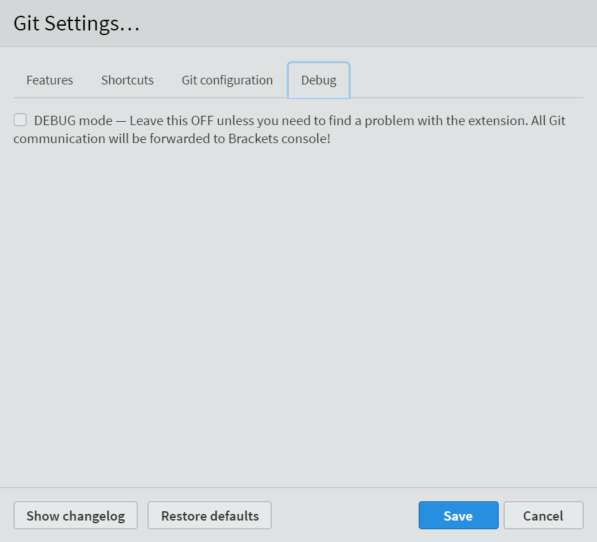
Figure 5.6 Brackets-Git install—Debug
Click and allow Brackets to restart.
One other extension that is useful with Brackets and Git is the Markdown Preview extension (GitHub uses a slightly customised form of Markdown for things like README.md files, the Markdown Preview shows how these files will look on a GitHub page).
To get the Markdown Preview extension, reopen the extension manager and search for markdown preview. The one you are looking for is by Loïs Bégué:

Figure 5.7 Markdown Preview extension
Brackets will now have a Brackets-Git icon and a Markdown Preview icon on the right sidebar (Figure 5.8), it will also have a Git Bash terminal icon if you selected that particular option:
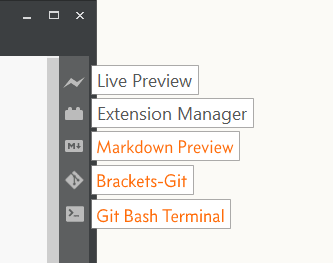
Figure 5.8 Brackets-Git extension icon
The Git Settings (Figure 5.3-Figure 5.6) can be accessed at any time by clicking .
The Brackets-Git extension itself has its own GitHub repository and can be seen here. Brackets itself also has its own GitHub repository here.
