5.2.1
Create a new repository using GitHub
Go to the GitHub website and login to your account (the one you created in § 4.1). This will take you to your newsfeed page, mine looks like Figure 5.9.

Figure 5.9 My GitHub newsfeed page
We already have a repository (lab-1st-repo) that we made in the last section, but I’m going to make a new one. I’m going to call it:
lab-brackets-git
To do this, click either the button (highlighted) or the button (they both do the same).
Either option will move you to the Create a new repository page. I’m going to select the following options (Table 5.1 and Figure 5.10):
| PROPERTY | VALUE | |
|---|---|---|
| Repository name | lab-brackets-git | |
| Description | A repository to demonstrate how to use the brackets-git extension for the Brackets text editor | |
| Public/private | Public | |
| Initialise with README | Ticked (selected) | |
| Add .gitignore | None | |
| Add a license | None | |
| Table 5.1 lab-brackets-git settings | ||
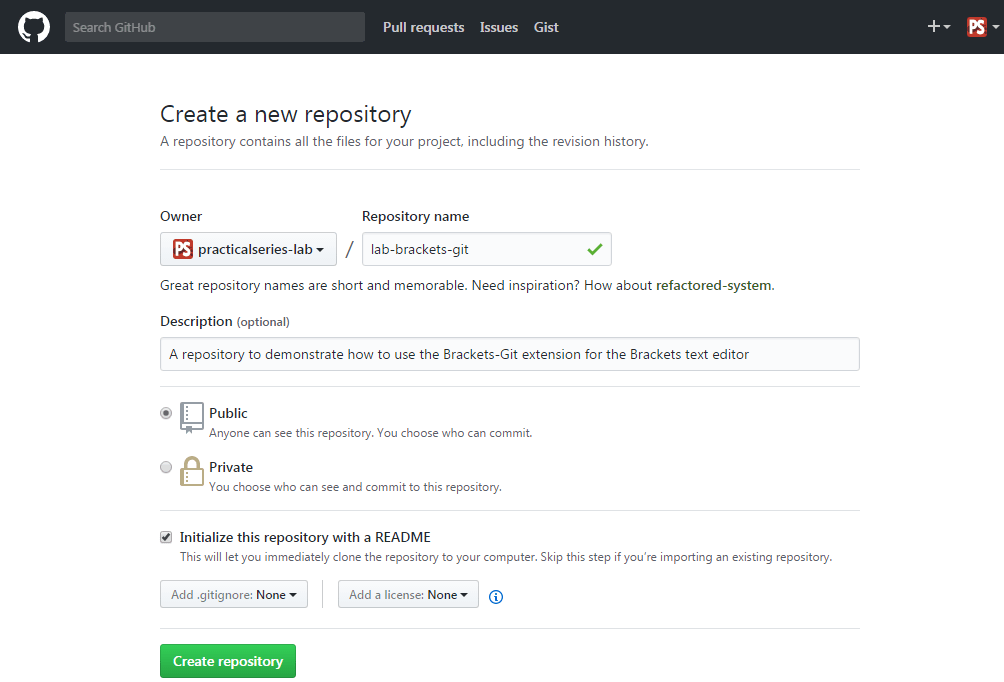
Figure 5.10 GitHub—Create a new repository
Click and, just like last time, it will automatically open the repository page:
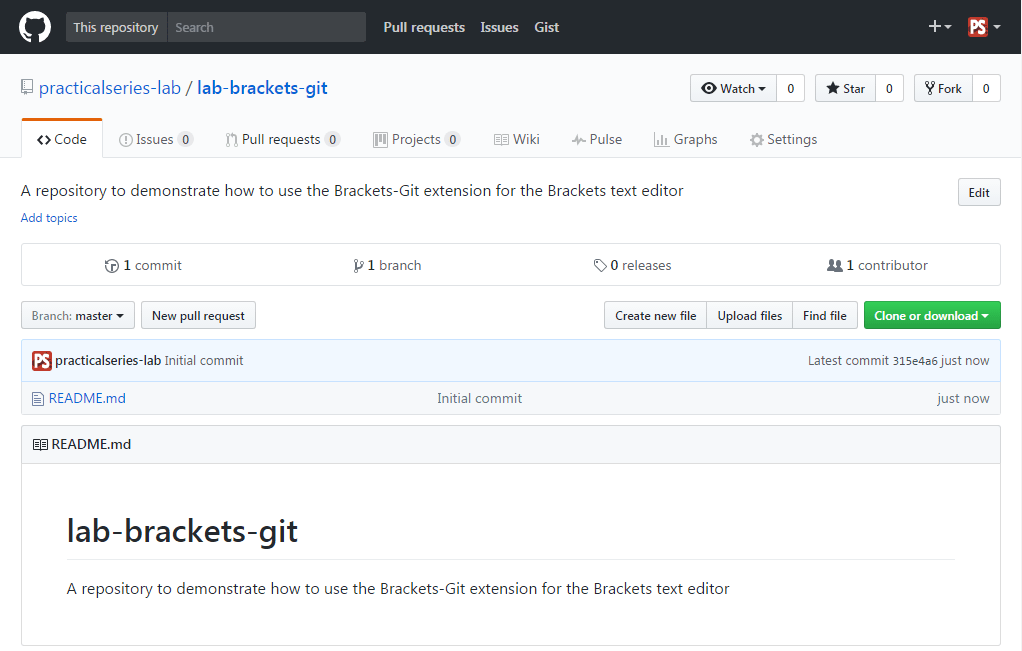
Figure 5.11 GitHub—lab-brackets-git repository page
