21

21Displaying code fragmentse

21.1

Getting and configuring
Google Prettify

Google Prettify is only available through the GitHub web site. You don’t need a GitHub account to get it, the Google Prettify GitHub site (or repository as it is more properly called) is available to everyone, the problem is that if you haven’t seen GitHub before it will confuse the hell out of you.

To make things worse, I’ve had to er... let’s say, “enhance”, the source code to er..., “optimise” it for the web template†1.

I’ll go through this step by step in the following sections. It is a bit messy.

Again, if you’ve downloaded the web template, you already have the modified version that works. If you just want to use it, without knowing the details of the modifications, just go to § 21.2.

I tend to find with these types of plugins, that the explanations for how they work are a bit lacking, they tend to assume that you know a good deal more than you do

I’ve notice something similar with engineers (young ones), they spend ages working on something and by the end they know it backwards; then, when it comes to writing the manual, they have a tendency to skip over the bits that they are so familiar with, because they think them obvious — they assume that everyone knows what is obvious to them.

That’s why I’m going through this in such detail. I couldn’t always figure things out from the information I could find and I had to do a lot of experimenting. I’m explaining everything from scratch in the hope that it will be clearer for you than it was for me.

†1 A less gracious person may say it didn’t work and I had to fix it.

21.1.1

Downloading Google Prettify

Go to the Google Prettify GitHub page here (a Google search for google prettify will find it), it looks like this:

Figure 21.2 - Prettify on GitHub
Figure 21.2   Prettify on GitHub

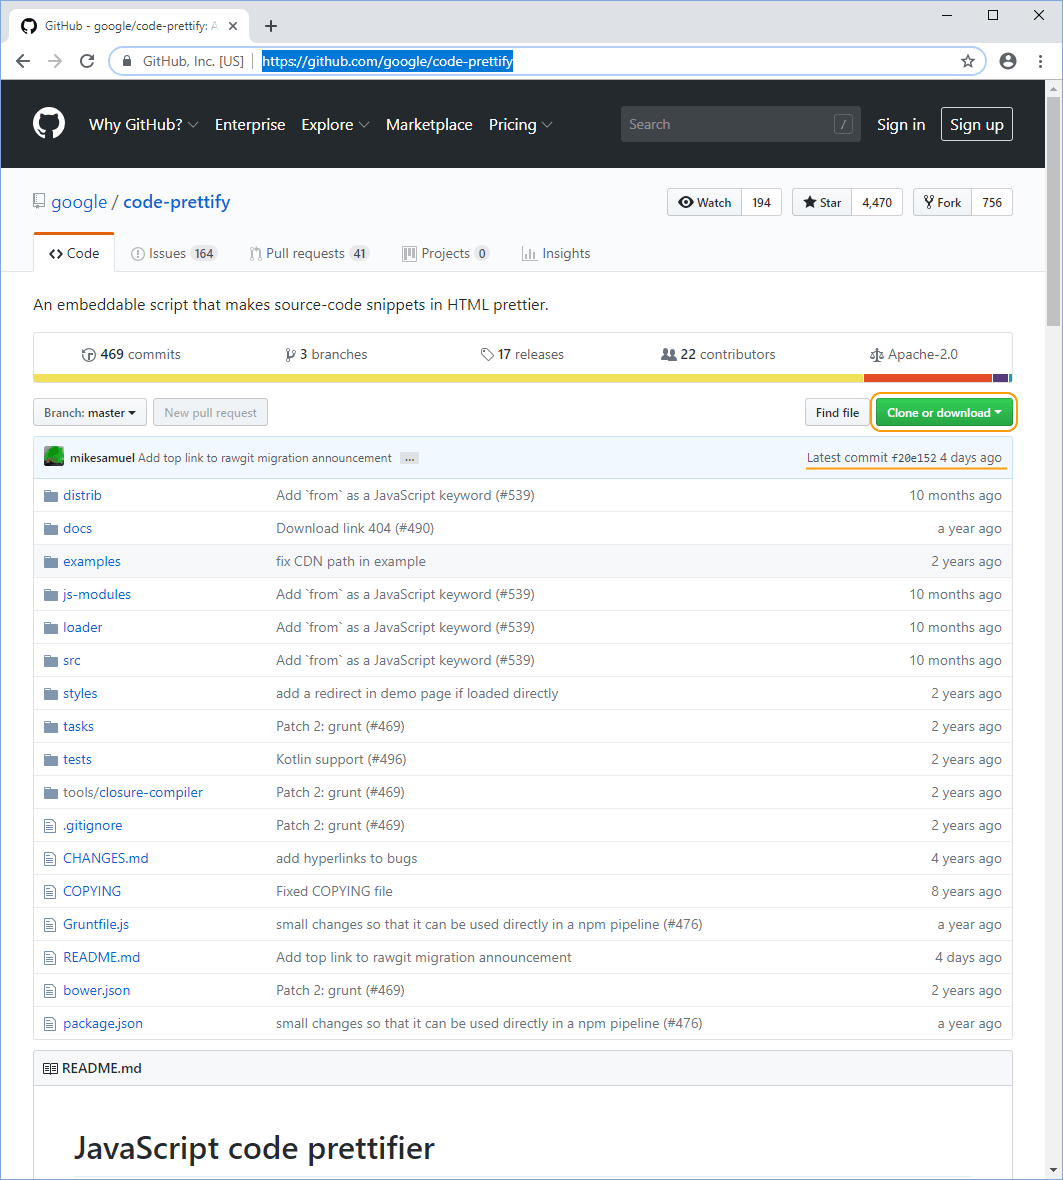
GitHub is a software storage and version tracking system and it is complicated (I’ve written at great length about the subject here), what we are seeing here is the latest release of the Prettify repository; you can tell it is the latest version, it says so in the blue band (I’ve underlined it). It says:

Latest commit f20e152 4 days ago

A “commit” is a fixed point in the development of the software; usually it means the software has been released. In this case it says it is release f20e152 this is a unique number (it looks like a random hexadecimal number) and it is a reference to the current commit†2. At the time of writing (March 1st, 2019) the commit was made four days earlier (this is the last time the software was modified).

Repositories always open at the most current commit point (i.e. the latest version of the software).

I’m not going to dwell too long on GitHub, just accept that it is an online storage and version tracking site used by pretty much every software developer in the world. It is very powerful and very useful (once you learn how, again I refer you to my other publications: here). If you are serious about web development, I recommend that you learn it and use it.

†1 These commit numbers are of course not random numbers. They are a checksum carried out of all the files in the repository, plus a header that contains other information (the commit numbers that immediately preceded this commit, plus some information about directory structures &c.).
A checksum is basically a function applied to the binary value of every byte in a file that gives a reproducible figure that can be used to check to see if two files are the same or to identify data corruption within a file
The commit number used by GitHub is a checksum encode by using the SHA-1 algorithm (Secure Hash Algorithm 1). This produces a 20-byte (40 digit) hexadecimal number that uniquely identifies a commit. The commit number shown is just the first seven digits of the full commit number. This is usually enough to uniquely identify a commit (even on very large projects).
The first seven digits of a commit number gives 268 million unique values, the full 20 byte number has 1.5×1048 unique values (a similar number to the quantity of atoms that make up the Earth); these values also only apply within a repository (two different repositories can have the same commit number, they don’t interfere with each other).
The chance of a duplicate 20 byte commit number is vanishingly small, even with just the first seven digits it won’t happen on any project you are likely to be working on.

All we need from the Prettify repository (sometime just called a repo — see, you’re already picking up the lingo, you’ll be using Linux before you know it) is a copy of the code.

The easiest way to get this is to click the big green clone or download button (highlighted in Figure 21.2).

In the pop-up, click the download zip button.

Figure 21.3 - GitHub download repository
Figure 21.3   GitHub download repository

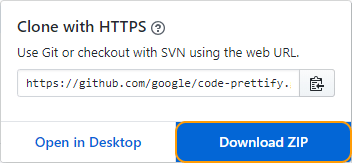
This downloads a zip file called: code-prettify-master.zip

Copy this file somewhere and extract it, it will look remarkably similar to the GitHub web page:

Figure 21.4 - Prettify download code (extracted)
Figure 21.4   Prettify download code (extracted)

There is some logic to this, we asked for a download of the repository and that is exactly what it gave us. The problem is knowing where to look for things. Usually, this takes a bit of perseverance — fortunately for you I’ve already done it.

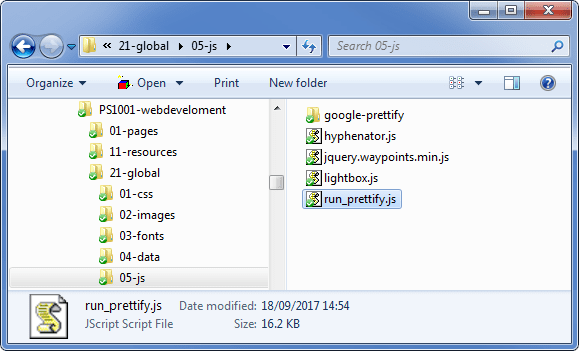
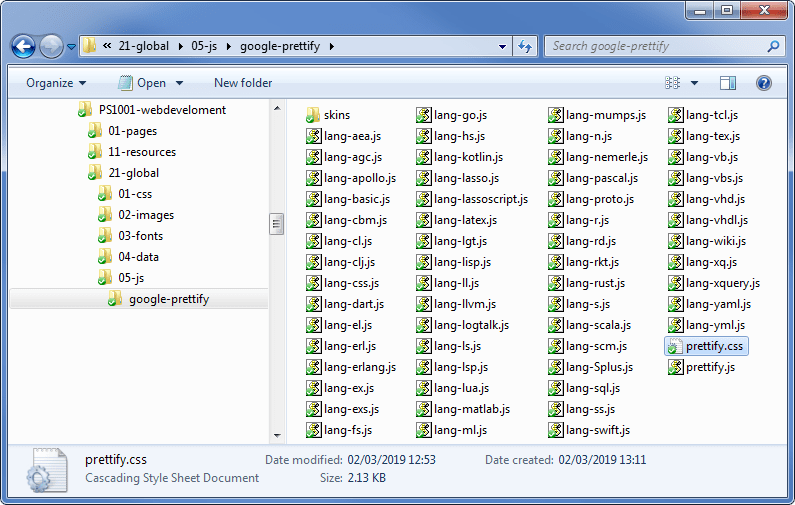
The bit we need is everything in the loader folder, it is full of .js files with the odd .css file as well:

It looks like this:

Figure 21.5 - Prettify loader folder
Figure 21.5   Prettify loader folder

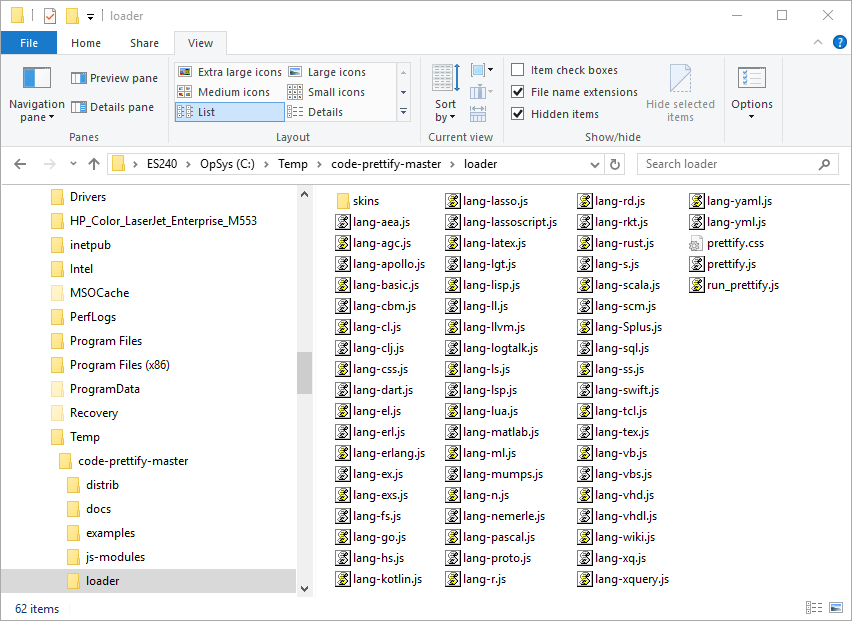
The bulk of these files are language plugins for Prettify, lang-pascal.js allow Prettify to syntactically interpret Pascal code. We don’t actually need all those files, the chance of me needing to display MUMPS†3 code (lang-mumps.js) is remote to say the least.

†1 MUMPS: Massachusetts General Hospital Utility Multi-Programming System— go figure.

We don’t need all of them, but they are very small and I tend to keep them, just in case at some time in the future I do need to show some MUMPS code: it looks like this in case you were wondering:

hello() w "Hello, World!",! q

The three files we definitely do need are:

  • run_prettify.js

  • prettify.css

  • lang-css.js

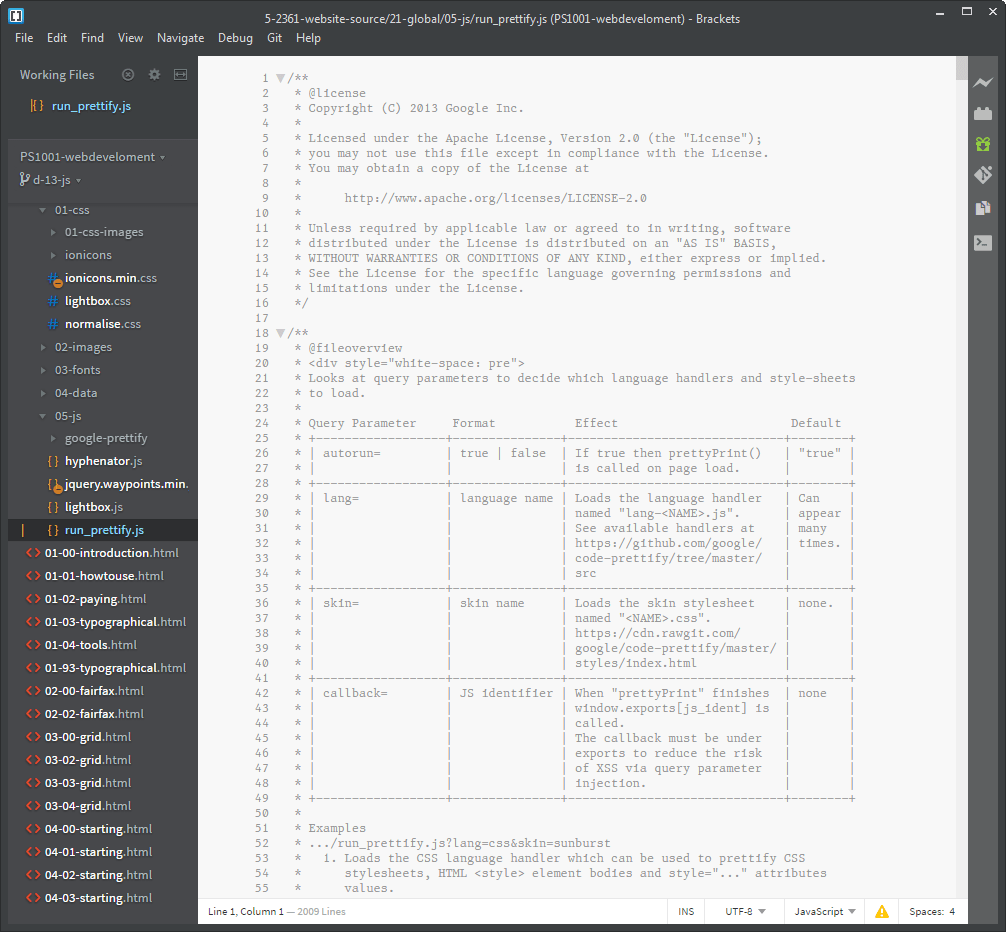
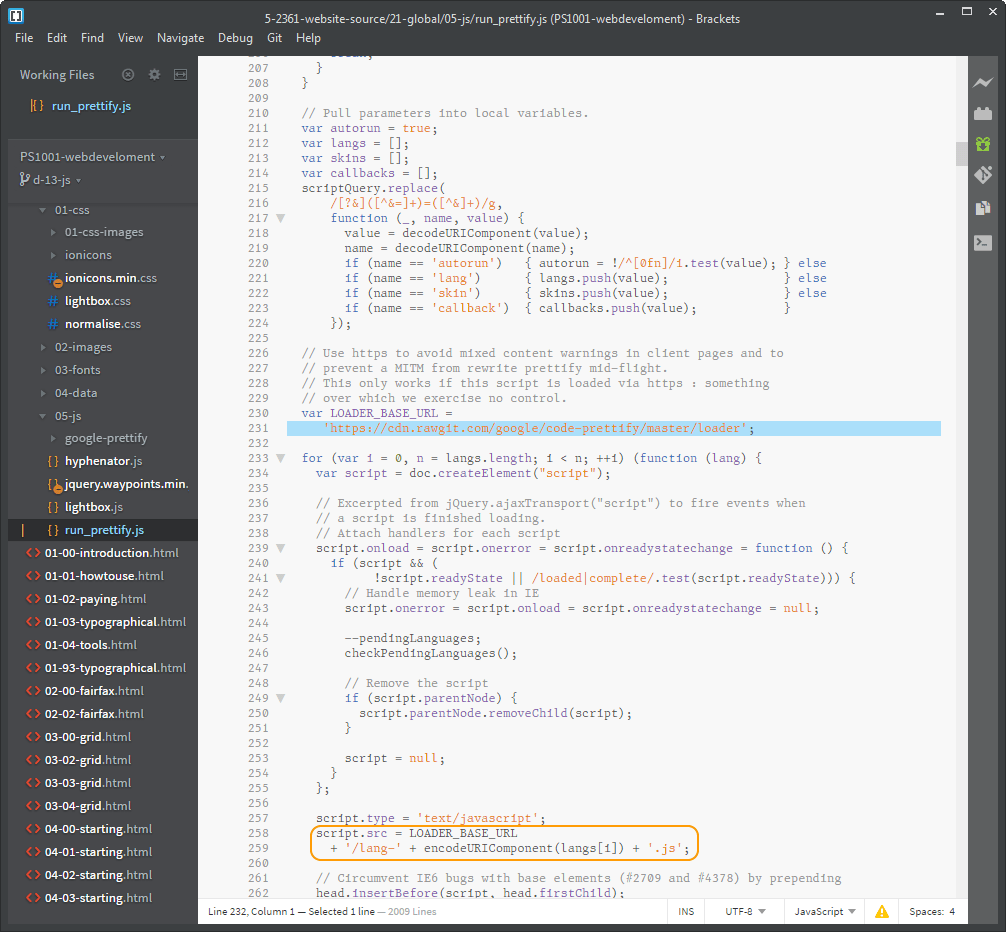
The main file we need is run_prettify.js this is the JavaScript that interprets the code. Prettify can interpret various programming languages by itself:

Bash, C, Coffee, HTML, JavaScript, Pearl , Python, Ruby and XML,

Other languages are supported by including the relevant lang-....js files, there is a full list in § 21.2.3, we need the lang-css.js file for just this reason, Google Prettify doesn’t support CSS by default so we need to add it.

Finally, prettify.css. This is where we’ll apply the styles that syntactically colour the code to look like Brackets; this is where we apply the colours we want.

I want to move the files into our website directory structure, and I’m going to break my own rules in doing so (I’m putting a CSS file in the JavaScript folder, it is sensible to keep them together). This is the folder arrangement I’m using

Figure 21.6 - Prettify folder locations in the website
Figure 21.6  Prettify folder locations in the website

Create the google-prettify folder under 21-global/05-js.

Now select all the files extracted from the zip file that are in the loader folder (Figure 21.5), copy them all and past them into the new google-prettify folder in the web template.

At this point I need to explain something, all the files we have copied are minimised files, all the comments, spaces and line breaks have been taken out to make the file smaller (see § 6.9.5), this also makes them unreadable. I don’t care so much about the lang-....js files, I just use these and don’t need to see what is inside them; but I want to modify run-prettify.js and prettify.css so I want the un-minimised versions.

For the time being delete run_prettify.js and prettify.css from the new folder — yes, delete them.

After the deletions folder should look like this:

Figure 21.7 - Files in the website’s google-prettify directory
Figure 21.7  Files in the website’s google-prettify directory

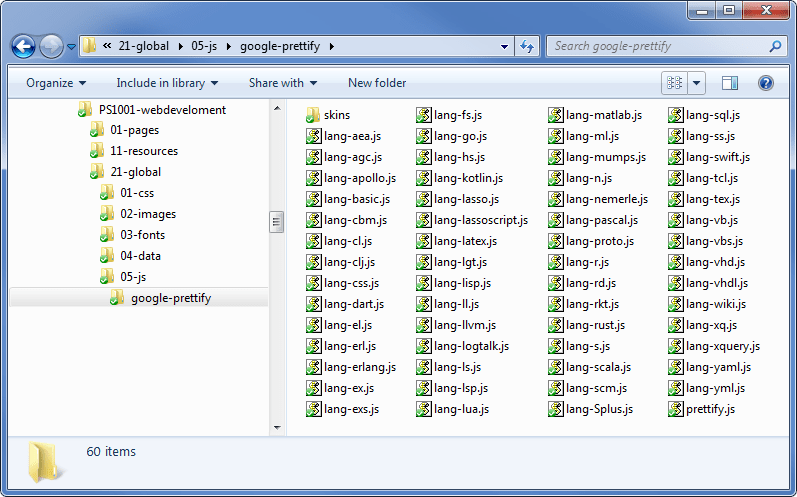
It has 59 files and the folder called skins.

Now to get the un-minimised versions of the run_prettify.js and prettify.css files.

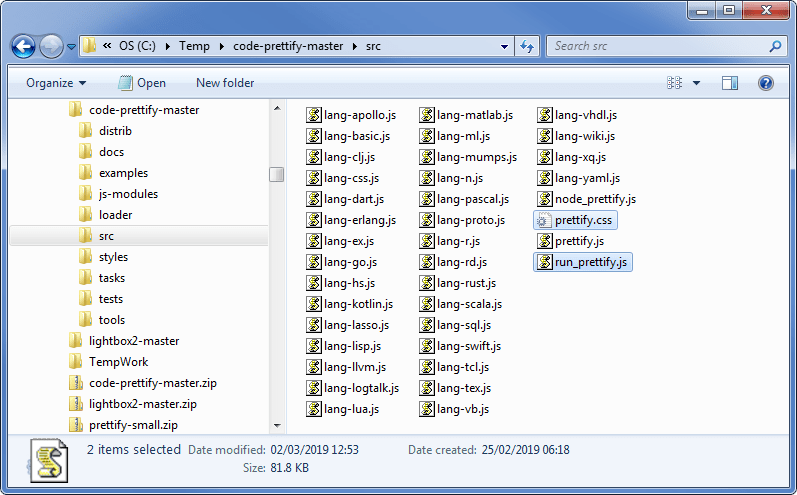
We get these from the uncompressed zip file we downloaded from GitHub, this time it is the src folder:

Figure 21.8 - Google-prettify src directory
Figure 21.8  Google-prettify src directory

The two files need to be put in different locations:

  • Copy run_prettify.js and paste it into the directory
    21-global/-05-js

  • Copy prettify.css and paste it into the directory
    21-global/-05-js directory/google-prettify

The final set of files should look like the following:

Figure 21.9 - Final 21-global/-05-js directory
Figure 21.9   Final 21-global/-05-js
Figure 21.10 - Final 21-global/-05-js/google-prettify directory
Figure 21.10   Final 21-global/-05-js/google-prettify

21.1.2

Modifying Google Prettify

You may be wondering what the difference is between run_prettify.js and prettify.js and why I’m not using prettify.js?

Well, the run_prettify.js is a version of prettify.js that runs automatically after the page has loaded (to use prettify.js the function within it has to be called from within the web page to make it run, this could be done from within our script.js file or even directly in the HTML).

The run_prettify.js also automatically loads any language files (any of the lang-....js files) that we specify.

The long and short of it is that using run_prettify.js is much easier and more convenient than using prettify.js, the code within the two does the same thing though.

There is a problem with run_prettify.js however; the basic way that all this works is that when we tell Google Prettify to display a fragment of code, it analyses that code and identifies the components within it, it is looking for keywords, classes, constants, strings, properties &c. it then puts a <span> element with a particular class around each type of component, and that is all it does.

The syntactic colouring is then applied with a CSS file, the CSS just applies a colour to each of the classes assigned by run_prettify.js such that keywords get one colour, constants another, classes a third &c.

Now, the problem:

The trouble starts with run_prettify.js; it tries to be a bit too clever. The default CSS file that applies the syntactic colouring is the one we’ve been copying backwards and forwards: prettify.css and we have a copy of it in our very own google-prettify directory.

The problem is that run_prettify.js doesn’t use our copy of prettify.css. It loads one from the GitHub server, specifically from the address: https://cdn.rawgit.com/google/code-prettify/master/loader.

“Well,” you might think, “that’s not a problem, well just load our version and that will take priority”.

That’s what I thought too. Didn’t work though. And then I realised, I loaded my version of prettify.css in the <head> section of the web page and I loaded it after the <script> for Google Prettify thinking what comes after take priority right? — Wrong. It does normally, but it is the JavaScript that, in this, case is loading the prettify.css file from the GitHub server; and the first thing that JavaScript does is wait for the page to load before it does anything. The upshot is the GitHub server version of prettify.css doesn’t load until after everything else has loaded (including my version of prettify.css), so the server version comes last and takes priority over mine. — Bugger.

So, what to do?

Well, re-write the Google Prettify code, that’s what. So I did.

Now, this is going to make me look like a right clever bastard. A clever bastard who can dissect someone else’s code, even though I’m not that familiar with the programming language, fix the problem, put it all back together and have it work, just like that (bit like an engineer I suppose).

That’s not quite how it happened; see the note here.

Navigate to 21-global/-05-js and open run_prettify.js in Brackets.

It looks like this:

Figure 21.11 - run_prettify.js in Brackets
Figure 21.11  run_prettify.js in Brackets

You can tell it’s the non-minimised version.

We have precisely one line to change and that is line 231, scroll down to it, I’ve highlighted it in blue in the following image (Figure 21.12):

Figure 21.12 - run_prettify.js line to modify
Figure 21.12  run_prettify.js line to modify

What this is doing is loading the web address:
https://cdn.rawgit.com/google/code-prettify/master/loader
into a variable called LOADER_BASE_URL.

It then uses this variable in different places to load the language file and also the CSS file. You can see the language file a bit further down (highlighted in orange)

    script.src = LOADER_BASE_URL
      + '/lang-' + encodeURIComponent(langs[i]) + '.js';

You can sort of see what this is doing; it is building a source address from various components it has decoded earlier.

The LOADER_BASE_URL is the web address above:
https://cdn.rawgit.com/google/code-prettify/master/loader

It then adds lang-.

Followed by encodeURIComponent(langs[i]), this contains the last bit of the language specified when the function was called, (this is the bit that comes after the - in all those language files, in our case it will be css).

Finally it adds .js.

The whole thing is thus the equivalent of:

script.src ='https://cdn.rawgit.com/google/code-prettify/master/loader/lang-css.js'

It does the same with the CSS file a bit further down (line 277)

'https://cdn.rawgit.com/google/code-prettify/master/loader/'

Now I don’t want it looking in https://cdn.rawgit.com/google/code-prettify/master/loader/

I want it to look in our 21-global/-05-js/google-prettify directory, that is where prettify.css is.

The change is easy, modify line 231 to read:

  var LOADER_BASE_URL =
     '21-global/05-js/google-prettify';

And that is it; it is now looking at our website directory and not the GitHub server.

In Brackets the final thing looks like this:

Figure 21.13 - Modified run_prettify.js
Figure 21.13  Modified run_prettify.js

We still need to modify the CSS, but that comes later. This is the only modification we need to make to the JavaScript.

21.1.3

Not a clever bastard, just a lucky one

A note by the author

Truth be told, I didn’t wade through all that code and cleverly decide what the problem was — I was lucky.

I first started this website in 2016, but I was working on some of the ideas way before that and one of the things I’d been looking at was syntactically displaying code fragments, and I found Google Prettify, but I didn’t find it on GitHub, it was on a Google code archive site, it is still there: google-code-prettify. The actual code was under the download link.

I downloaded the file: prettify-4-Mar-2013.tar.bz2.

I installed it in the website just as it was and it ran perfectly, I could load my prettify.css file and it all just worked, it was using my prettify.css.

Later on, when I was building the site for real, I loaded the latest version at the time (it was on GitHub by then) it was the 28th April 2015 release.

When I loaded this release on the web site, it stopped using my colours, it was ignoring my prettify.css file and I didn’t know why.

Since I had two versions of run_prettify.js, a 2013 version that worked and a 2015 version that didn’t, I decided to see what the differences were.

I just compared the .js text files. Most of the changes were to the comments so I could ignore those, and there were only a couple of other differences and I could tell (from the comments) that these were to do with the addition of new language files.

The only thing that looked significant was this:

Figure 21.14 - Comparison of earlier (left) and later (right) run_prettify.js files
Figure 21.14  Comparison of earlier (left) and later (right) run_prettify.js files

The 2013 file was looking at:
'https://google-code-prettify.googlecode.com/svn/loader';

The 2015 file at:
'https://cdn.rawgit.com/google/code-prettify/master/loader';

When I tried to go the top address in a web browser, I got a 404 error (URL not found). The second one returned some kind of access error (it was there, but I wasn’t allowed to view it — fair enough).

Then it dawned on me, the original file (2013) was trying to load files from an address that no longer existed (it had all been migrated to GitHub), it couldn’t load the CSS file, because it wasn’t there. If it couldn’t load the file, it couldn’t overwrite mine so mine took precedence.

The new site had a perfectly valid web address with the CSS file in residence and so my file was overwritten.

That’s how I figured it out. Just luck really — story of my life.


End flourish image