21.3.1
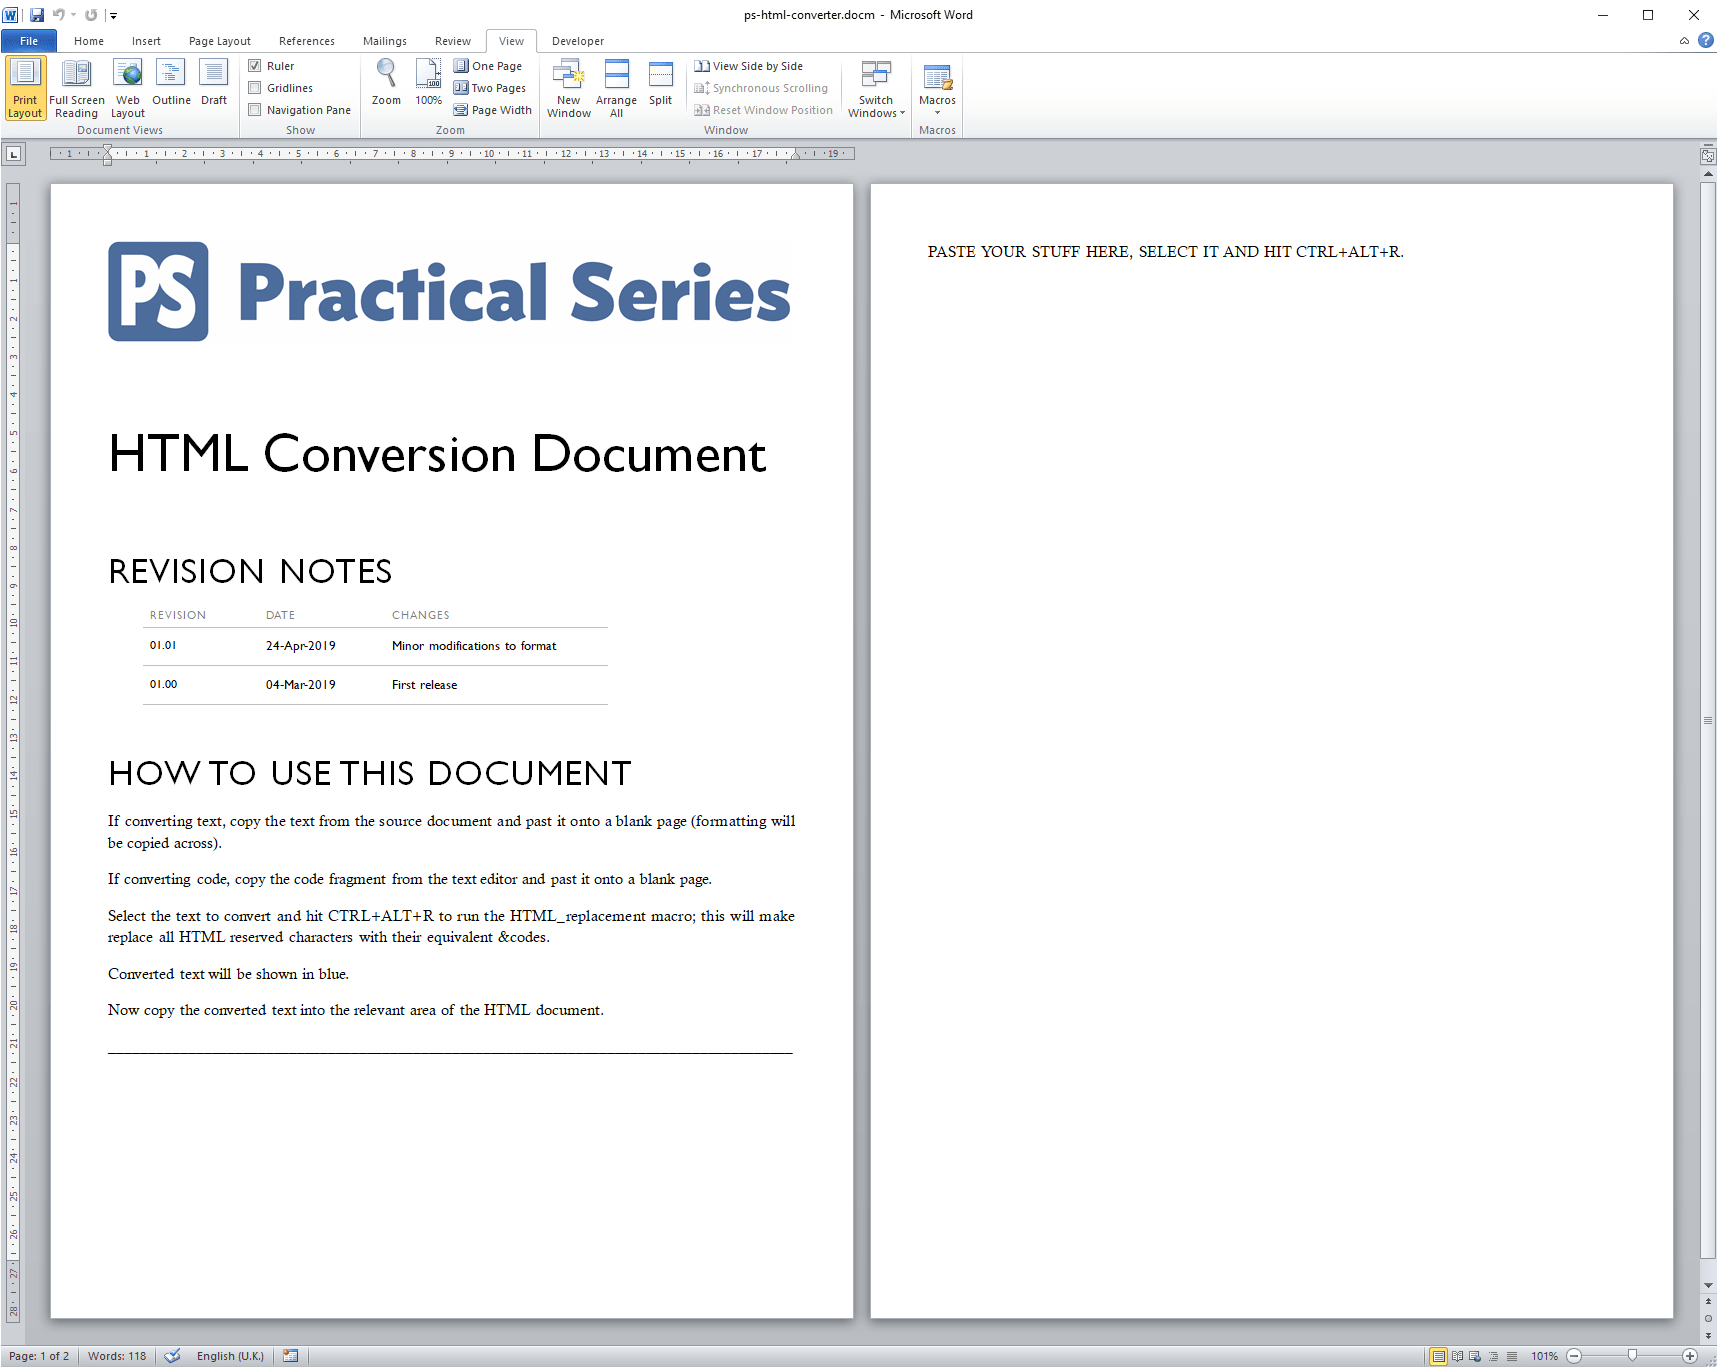
The problem with displaying code fragments
Let’s say for example that I want to display the following bit of HTML code:
<p class="hyp">Paragraph 1</p>
<p class="hyp">Paragraph 2</p>
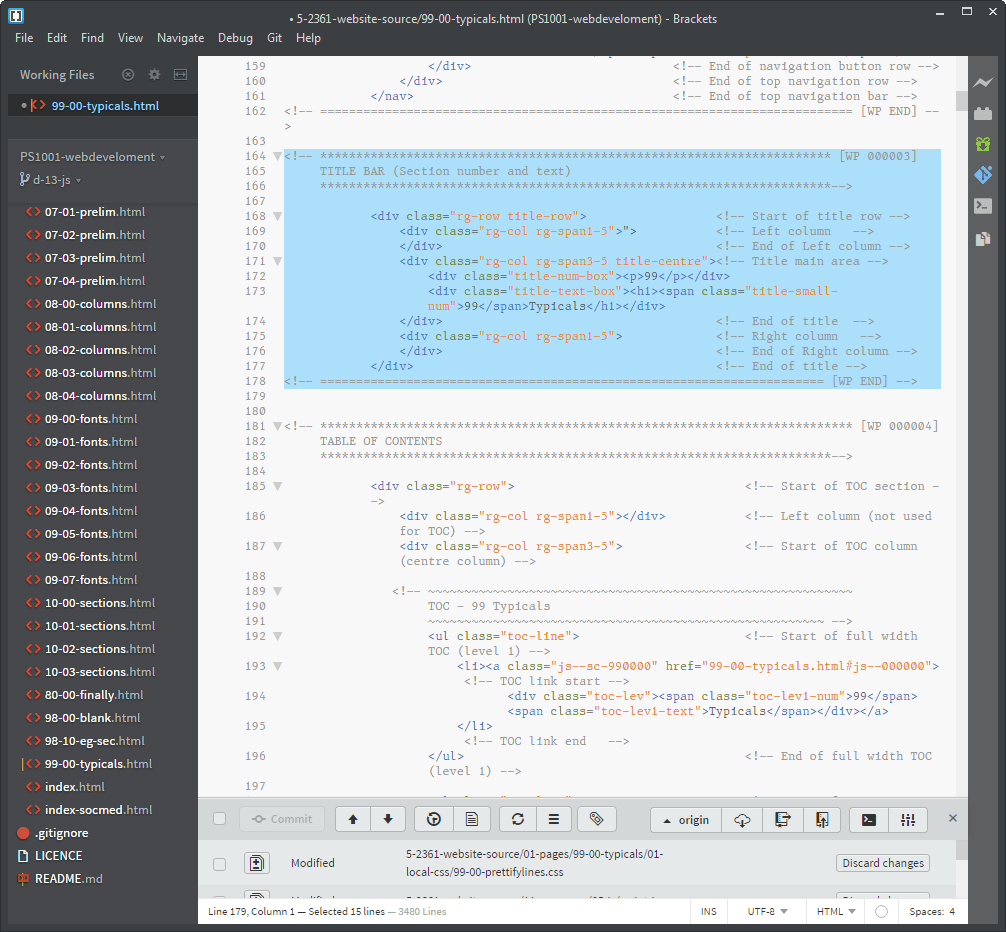
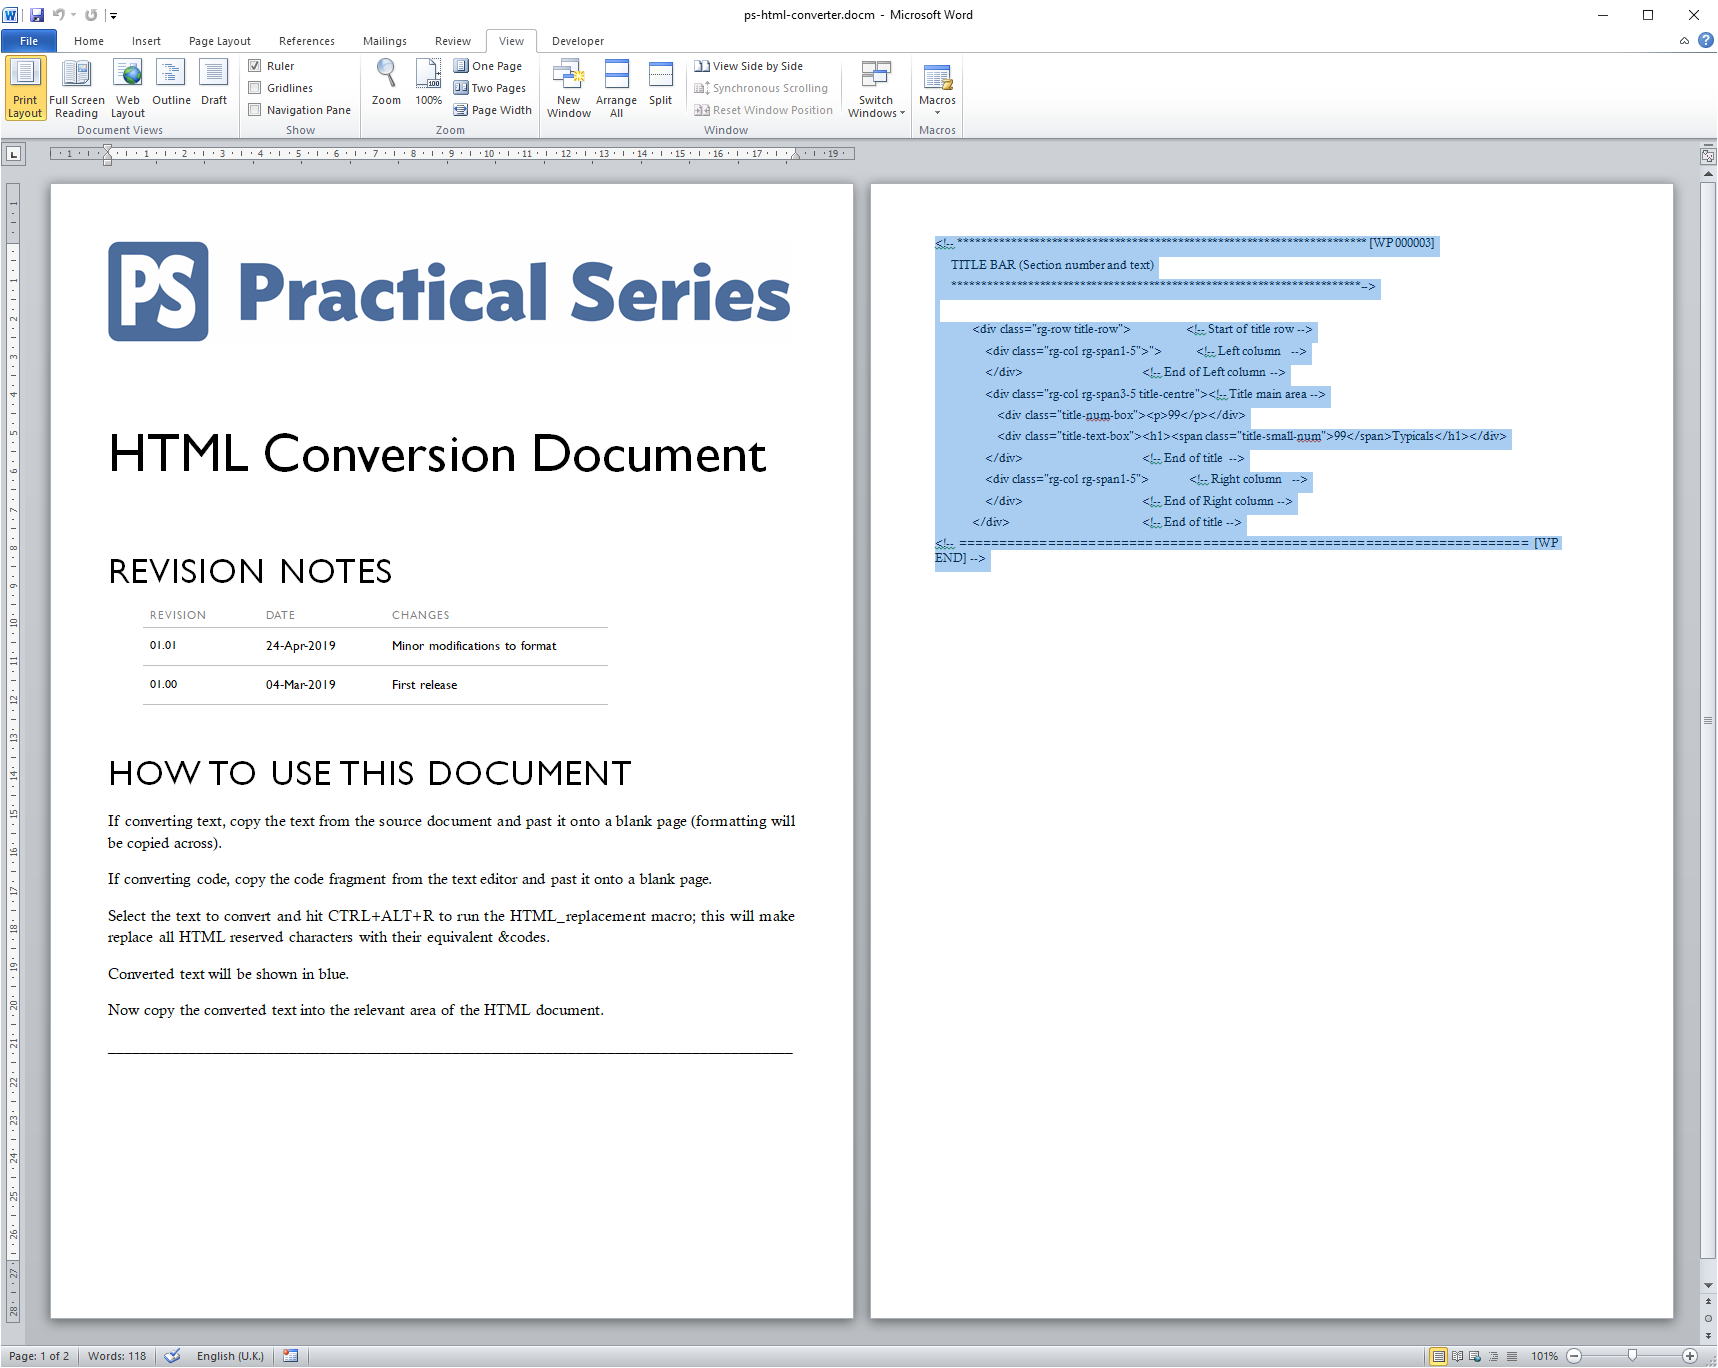
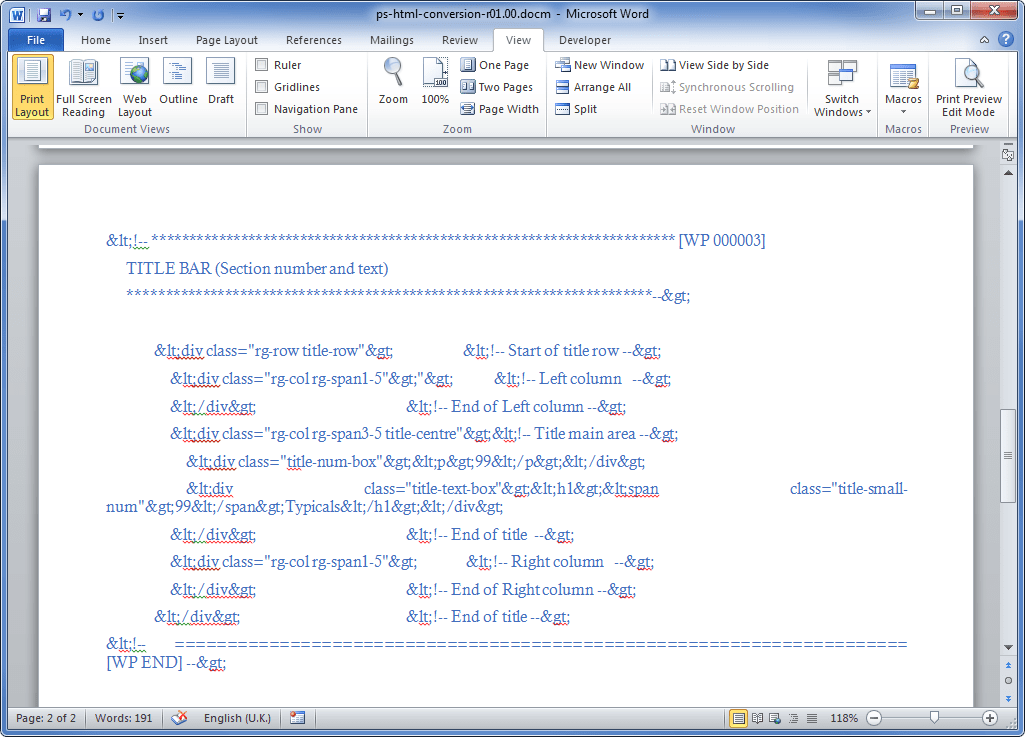
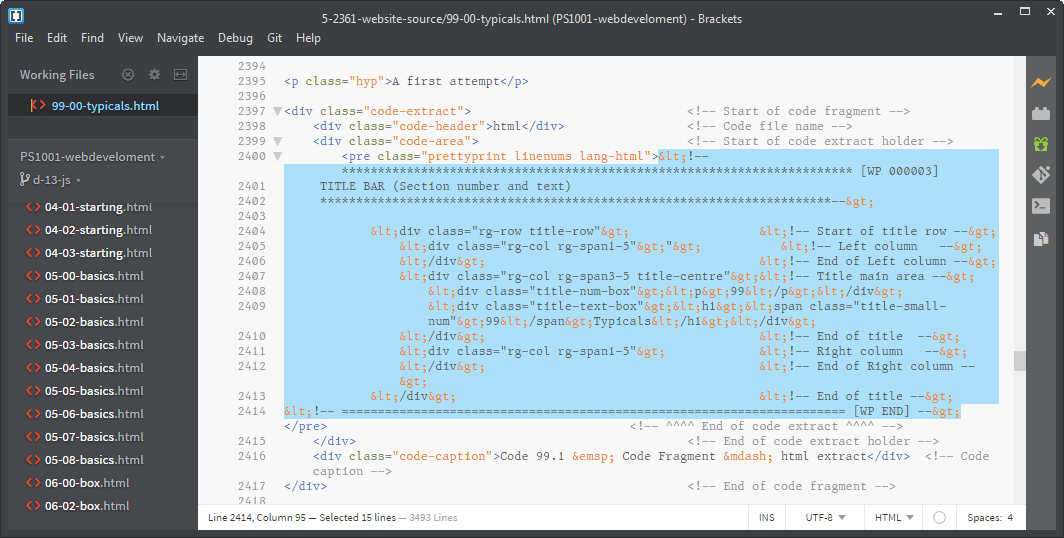
And let’s say I add it to a <pre> element on the 99-00-typicals.html page, thus:
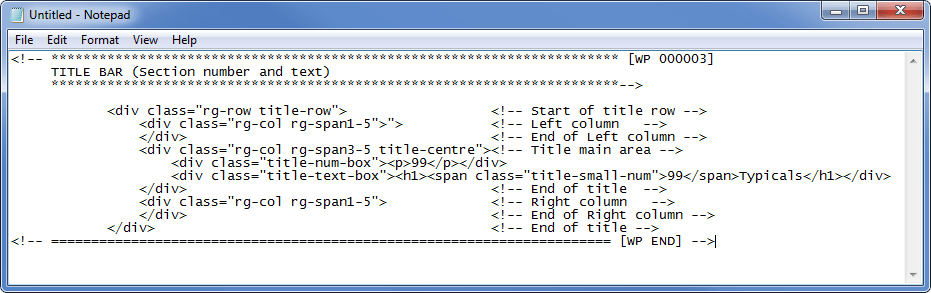
<p class="hyp">A first attempt</p> <div class="code-extract"> <!-- Start of code fragment --> <div class="code-header">css</div> <!-- Code file name --> <div class="code-area"> <!-- Start of code extract holder --> <pre class="prettyprint linenums lang-html"> <p class="hyp">Paragraph 1</p> <p class="hyp">Paragraph 2</p> </pre> </div> <!-- End of code extract holder --> <div class="code-caption">Code 99.3 — Code Fragment—CSS</div> </div> <!-- End of code fragment -->
OK, there is the code fragment (green background) pasted in between the <pre>...</pre> tags.
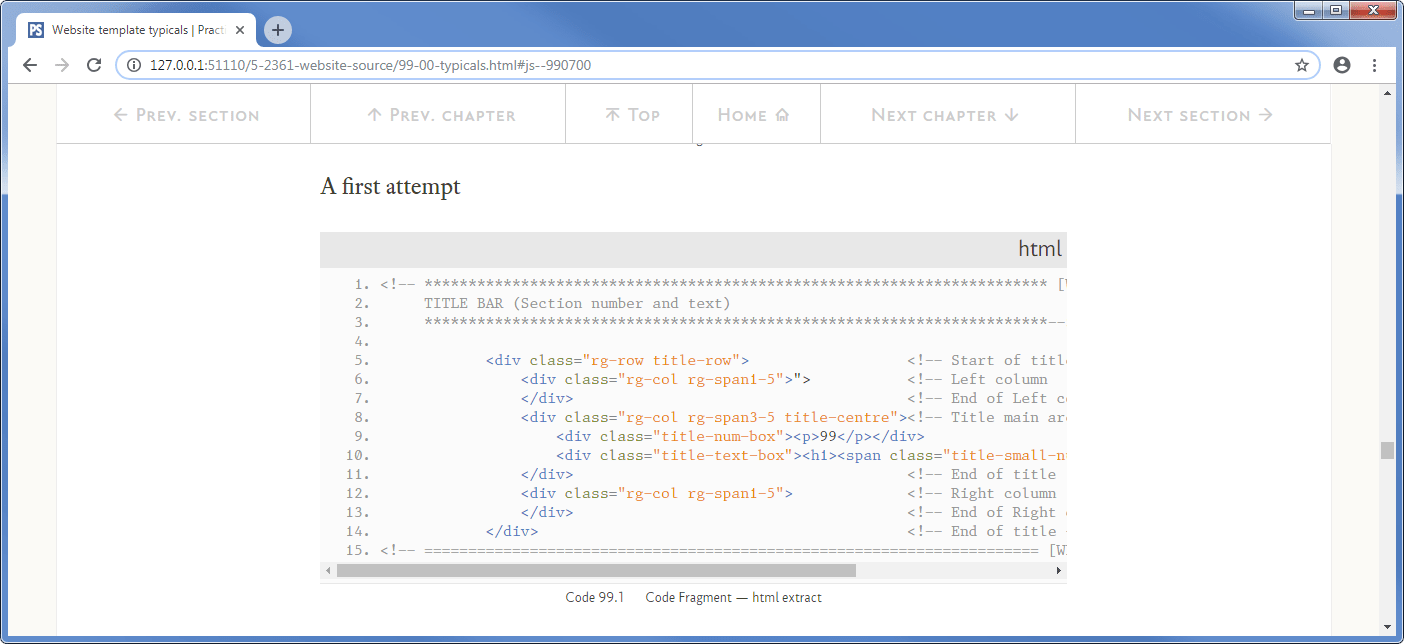
Now when I look at the web page, I want to see a code fragment that looks like this:

But what I actually get is:
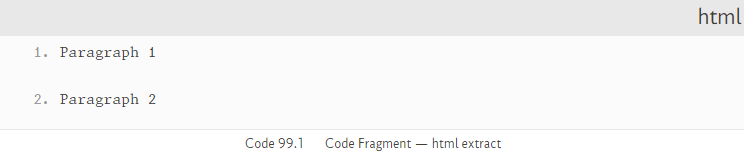
So what the bloody hell is going on?
The problem is the browser. The browser has the following code on its web page:
<p class="hyp">A first attempt</p> <div class="code-extract"> <!-- Start of code fragment --> <div class="code-header">css</div> <!-- Code file name --> <div class="code-area"> <!-- Start of code extract holder --> <pre class="prettyprint linenums lang-html"> <p class="hyp">Paragraph 1</p> <p class="hyp">Paragraph 2</p> </pre> </div> <!-- End of code extract holder --> <div class="code-caption">Code 99.3 — Code Fragment—CSS</div> </div> <!-- End of code fragment -->
It sees the <pre> element and to the browser this is just another semantic element, just like a <div> and then it sees two paragraph elements <p> within it. So it just renders the paragraphs in the <pre> element and we get Figure Figure 21.24.
That is the trouble with trying to display HTML as code fragments, the browser just thinks it’s more HTML and displays it as such.