9
More of the basics; some of this we’ve done before and a lot of it is fairly obvious; I’m just going through it in a more structured manner.
There is only one thing to say about creating and editing files within GitHub: don’t do it.
It is generally better to modify the files locally (in Brackets) and push the changes up to the remote GitHub repository. This is the best practice method for using Git and GitHub.
That said, virtually everybody will at some point modify files in GitHub and this is how you do it.
Let’s go through the process of creating a new folder and then creating a new file inside it.
Against all my rules, but for the sake of simplicity I’m going to do this directly on the master branch in the lab-01-website repository.
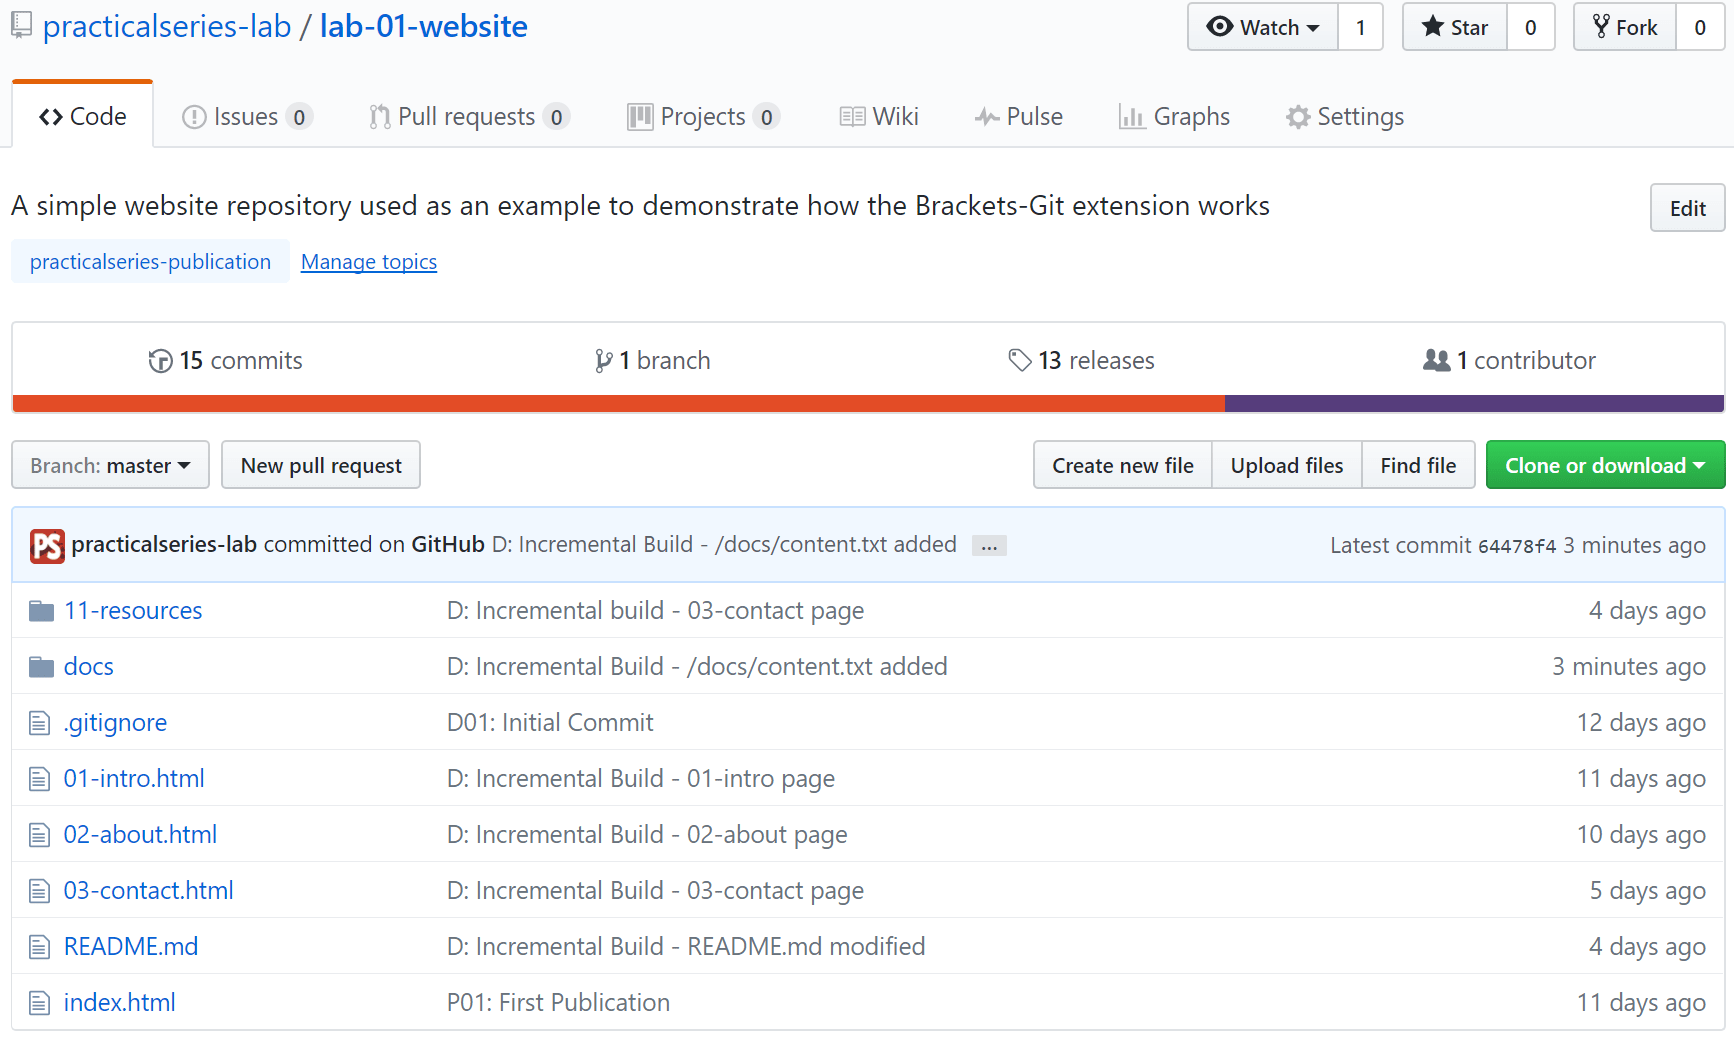
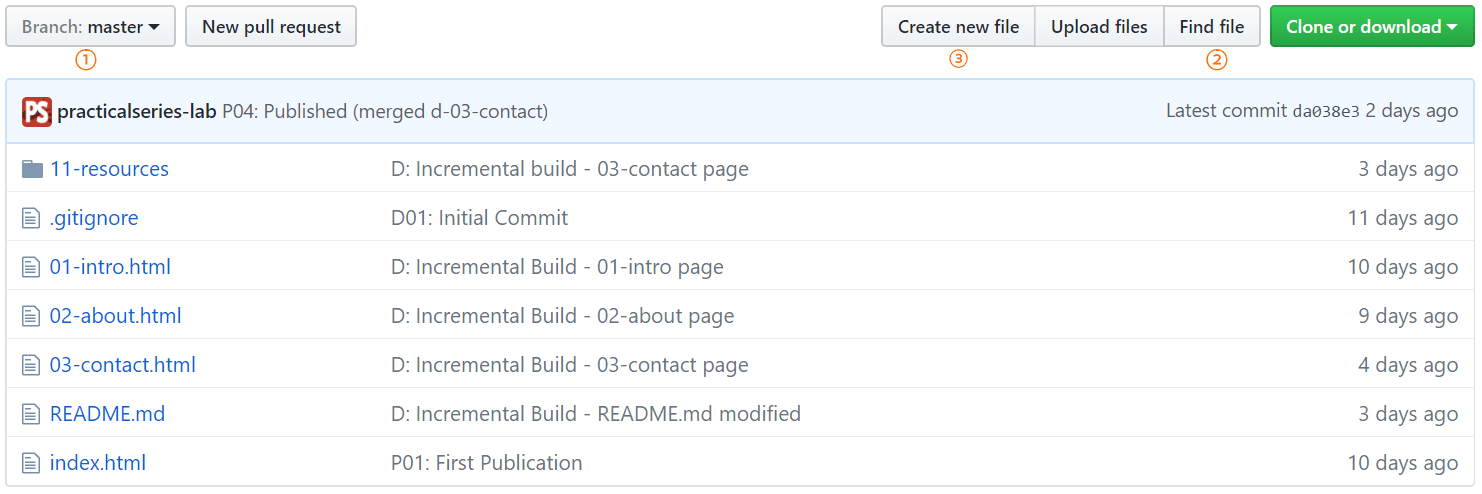
Go to the repository home page on GitHub, mine looks like this:
Click the create 3 above).
button (pointIt looks like this:
It’s asking for a file name. If I just give it a name content.txt for example, it will create the file in the root directory i.e. lab-01-website/content.txt.
Now I want to put the file in a new folder, so how do I create the folder to put it in? The answer is just start typing the folder name and file name in the highlighted box. Separate the file name from the directory name with an oblique character (/). I want to create a file called content.txt and I want it to live in a new directory called docs.
To do this start typing docs in the name your file box:
Now hit the oblique key (/) to separate the folder from the file name, the moment you do, it will recognise docs is a directory and move it outside the box (clever isn’t it):
Continue typing the filename (content.txt) and when you are done hit return .
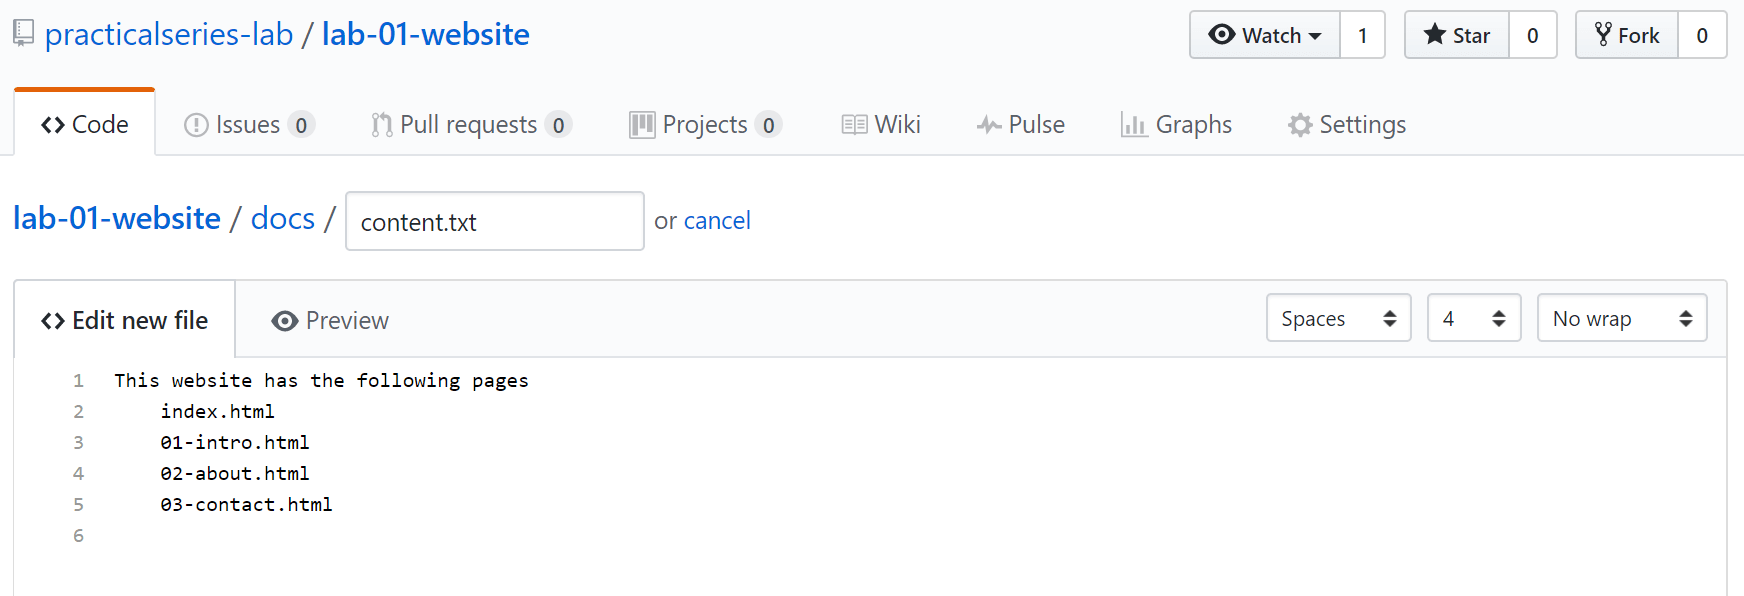
Now add some text into the body of the file, I’ve added the following five lines:
The buttons at the top:
, , show how the page is edited and displayed. The no wrap button can be changed to cause lines to wrap in the display (generally, for long lines set this to ). The button determines how tabs are constructed, either from the tab character or by spaces, if spaces then the number of spaces specified in the next ( ) button will be inserted whenever the tab key is pressed.Generally, for text files, leave it set to spaces and change the number to
, this keeps it in line with the way Brackets handles such files.Now we need to commit the file, this is just what we did in § 8.4.
Scroll down to the bottom of the page (to the commit box) and enter the following commit message:
Click the docs folder and show you the new file and commit number [64478f4] in my case:
button to add the file to the repository this will take you to the newly createdGo back to the repository home page:
The new docs folder is there and the commit number has changed to [64478f4].
Let’s add another file to the doc folder, this time by uploading it from a PC. The file in question is a short word document explaining my version control numbering mechanism. Get it here . It’s called:
PS1002-5-2121-091 R01.00 PS Version Numbering.docx
Boy, do I like numbering things.
Back to GitHub, from the lab-01-website repository home page, navigate to the docs folder (by clicking it):
Click the
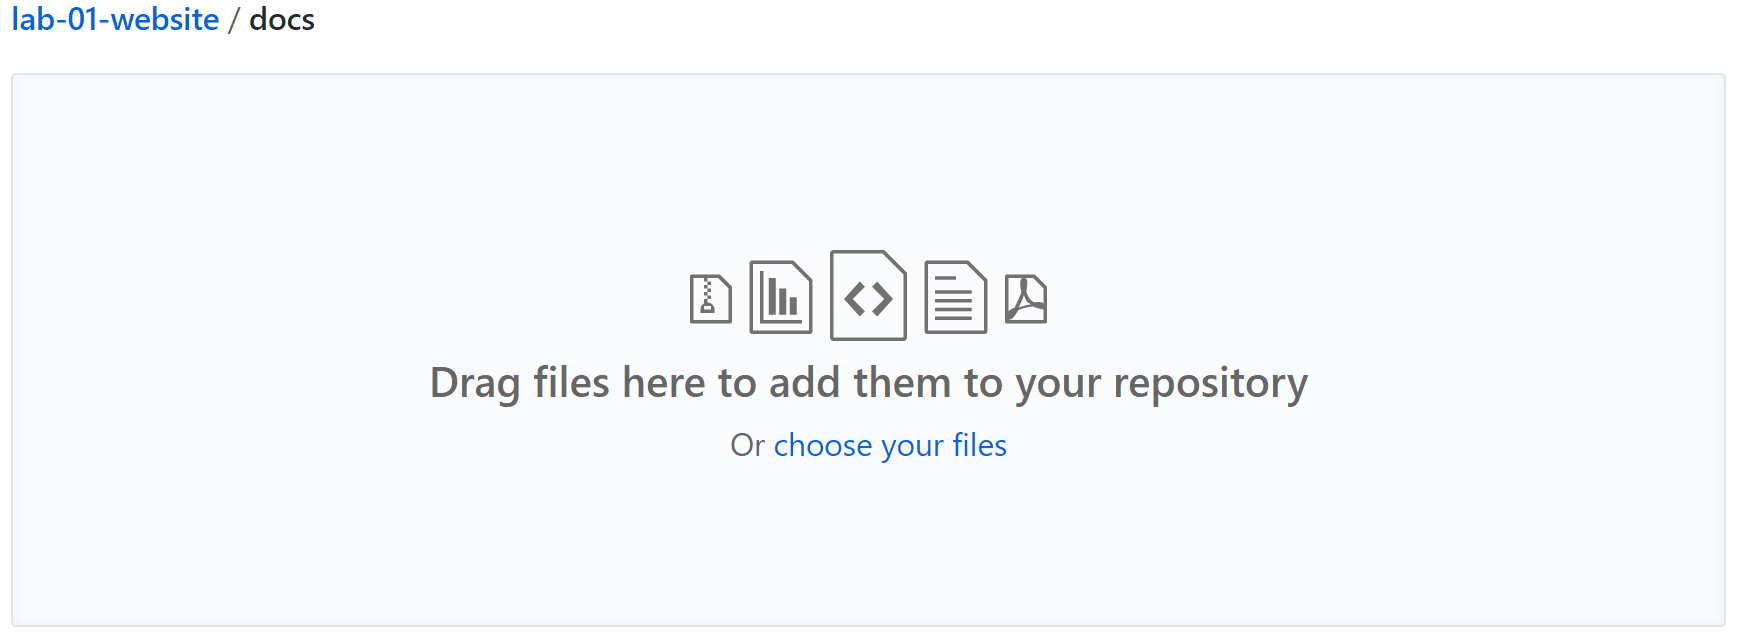
button (highlighted):This gets you:
Unzip the file and either drag it into the main area or click
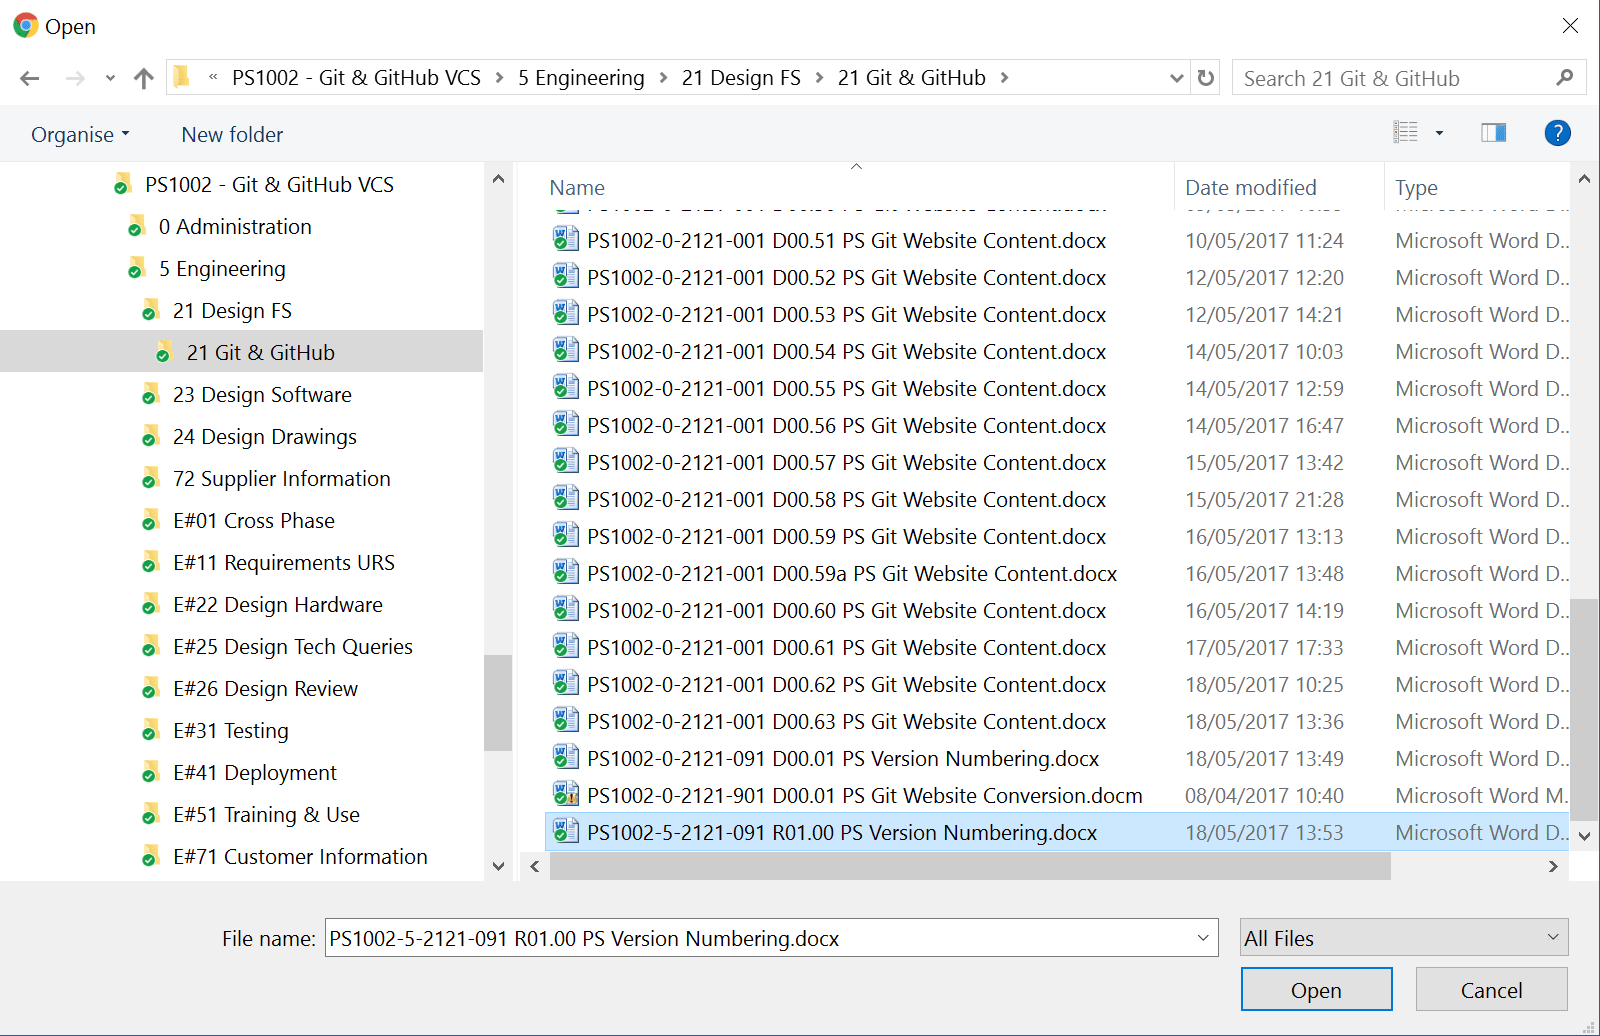
and navigate with Windows Explorer to where your file is, I did the latter:Select the file and click
.This uploads the file to GitHub, but doesn’t add it to the repository yet.
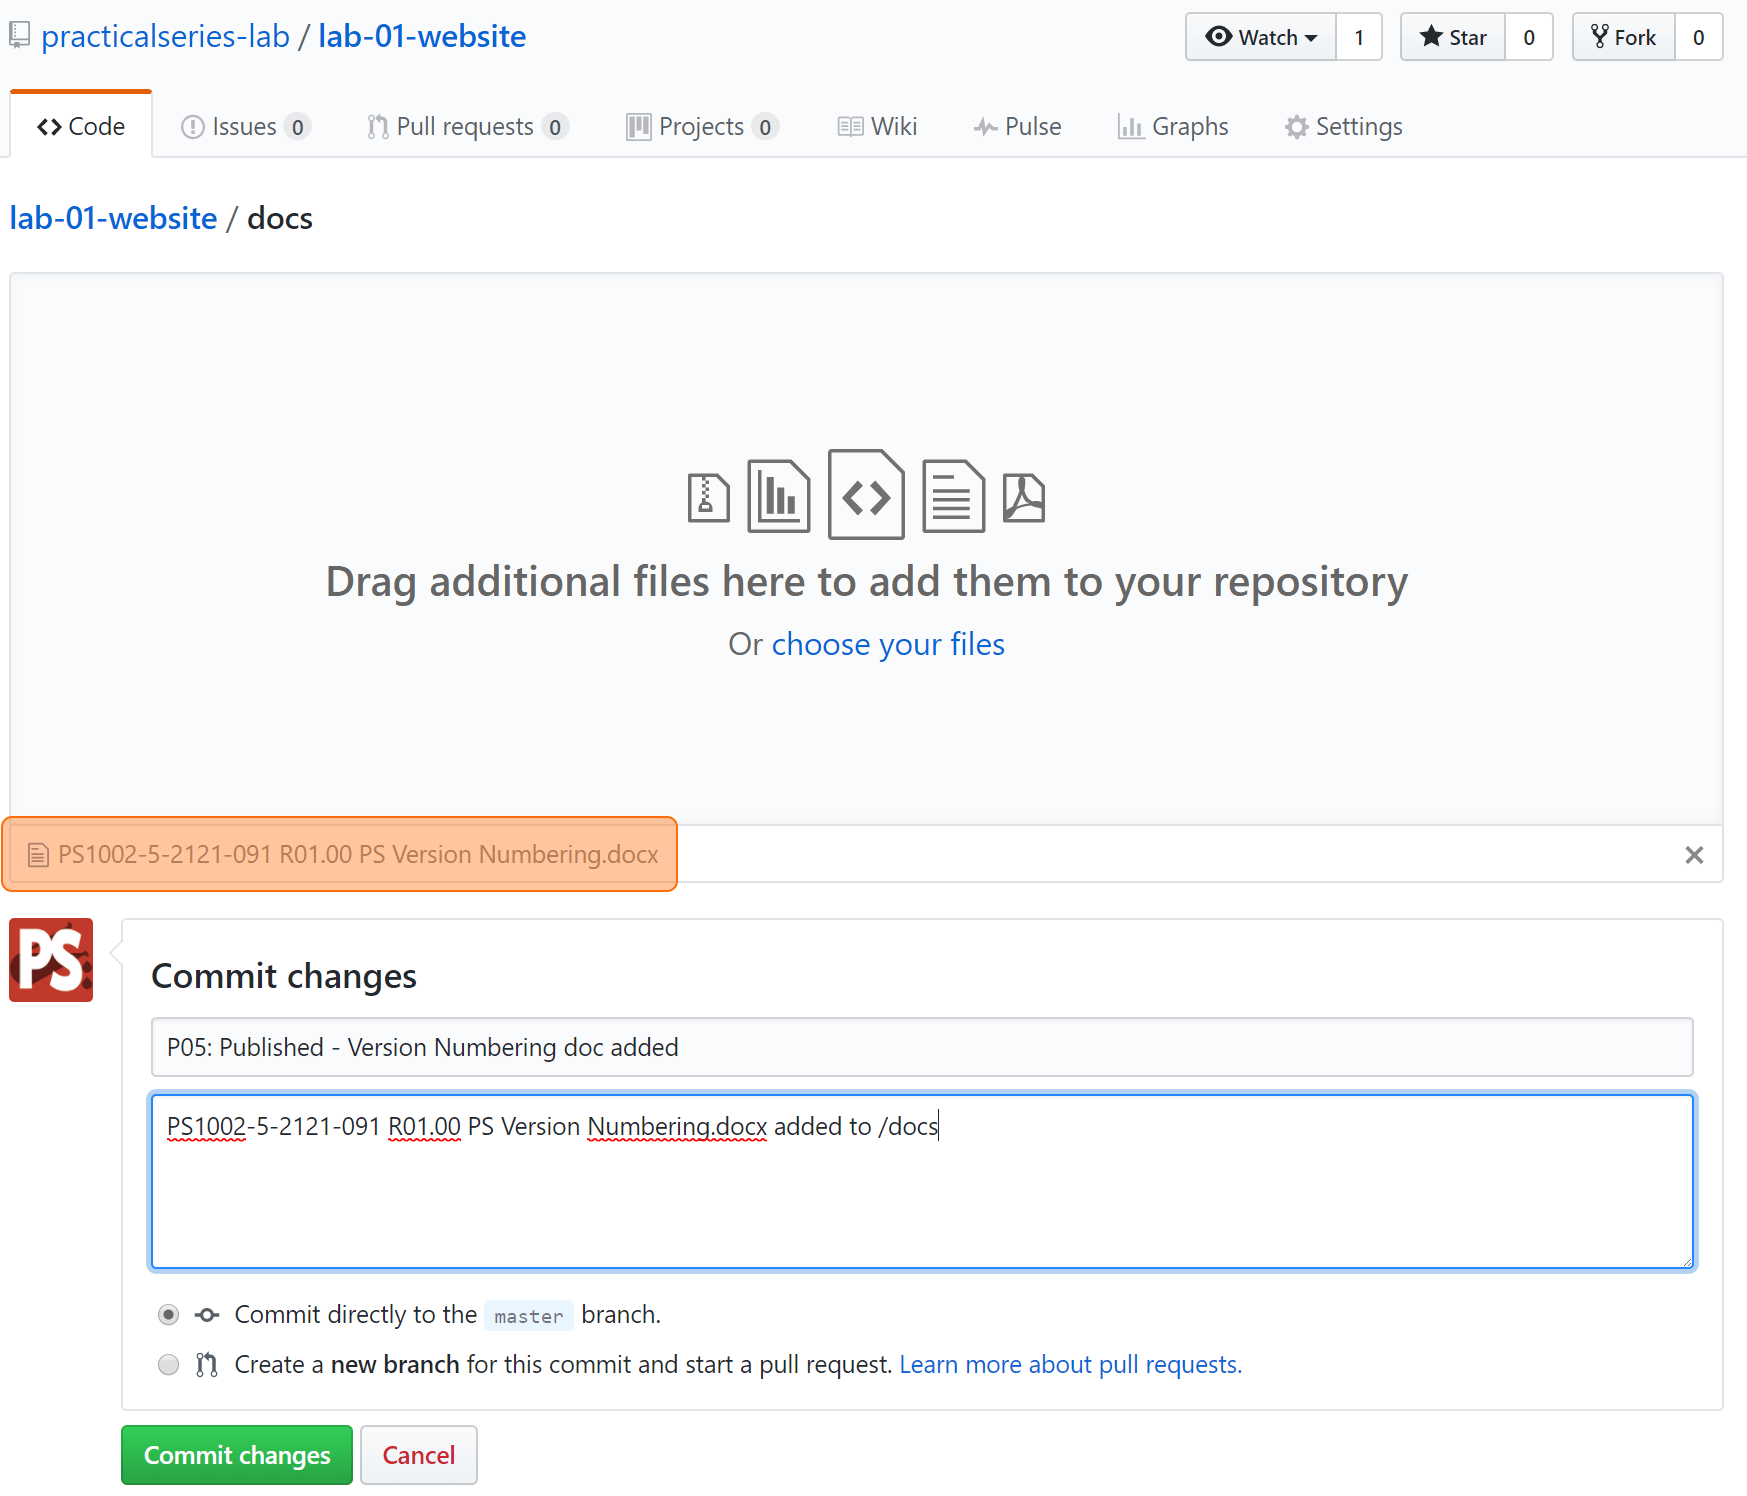
To add the file to the repository, we must complete the commit message box at the bottom of the screen. I’ve added the message:
P05: Published — Version Numbering doc added |
---|
PS1002-5-2121-091 R01.00 PS Version Numbering.docx added to /docs. |
It all looks like this:
You can see the new file at the bottom of the drag window (highlighted).
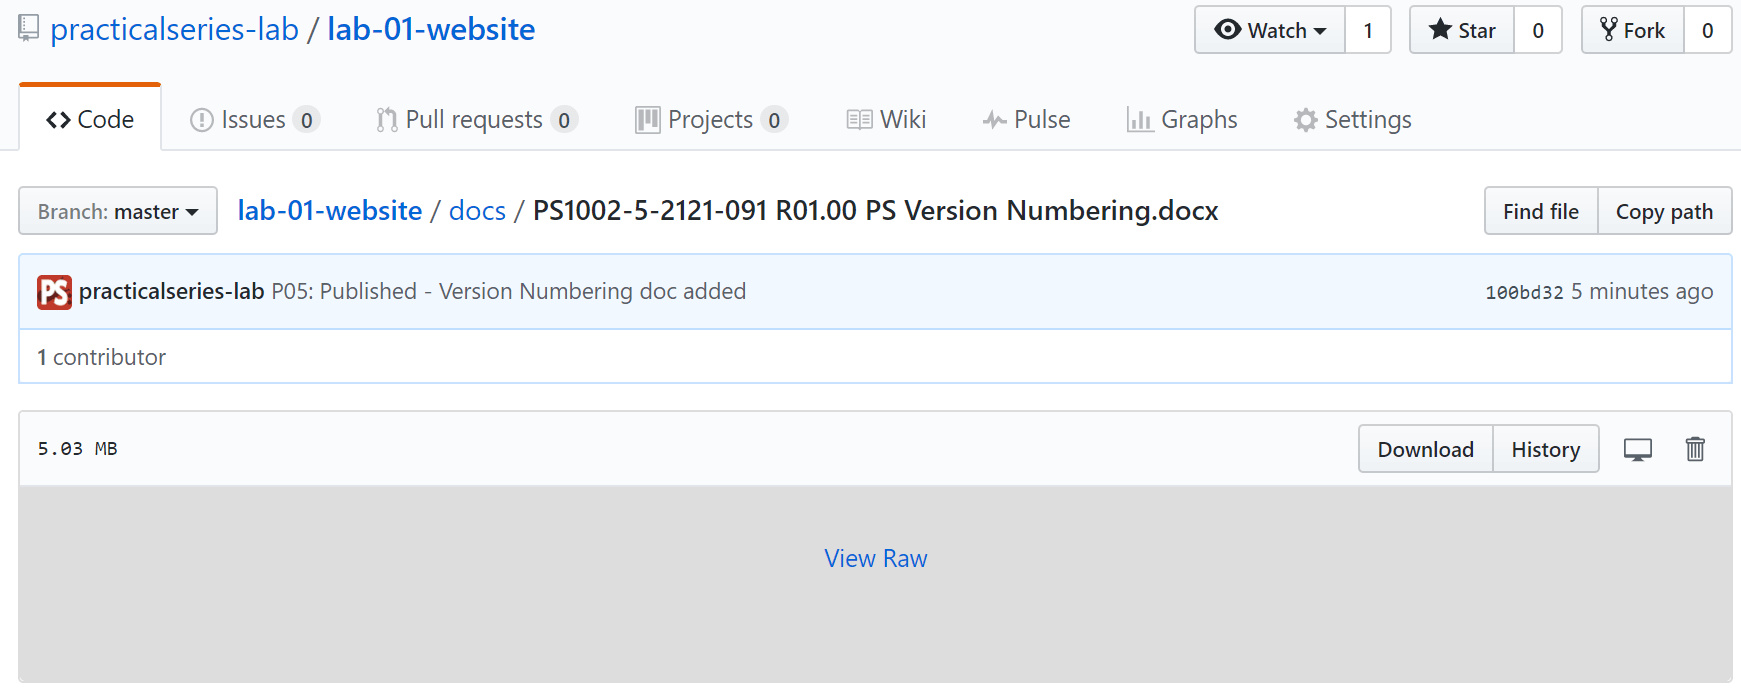
Click the [100bd32] in my case.
button to add the file to the repository home page and will show you the new file and commit number,Navigate to the docs folder (by clicking it):
All pretty straight forward.
One last thing; the file we just uploaded is a Word file, a .docx file, now GitHub knows about text file based source code (HTML, CSS, JS &c.) and it has an editor that can handle them. It does not however, have an editor for Word files, if you double click the new file to open it, GitHub will respond with:
This is understandable. If you need to modify the file, do it in Word and upload it again.
We’ve done this before, but for completeness I’ll cover it again here.
Go to the repository home page and click the README.md file, this opens the file as a preview (just like § 9.2.3). It looks like this:
Click the edit icon ( ) to open the file editor.
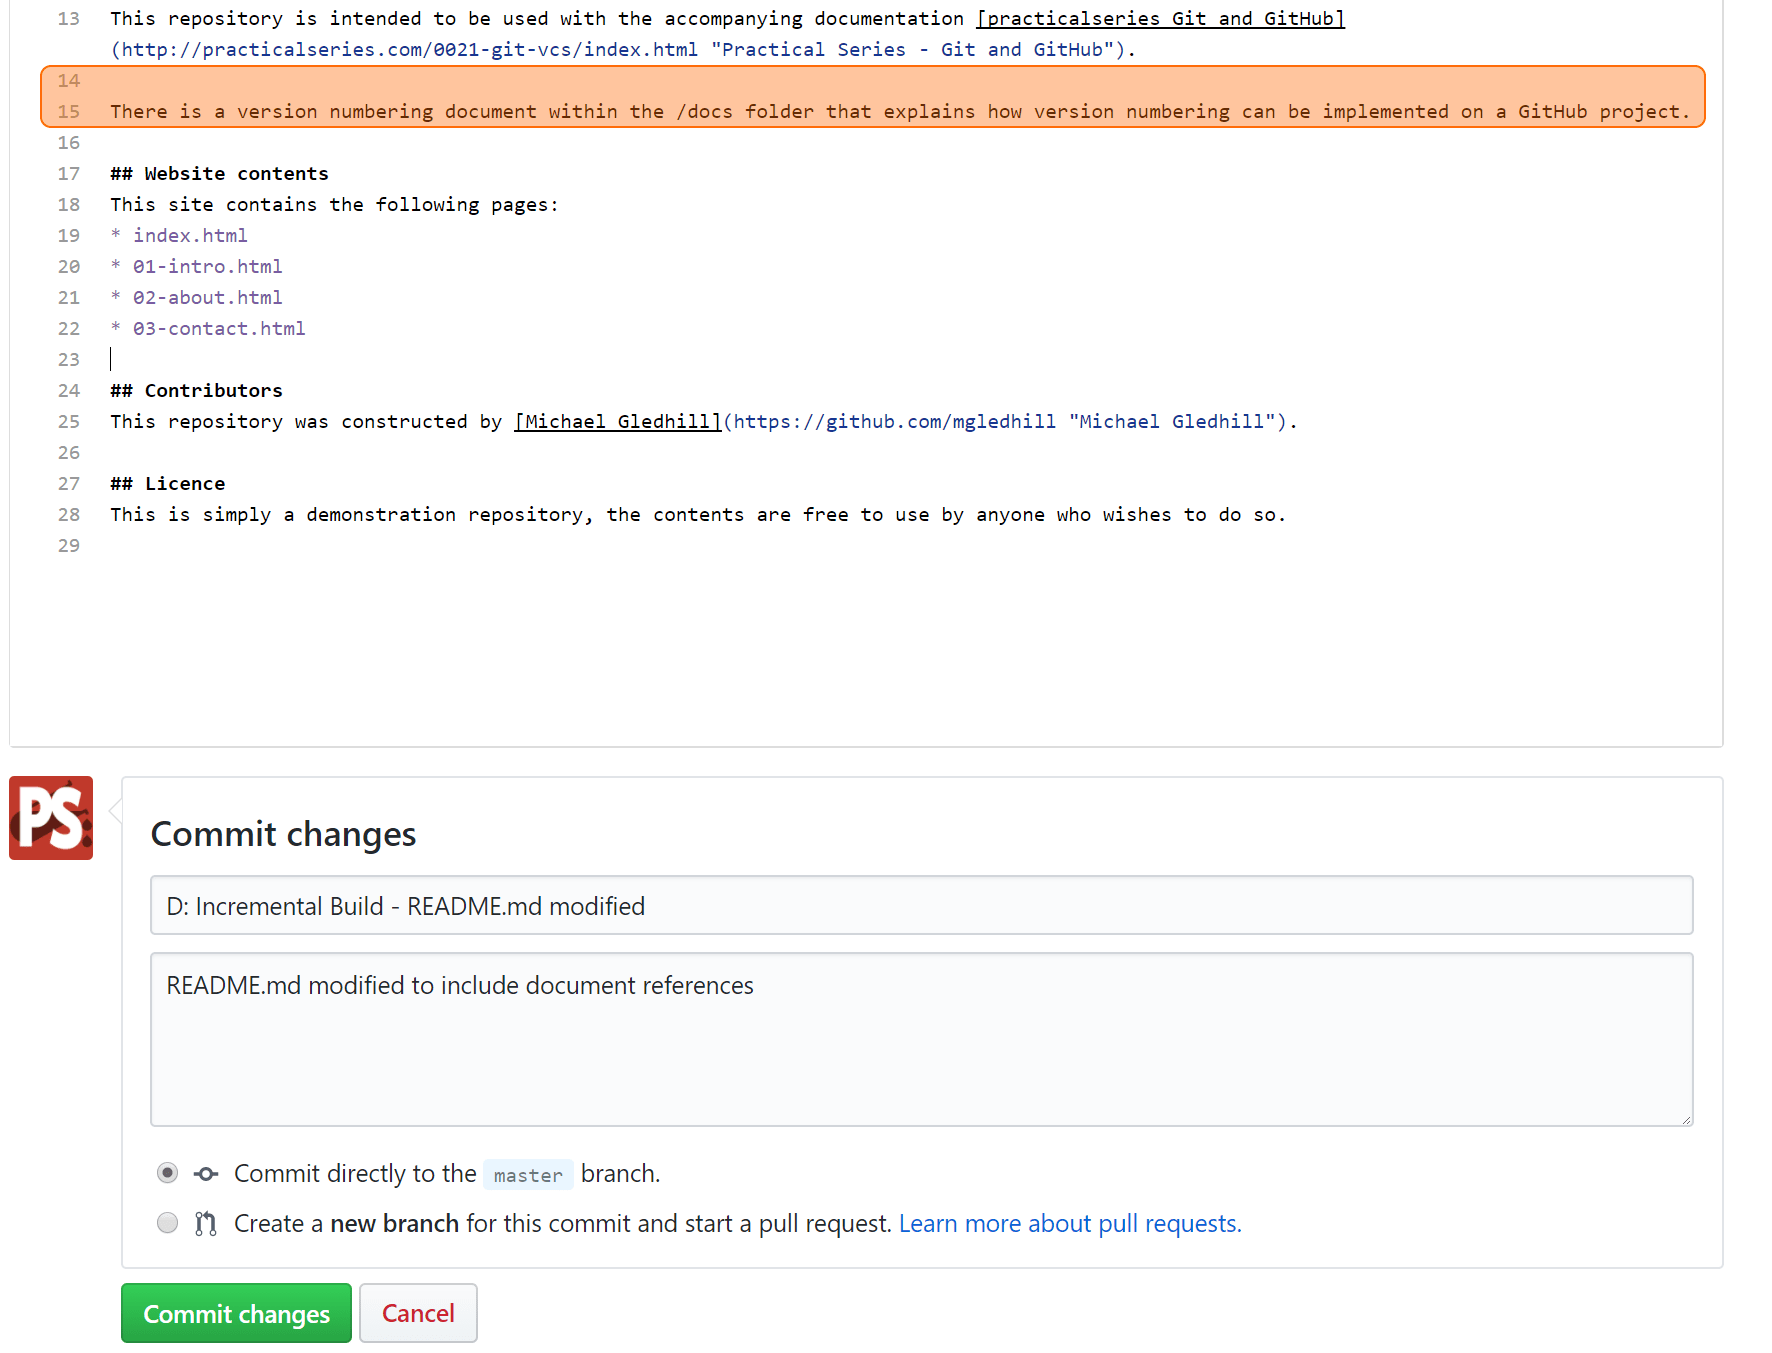
In the editor, add the following lines:
There is a version numbering document within the /docs folder that explains how version numbering can be implemented on a GitHub project ## Website contents
Code 9.1 README.md file modification |
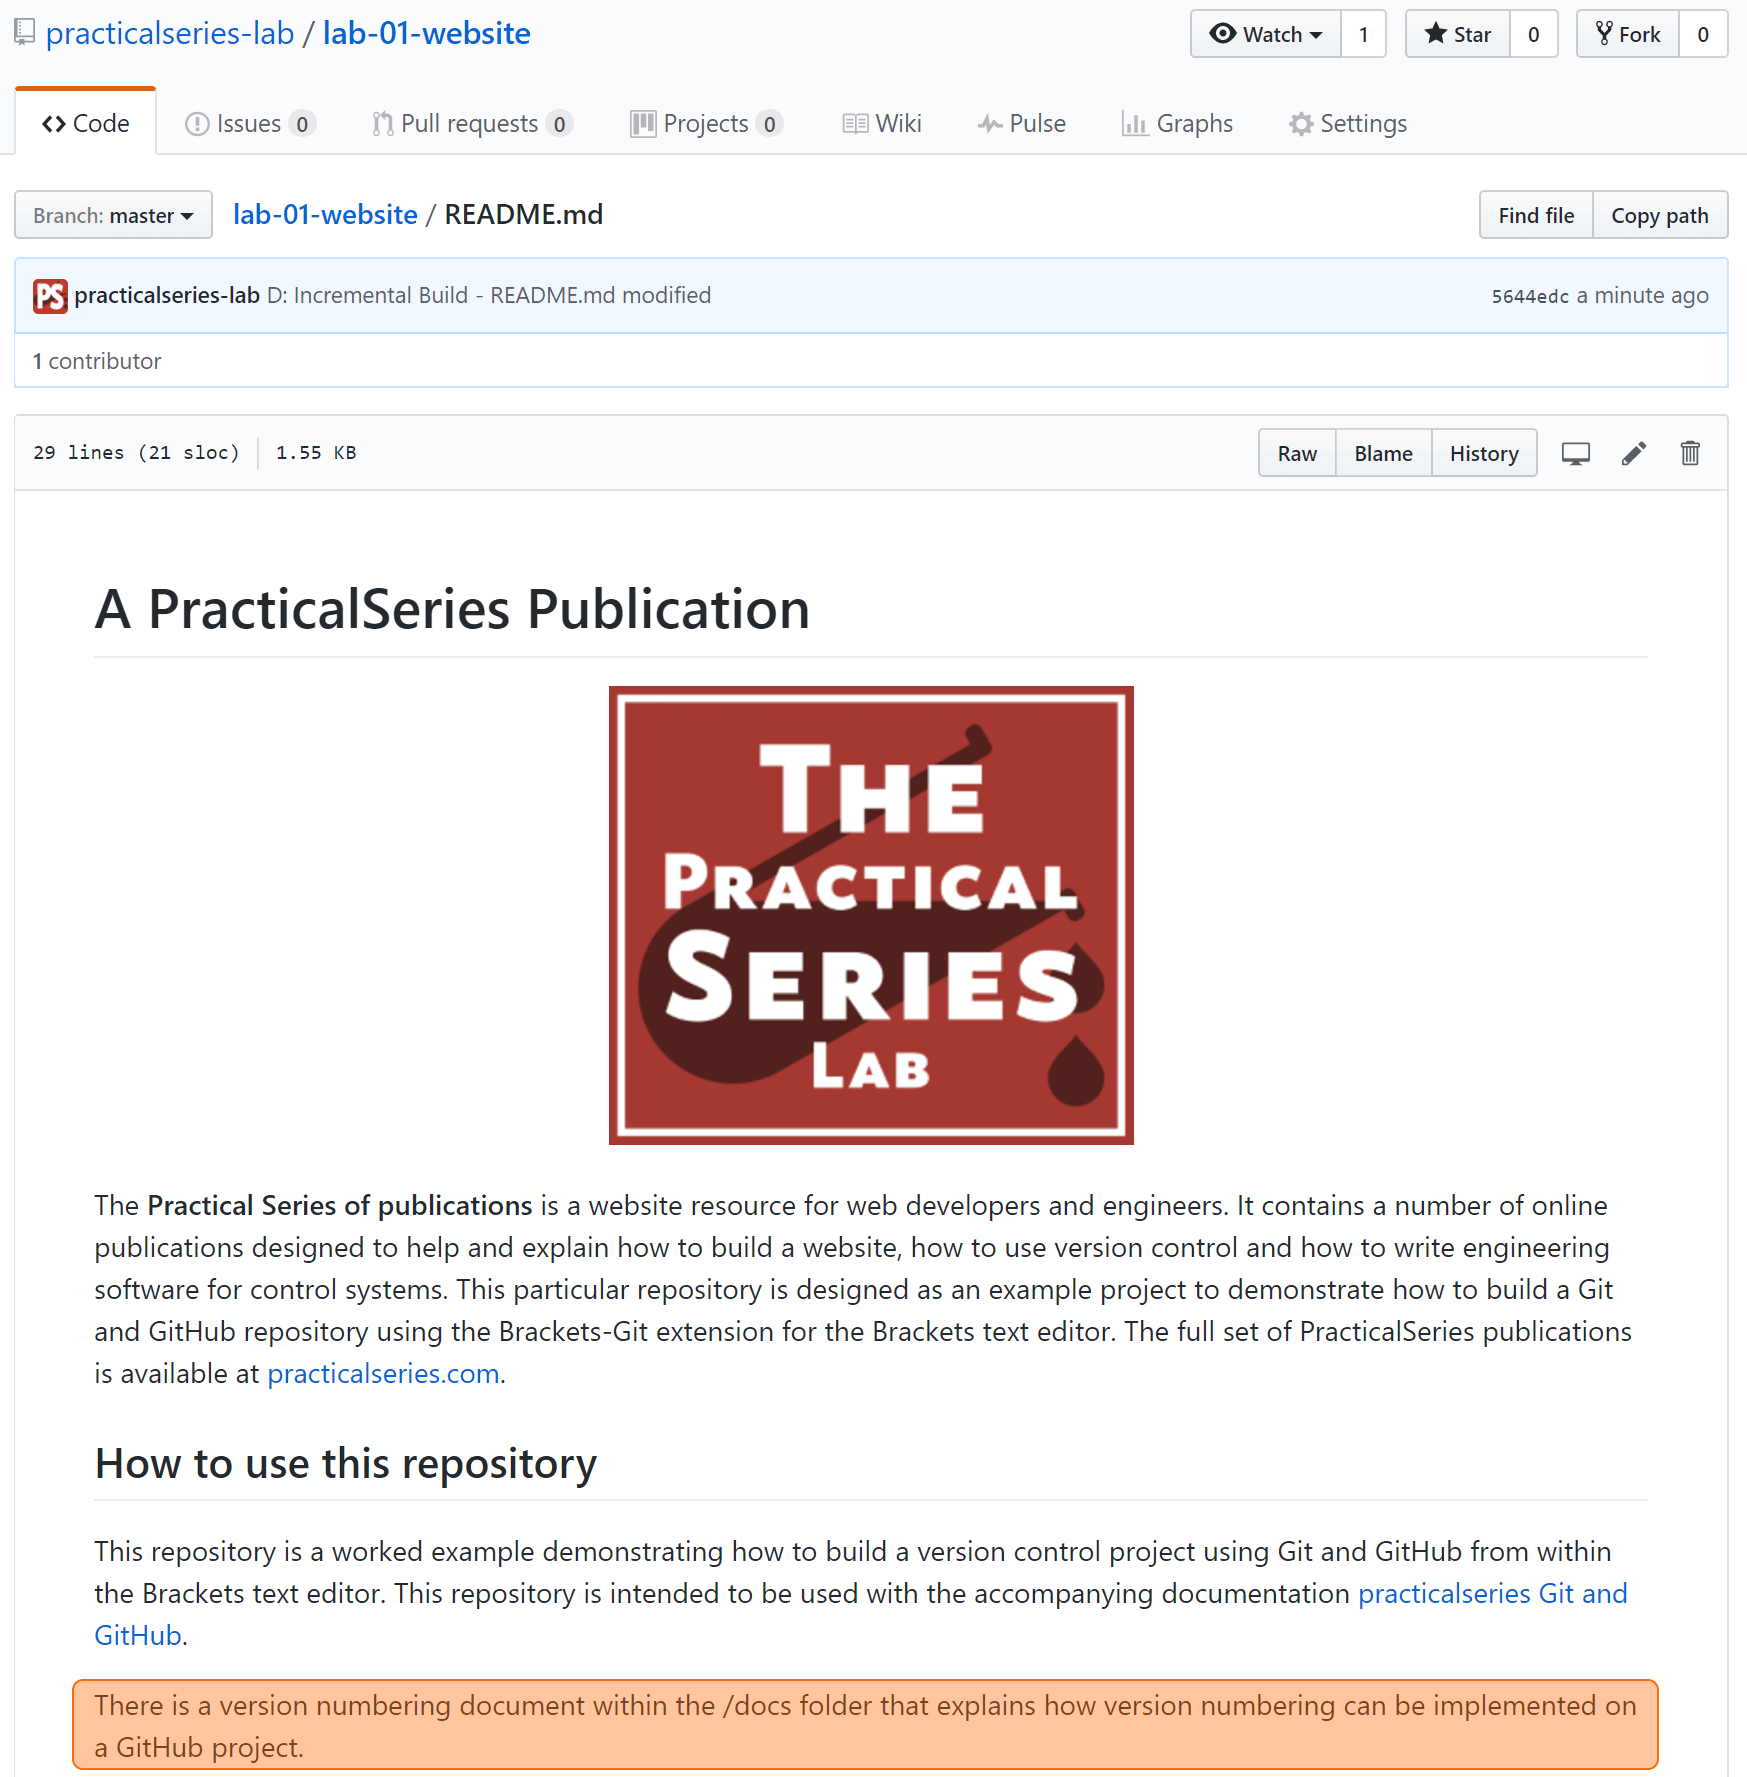
It looks like this on the website (I’ve highlighted the new lines):
Add the commit comments as shown and click
to add the modified file to the repository.This takes us back to the file preview page and shows the new commit number [5644edc].
You can see the changed lines at the bottom of the page (highlighted):
To demonstrate this, let’s rename the content.txt file that we created in § 9.3.1 let’s change its name to page-list.txt.
This is easy.
Open the file in GitHub (from the repository home page click the docs folder and then click content.txt).
Now edit the file by clicking the pencil symbol ( ), just like we did for README.md in the last section. You should have this:
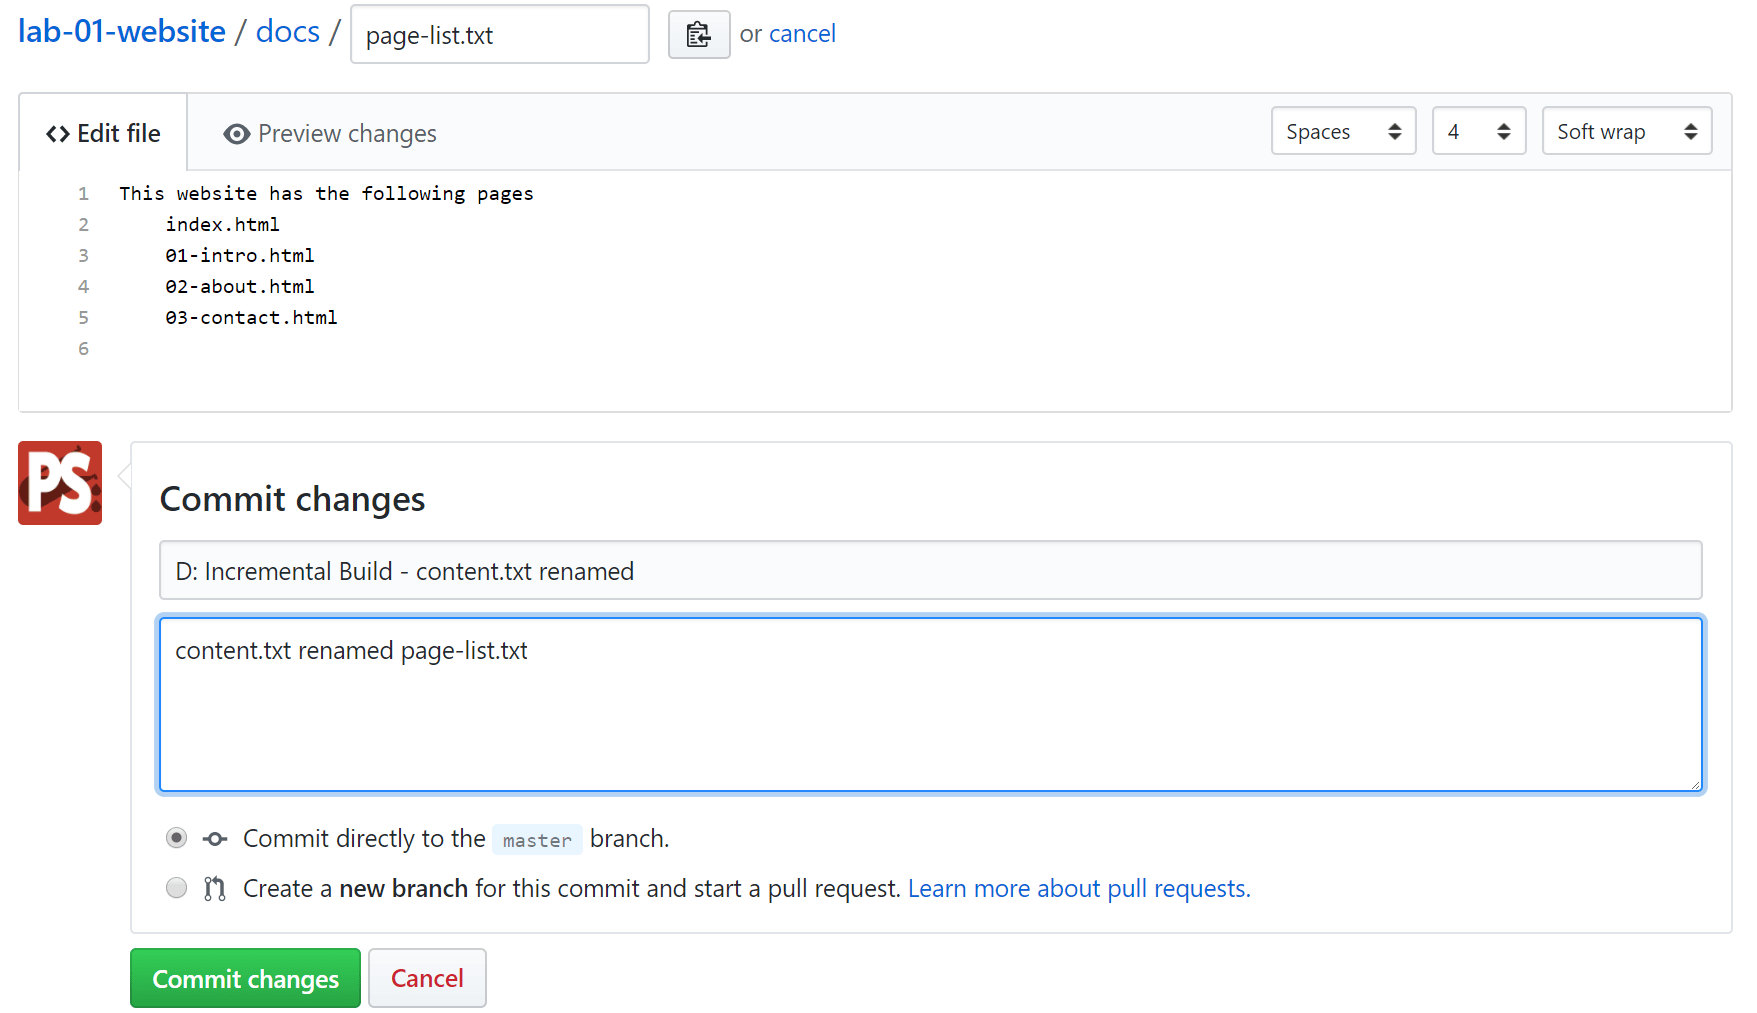
To rename the file just change its name in the box highlighted. Change it to page-list.txt.
You could also change the directory here by adding a new folder name followed by an oblique followed by the new filename (this is similar to creating a new folder in § 9.3.1—it’s the same mechanism.
Rename the file and then add the commit message shown in Figure 9.30:
Click [09fc21b].
and the filename has been changed; there is a new commit pointTo demonstrate let’s get rid of what is now the page-list.txt file—it’s not much use.
Open the file in GitHub (from the repository home page click the docs folder and then click page-list.txt).
You should have this:
Now delete the file by clicking the rubbish bin symbol ( ). This takes you to the commit changes page, add the commit message:
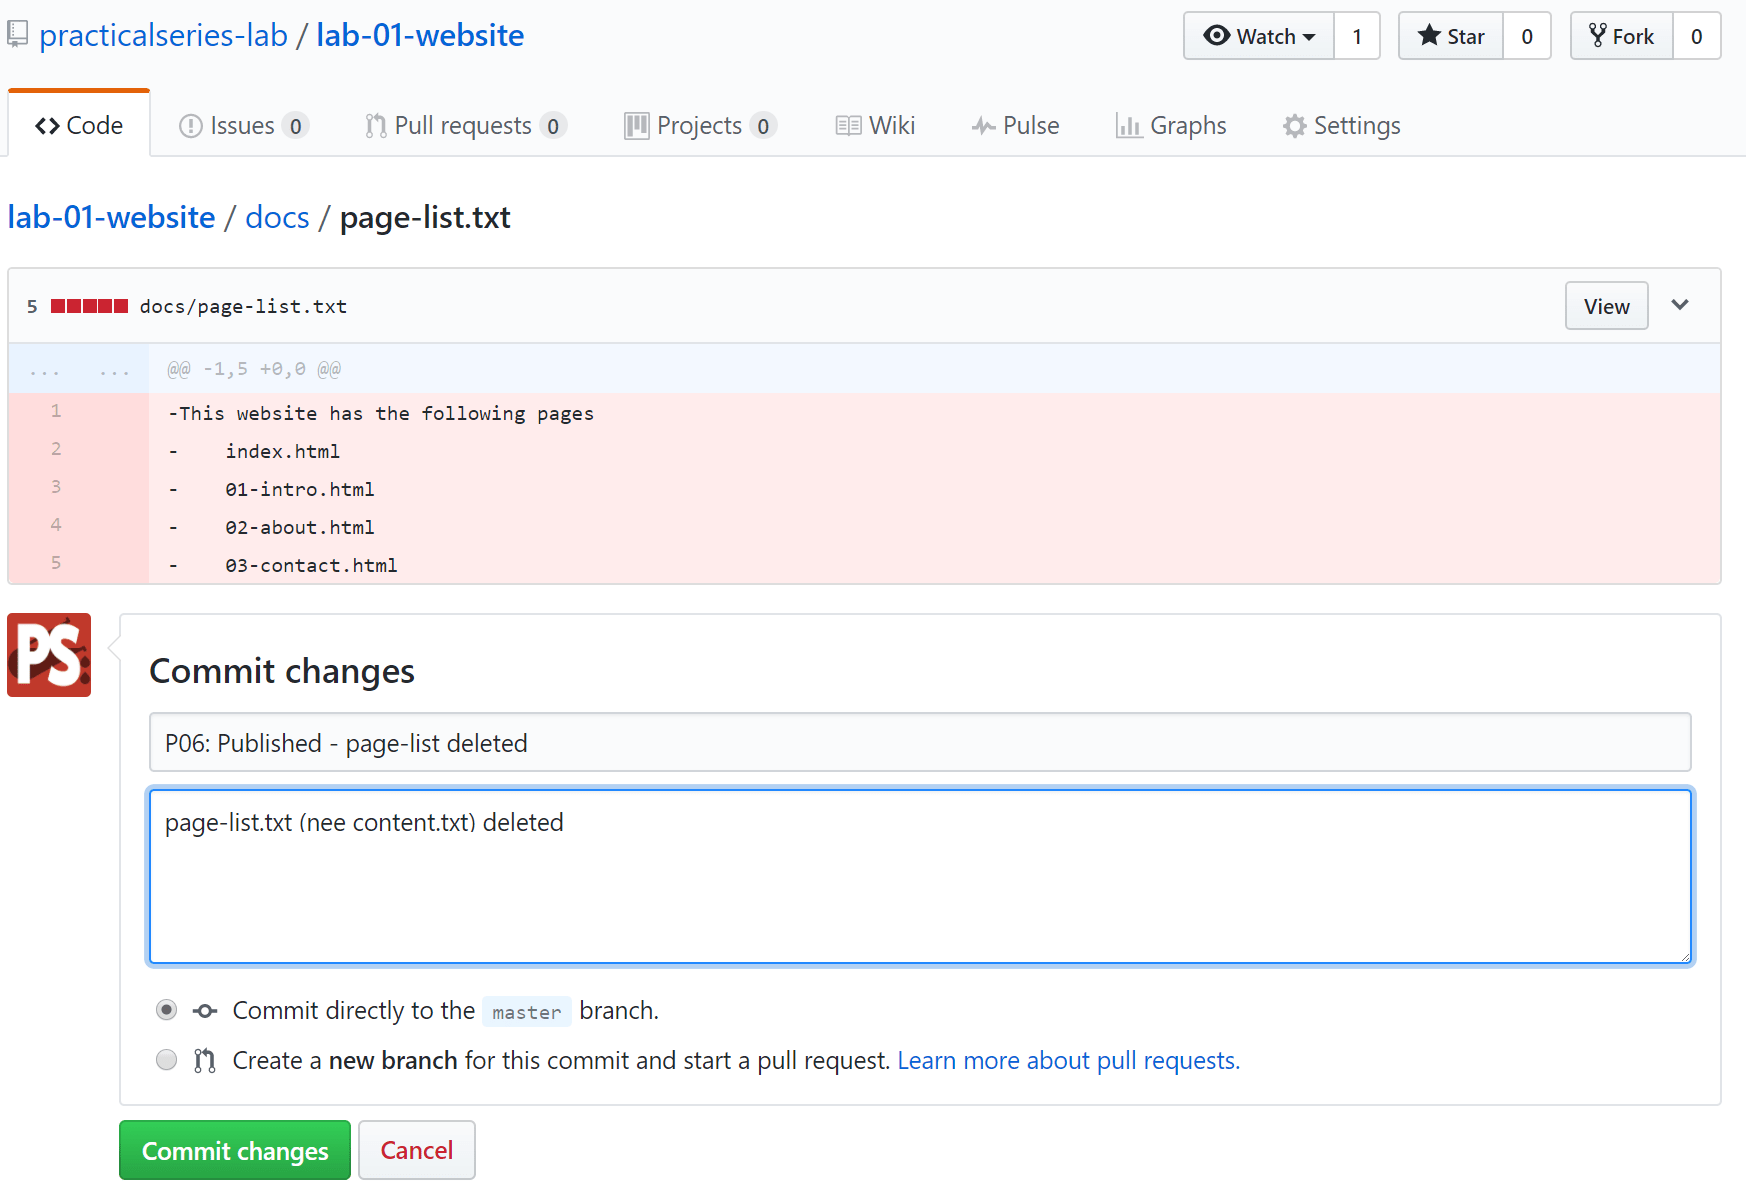
Click [19de35d].
and the file will be deleted; there is a new commit point