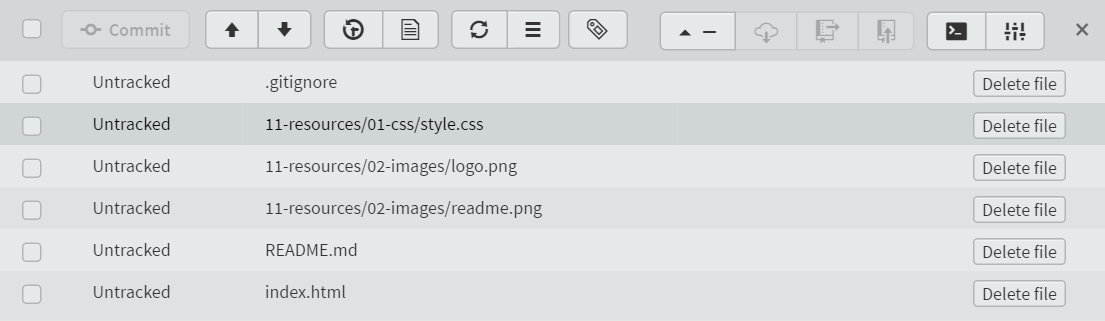
We’ve reached the point where we have six files that we are ready to commit to the repository. These are the files listed in Table 6.2. All are listed as untracked. This is apparent by looking at the Git pane in Brackets:
Figure 6.20 All six untracked files
When we worked through this example in § 2.2, the first thing we did after creating them was add them to the staging area—this was a process in its own right with Git and similar to the commit process itself (it used the add command to stage the files in a similar way to using the commit command to add them to the local repository).
6.3.1
Staging the files
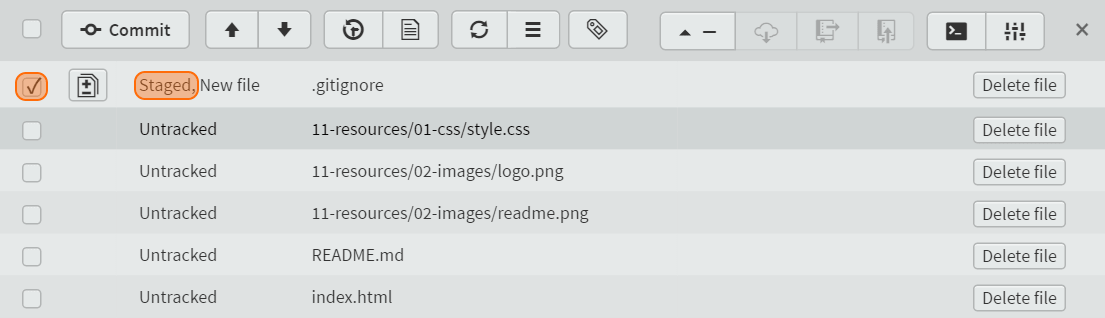
With Brackets it is a bit easier, to stage the files just click the tick box next to the file in the Git pane. If I do this for the .gitignore file its status will change to staged.
Figure 6.21 A staged file in Brackets
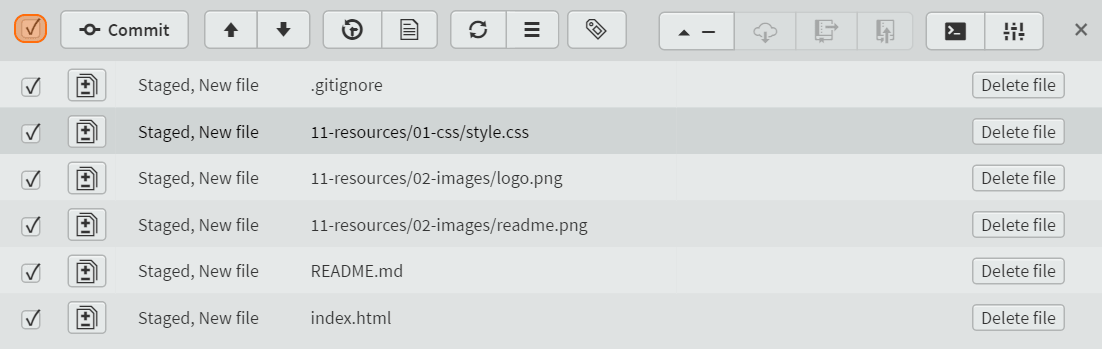
We actually want to stage all six files, this can be done individually or with the common tick box at the top (next to the commit button), this will select all the files in the list. It looks like this:
Figure 6.22 Stage all the files in Brackets
The diff icon , if clicked will open a window showing the changes made to the associated file, it’s a bit meaningless here, all the files are new so everything in them is a difference.
To unstage a file just untick the box. If you modify a staged file, it will automatically be unstaged and you will have to tick the box again.
The next thing is to commit the files.
6.3.2
Making the first commit
Ok, we’ve got all six files staged and we want to commit them. It’s easy, just press the commit button . Don’t worry, you still get a chance to cancel out.
Only staged files will be committed, those with a tick in the box.
This opens the Git commit dialogue box:
Figure 6.23 Brackets Git commit dialogue box
Let’s look at what we’ve got.
The most obvious thing is the bit in the middle (the green bit), this shows all the changes to each of the staged files, scroll down to see all the changes in each file one after the other. This bit is here to make sure you know what you are about to commit (I suspect most people are like me and don’t bother looking).
The thing this dialogue box is really asking for is the bit in the box underneath this. The commit message. The commit message is very important; it explains the reason for the change. I have my own style for commit messages; I explain it in appendix b, feel free to use it or use whatever style you prefer.
This dialogue box allows the commit message to be entered as either a single line (how it looks in Figure 6.23) or if you click the extended button at the top you can enter multiple lines:
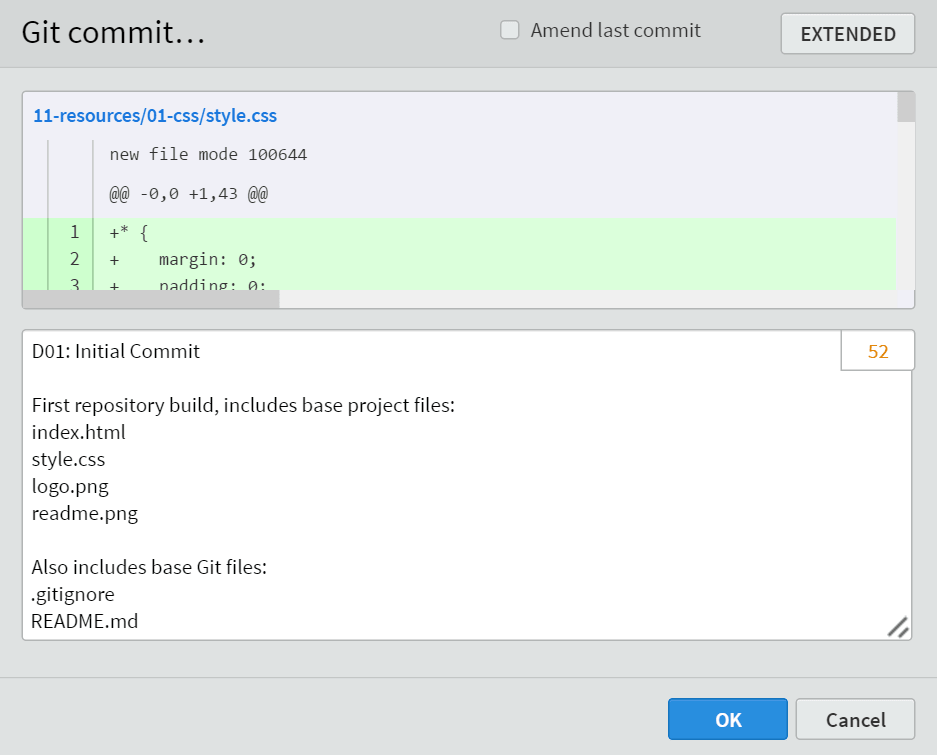
The golden rule of commit messages is that the first line should be less than 50 characters long†1(that’s what the number is in the box at the top right of the message area—unfortunately it doesn’t really work when using the extended box, it counts everything). If entering a multiline message, make sure there is a blank line after the first line.
Commit the changes by pressing the ok button (this is the point of no return).
†1
There are some other basic rules for commit messages that apply to all messages (and not just to my particular style of message). These are:
1
The first line should be less than 50 characters. It can be more, but best practice is not to make it too long otherwise it gets cut off in the display area
2
If using an extended commit message, always leave a blank line after the first line—this ensures the first line is treated as a title for the commit
3
When using extended comments, keep each line short (75 characters max) otherwise these can also be cut off
A note on the first commit with Brackets
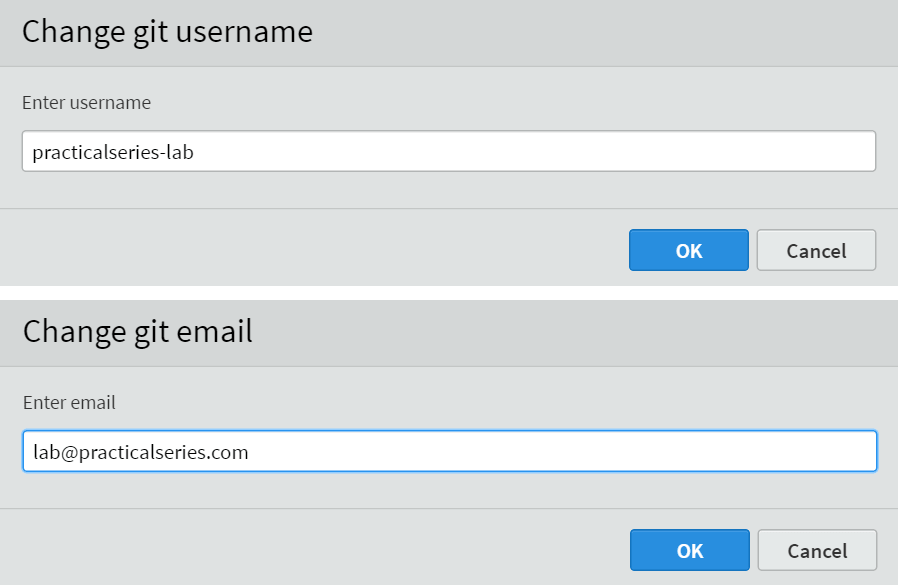
Usually, with the first commit, Brackets will ask you to change the username and email for the repository. This is because we haven’t set them yet for this project (it didn’t ask us when we initialised the project and for some reason it doesn’t just adopt the ones we setup in the Git installation†2§ 3.4.1). So we have to give it the information. In my case my username is practicalseries-lab and email is lab@practicalseries.com. Enter your own (obviously).
Figure 6.26 Enter username and email for the repository
Enter the information and click ok each time.
†2
I did a bit of digging with this; I think Brackets want’s to have the username and email in the local configuration file (config), see § 3.3.1, this is inside the .git folder (where we never go). Remember we put the username and email in the .gitconfig file in home directory. If the information is not in the config file Brackets will ask for it.
There is some sense to this, it means Brackets can switch repositories and adopt the username and email for the new project automatically.
Unfortunately, the commit will not have been made, it takes you back to the staging area and you have to click the commit button again—don’t worry, you won’t have to re-enter the commit message, it will still be there. Just click ok.
That’s it we’ve committed the changes to the repository.
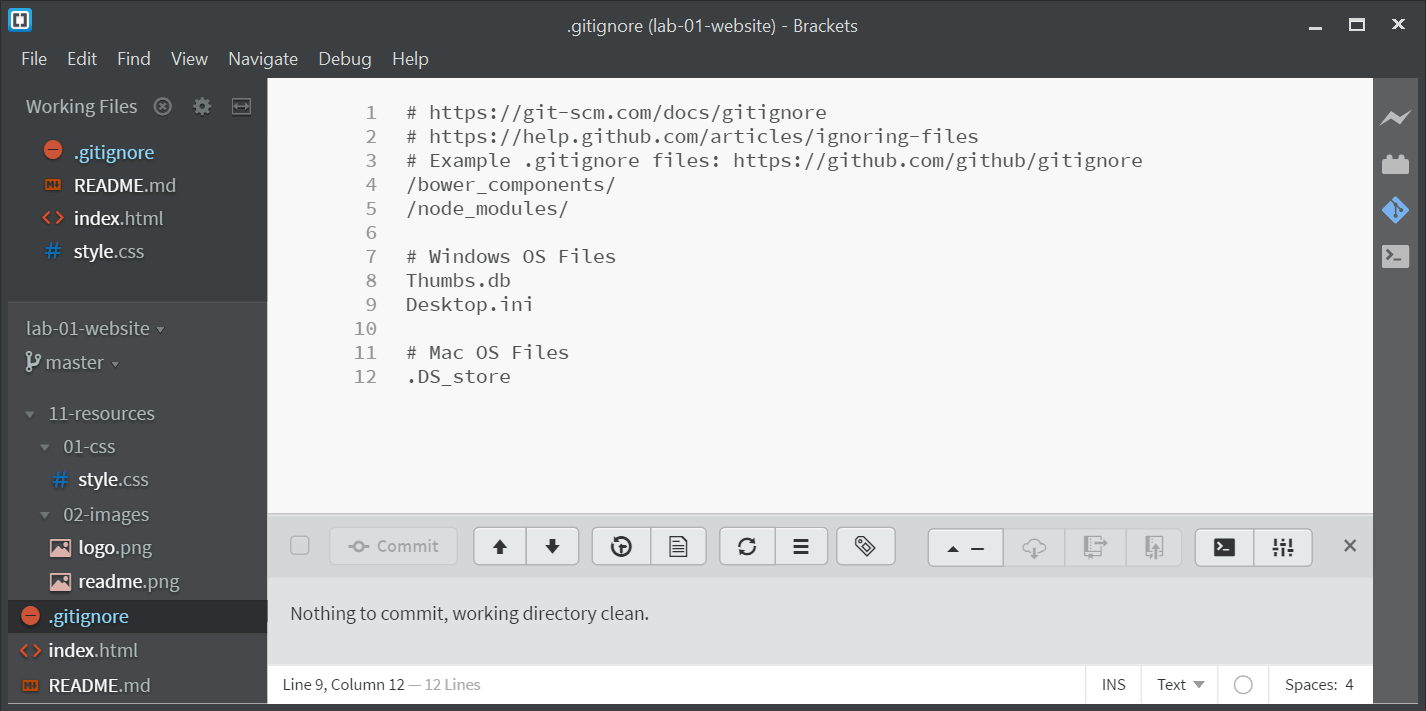
Brackets now looks like this:
Figure 6.27 Brackets, post commit
Brackets is now reporting Nothing to commit, working directory clean.
6.3.3
Viewing the commit history
Seeing the commit history is easy, just click the (show history) button. It opens the current history in the Git pane:
Figure 6.28 Brackets, post commit detail
There are a couple of things to see here, first is the commit number on the right, in my case it is [8ce2e8e]. The second is the commit message, it shows the first line of the commit message we entered in the previous section.
It also shows who made the commit (practicalseries-lab) and when (if you don’t like the 2 hours ago style, it can be changed, see § 7.1.1). The white on an orange background is generated by Brackets, it is just the first letter of the username on a coloured background—it allows commits made by different users to be readily identified.
Clicking anywhere on a commit line in the Git pane, opens a larger commit information pane above it. I.e.:
Figure 6.29 Commit information
Let’s concentrate on the information pane, make it a bit bigger:
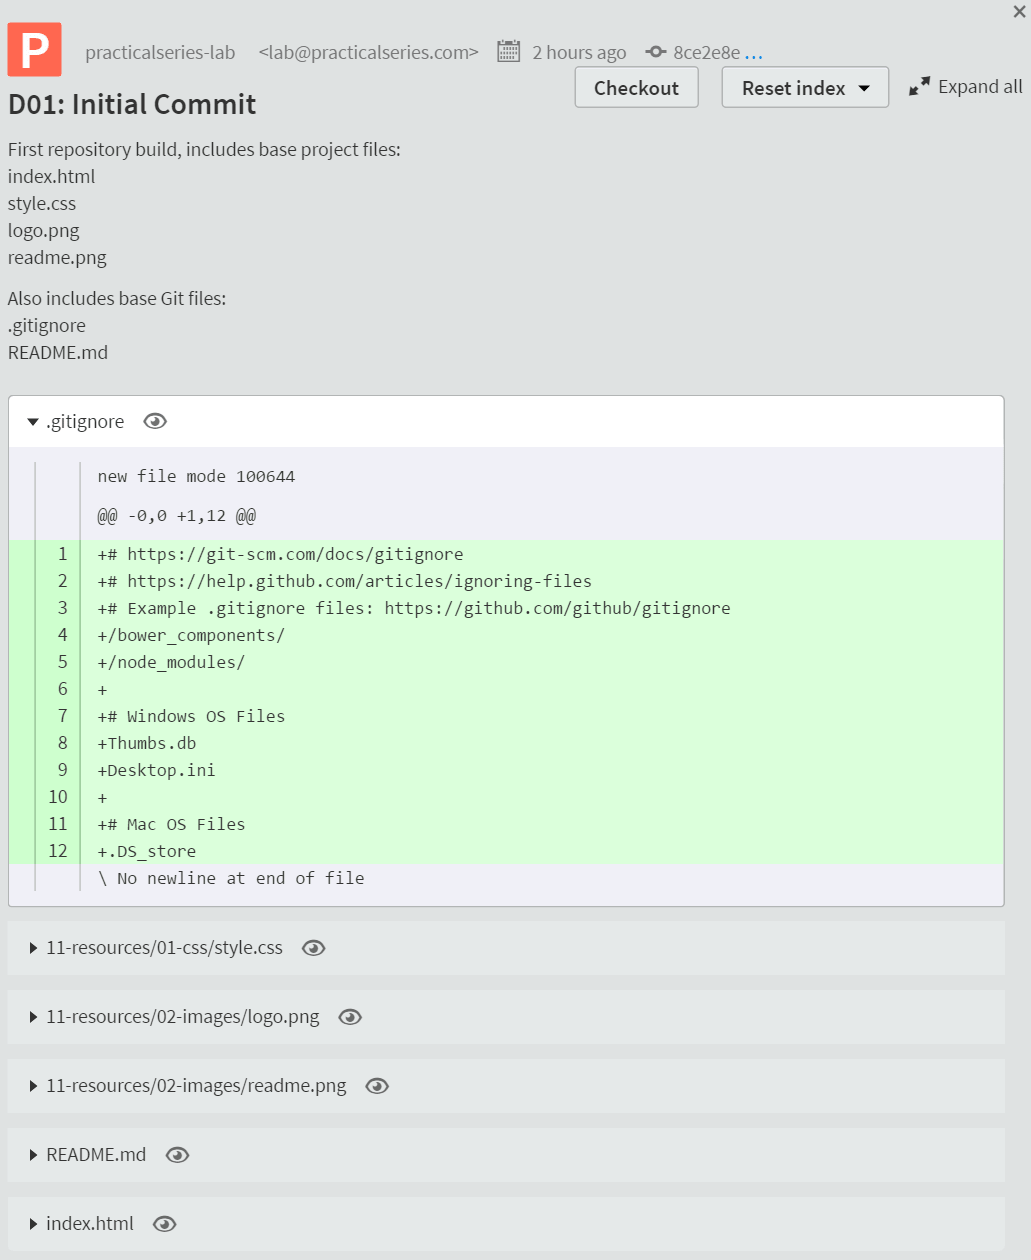
Figure 6.30 Commit information in full
Let’s start at the top; it shows the Brackets generated icon for the user () followed by the username, email address and the time of the commit.
The next thing is the commit number, mine is:
This is the seven digit short form of the commit number. If you click the three blue dots following it, you get the full 40 digit hash (SHA-1) number (see § 2.2.2 for an explanation). In my case this is it:
I’m going to ignore the checkout and reset index buttons; these are to do with moving to earlier commit points and I cover this in section 7 (If you can’t see the buttons, you probably haven’t activated one of the options, again it’s in section 7).
Next is the commit message in full, the first line of the commit message is shown as a heading.
Underneath this is a list of all the files that were in the commit. If you click the small arrow on the left of the file name, it expands the file showing the changes that were made at the time of the commit. In Figure 6.30 I’ve expanded the .gitignore file. If you click the expand all button at the top, it expands all files in the commit.
Finally, the little eye symbol , This opens the current version of the file in the Brackets editor (if the file is already opened in Brackets, then the button doesn’t do anything).
6.3.4
Tagging the commit
I’m going to tag the commits as I go along (you don’t have to do this if you don’t want to) I’m doing it because I want to demonstrate tagging and it’s easier to demonstrate if we do it as we go along—it is also useful for identifying commit points.
I’m using the tagging arrangement listed in appendix b. Brackets will let you tag the latest commit point (it won’t let you tag earlier commits†3—hence I’m doing it as we go along).
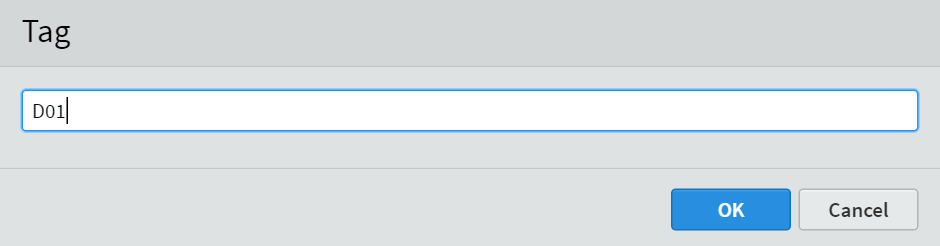
To tag the latest commit point, click the tag icon in the Git pane . This opens a simple tag dialogue box:
Figure 6.31 Tag dialogue box
I’m going to call the first tag D01. Enter it in the box and click ok.
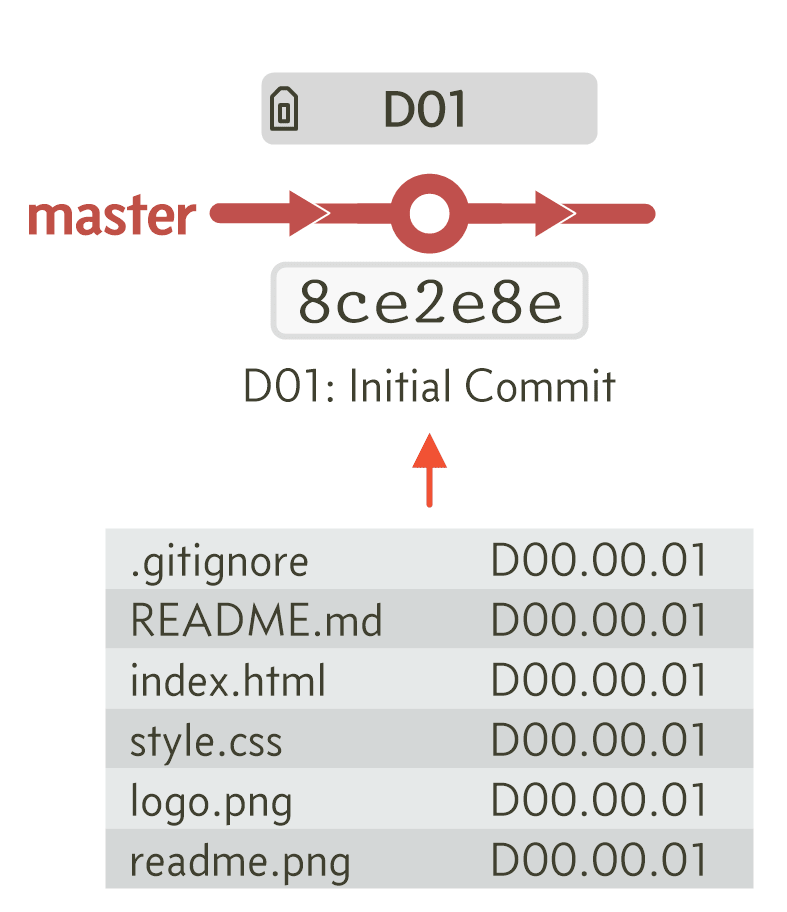
This will automatically activate the history view in the Git pane; this will show the new tag against the latest commit point:
Figure 6.32 A tagged commit point
†3
Brackets won’t let you tag anything but the current commit. Git however will, the Git command line terminal Git Bash can be used to assign a tag to any previous commit (see § 9.6).
6.3.5
The current workflow
This is another London Underground diagram, just like mornington crescent. It shows where we are in the current project as a series of branches and commits. It’s very simple at the minute:
 , if clicked will open a window showing the changes made to the associated file, it’s a bit meaningless here, all the files are new so everything in them is a difference.
 . Don’t worry, you still get a chance to cancel out.
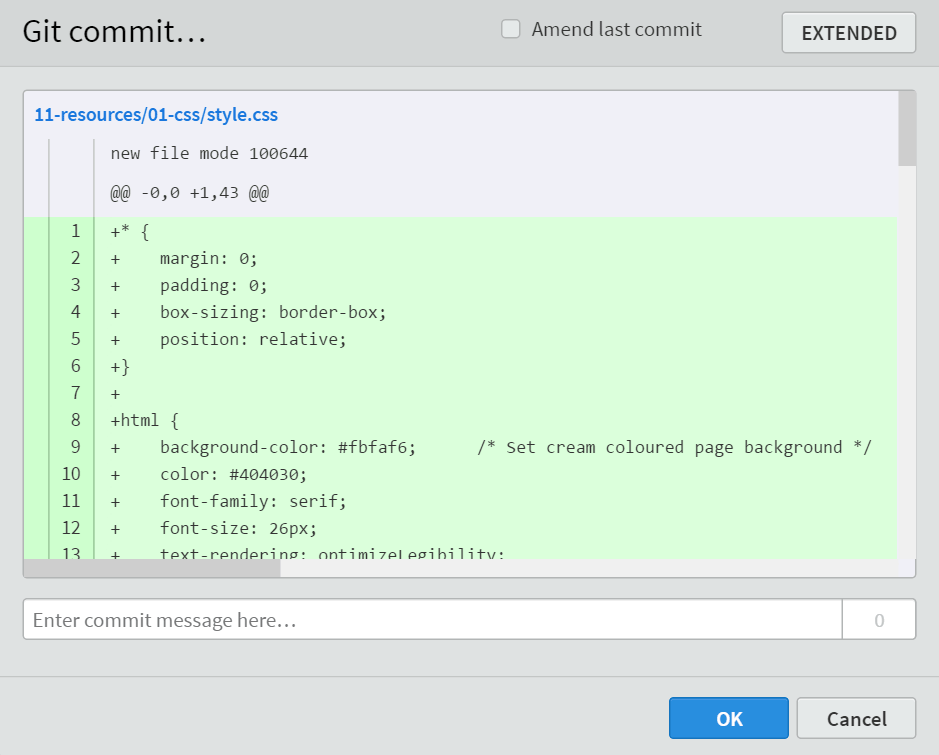
 you can enter multiple lines:
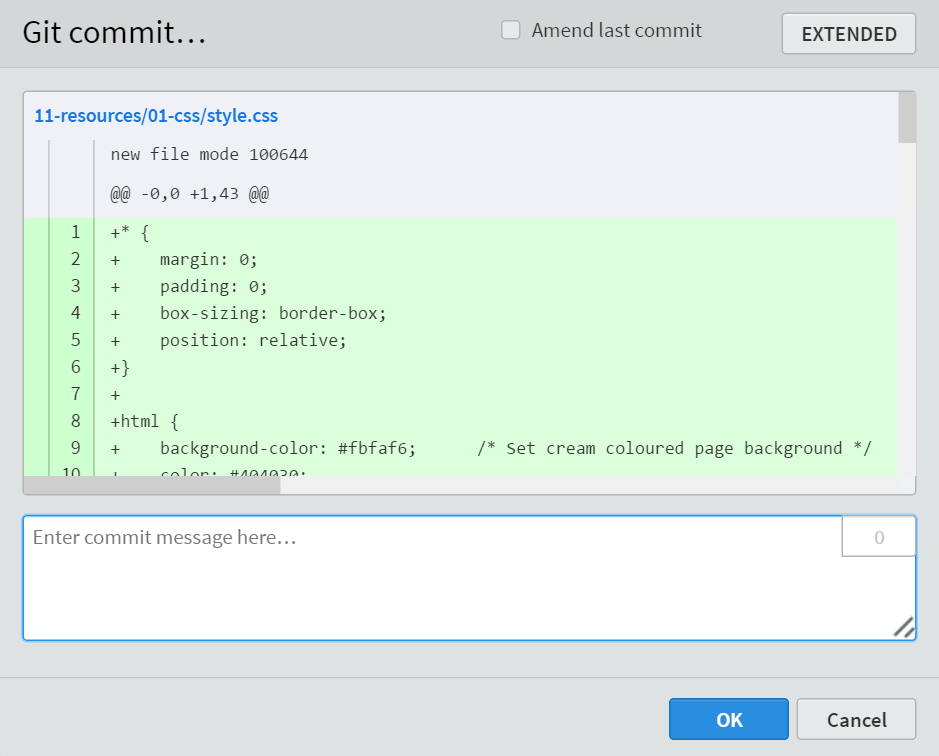
 (
(
 on an orange background is generated by Brackets, it is just the first letter of the username on a coloured background—it allows commits made by different users to be readily identified.
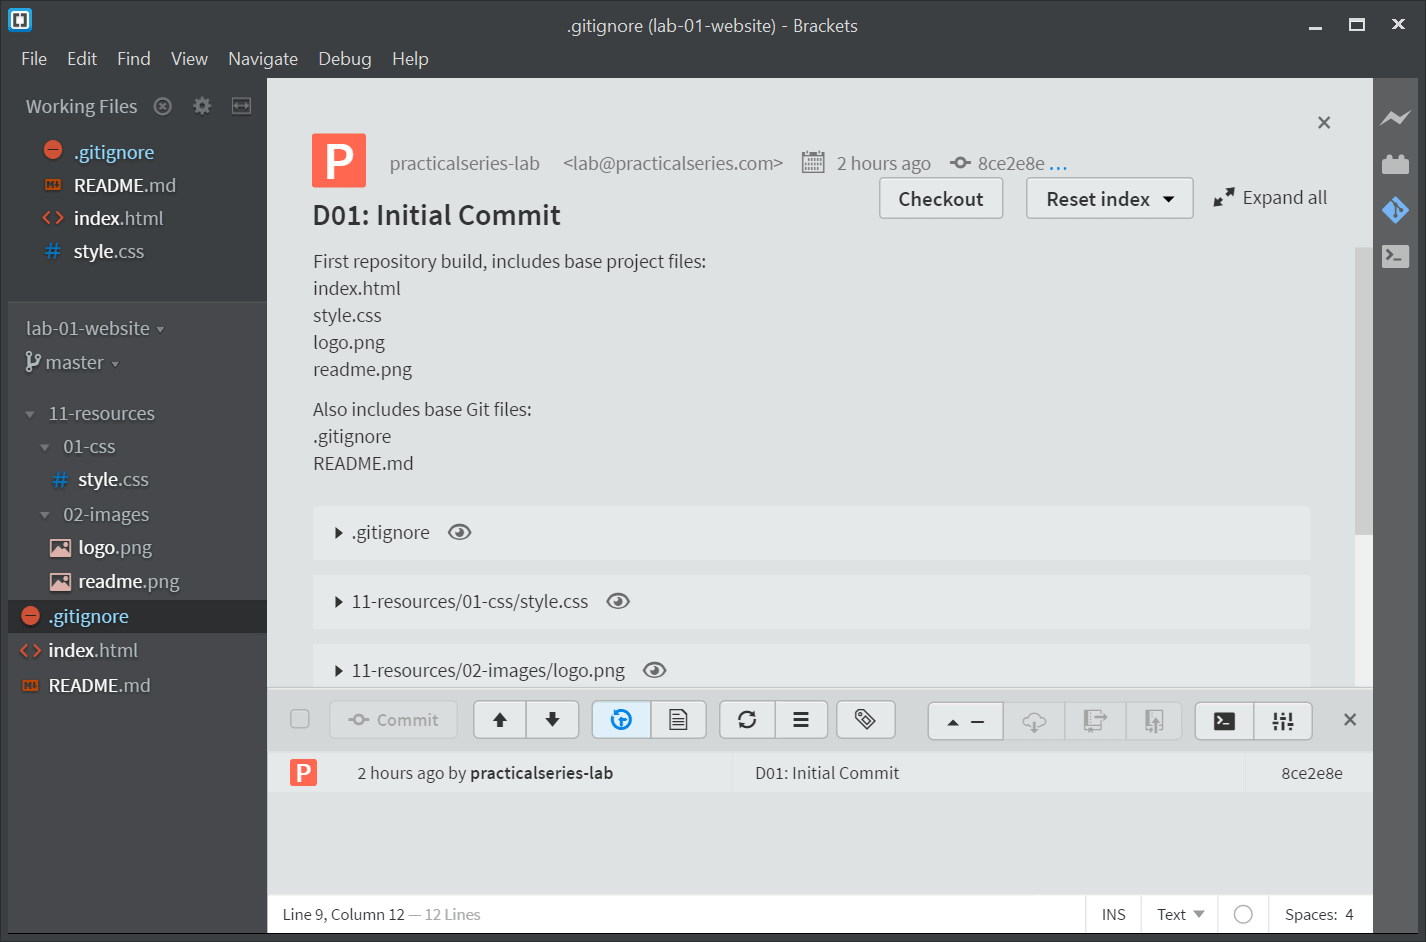


 at the top, it expands all files in the commit.
 , This opens the current version of the file in the Brackets editor (if the file is already opened in Brackets, then the button doesn’t do anything).
 . This opens a simple tag dialogue box: